
First of all, this is NOT a how to article on how to install a wood stove of any kind. It is simply a short blog on the basic list of parts that you will need to install the flue system (the pipes that take the smoke from the stove to the outside of your home). I want you to understand the installation process.
Unless you are a builder or remodeler, it is probably best to hire someone in the construction field to install your flue system. After all, we are talking about building a FIRE inside your home!
All of the links in this post are for stoves that take a 6″ pipe. You will need to check your stove before purchasing. Some stoves require 6″, some 8″. Measure to be sure!
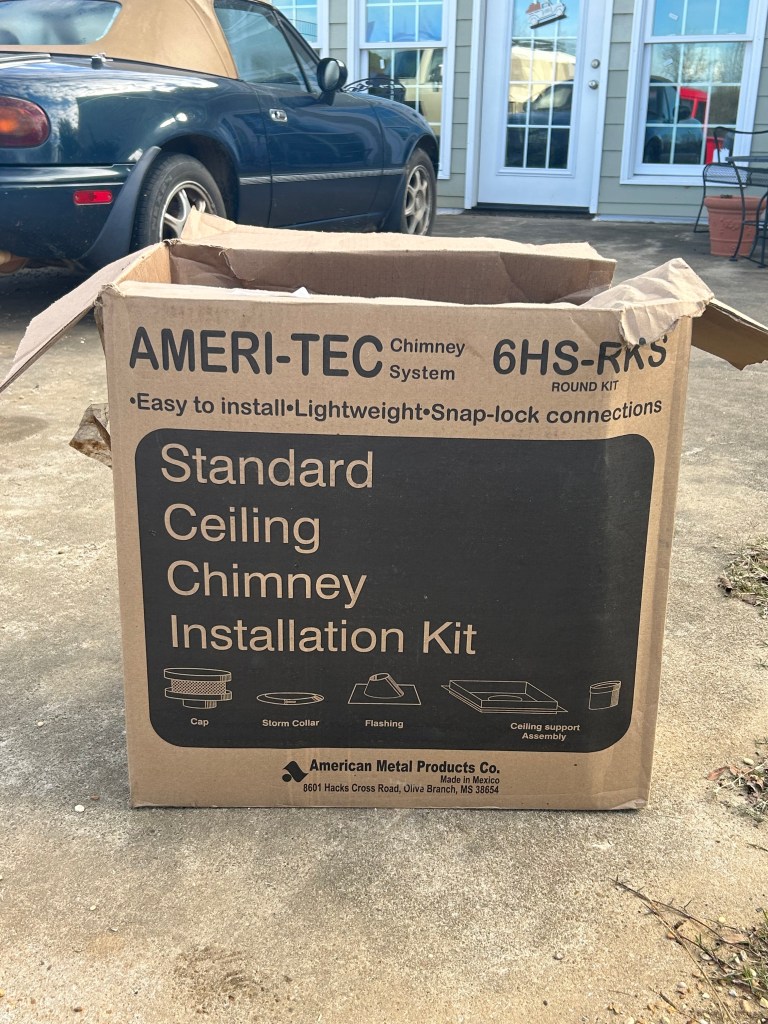
There are 6 basic parts that you will need to purchase before your wood cook stove can be installed. The first 4 of these parts we purchased as a kit. You should be able to find kits like this at most home improvement stores or on Amazon.
Standard Ceiling Chimney Kit
- Cap
- Storm Collar
- Flashing
- Ceiling Support Assembly
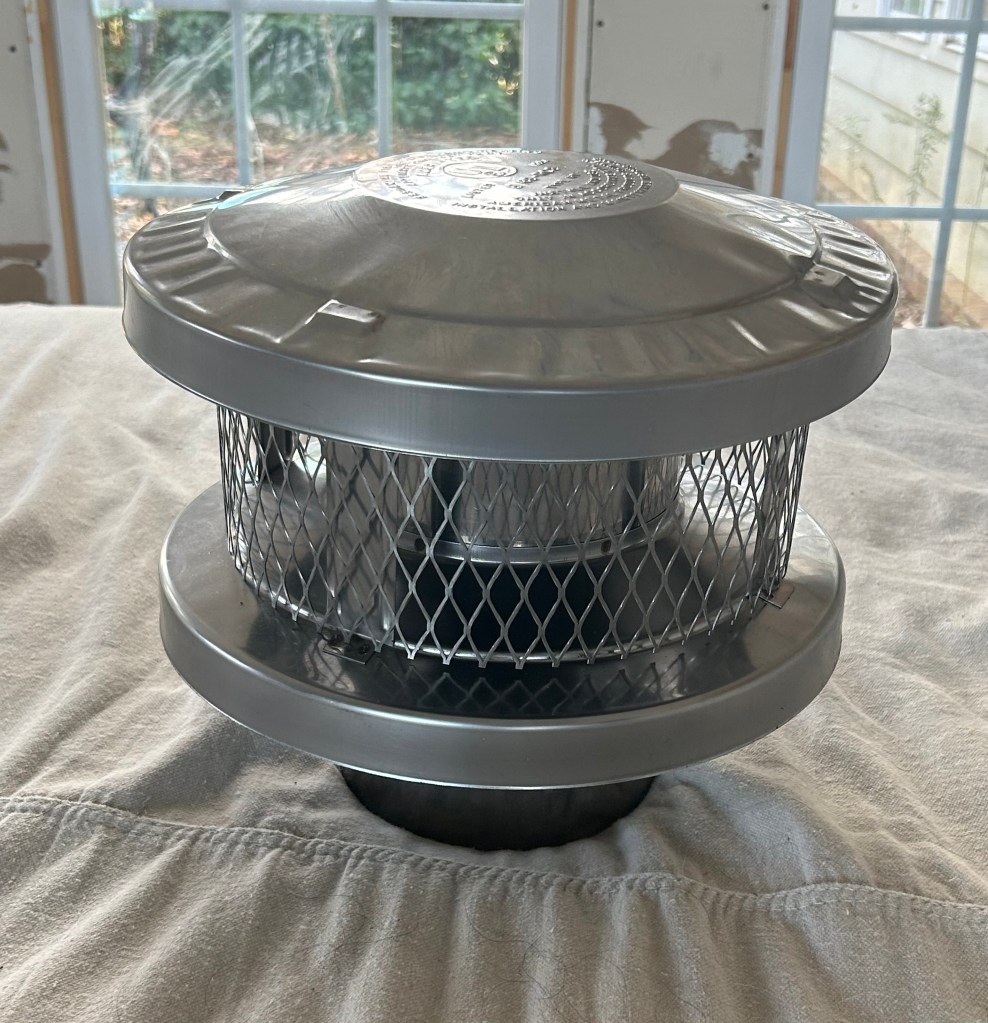
- Cap–sits on top of chimney pipe to keep rain out of chimney and keep birds from nesting in the pipe in the warm season.
2) Storm Collar— (goes above roof flashing to keep water from running down chimney pipe).

3) Flashing–installs on the roof and helps support the chimney. It also provides a rainproof transition from roofing to the chimney pipe. Most companies manufacture one for a 0 TO 6 in 12 pitch–and another for a 6 in 12 TO 12 in 12 pitch. Check the one in your kit to make sure it matches the pitch of your roof. The pitch is the steepness of the roof.
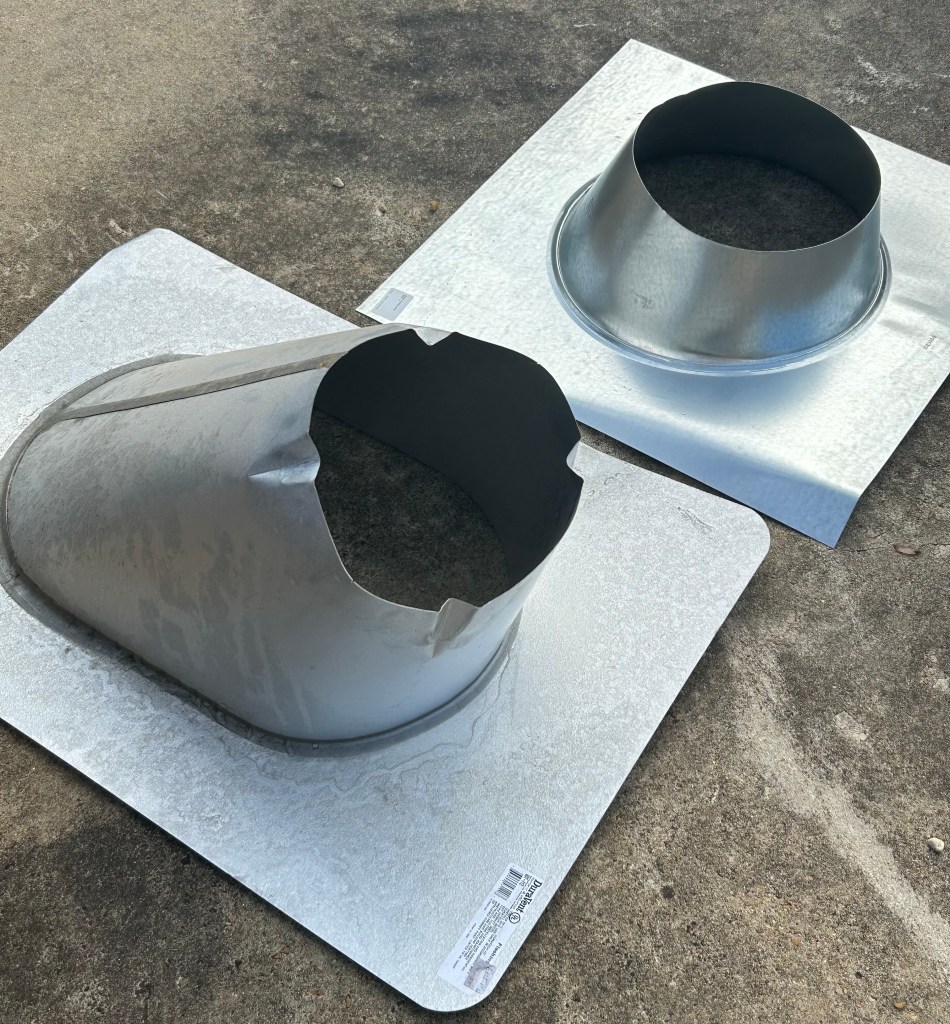
The flashing on the right came with our kit. We had to purchase a different one (flashing on left) for a roof with a steeper pitch.
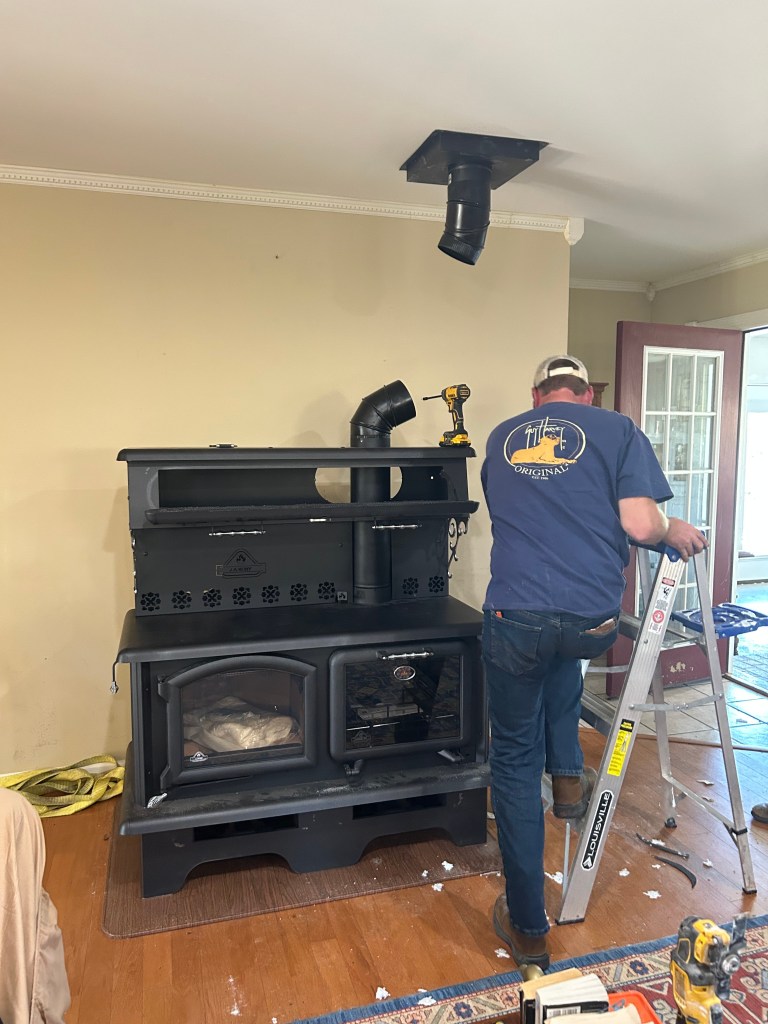
4. Ceiling support assembly–goes through the ceiling inside the house. They make one for flat ceilings and a much deeper one for cathedral ceilings.
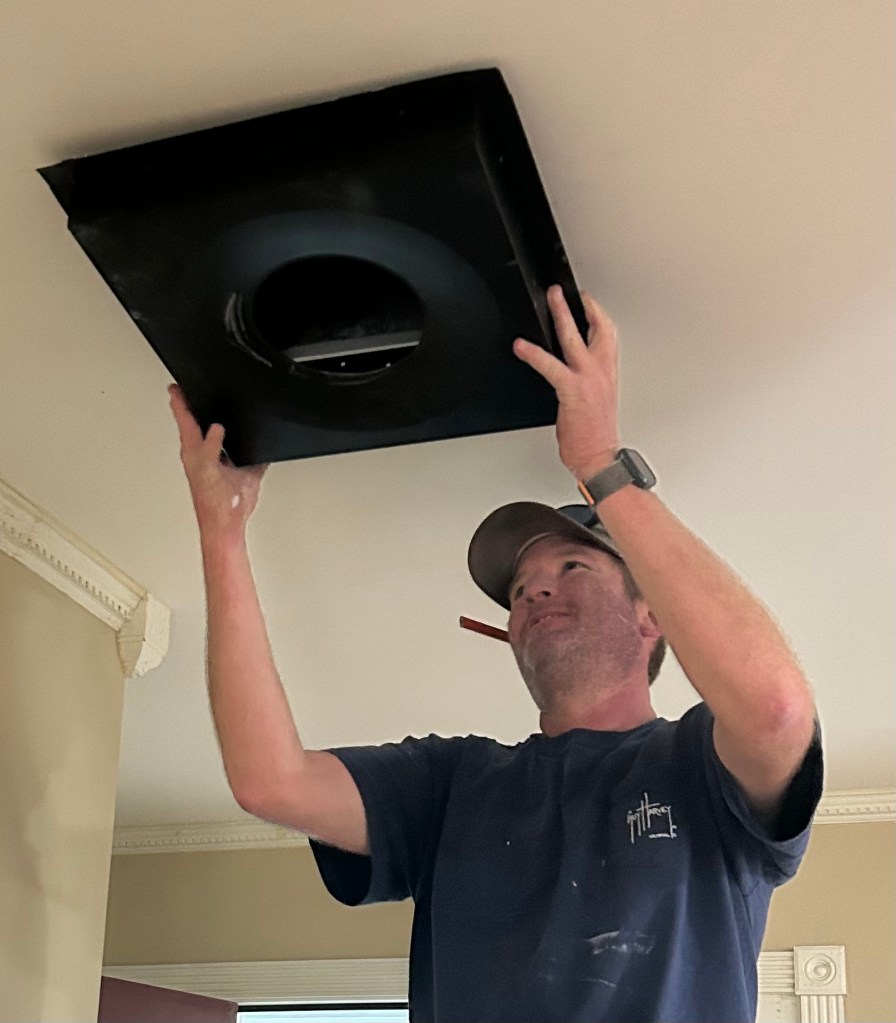
On most kits, there is an adapter that fits in the ceiling box to adapt the single wall stove pipe inside the house to the chimney pipe.
As an Amazon Associate, I earn from qualifying purchases. This means, if you click on a link on my blog and make a purchase, I will receive a small commission at no extra cost to you. THANK YOU for helping me start a college fund for Bella!
Here is a link to a STANDARD CEILING CHIMNEY KIT similar to the one we used.

In addition to the 4 items in the ceiling chimney kit, you will need to purchase 2 kinds of pipe:
- standard black stove pipe (for inside the house)
- chimney pipe
5. standard black stove pipe
Here is a link to STANDARD BLACK STOVE PIPE.

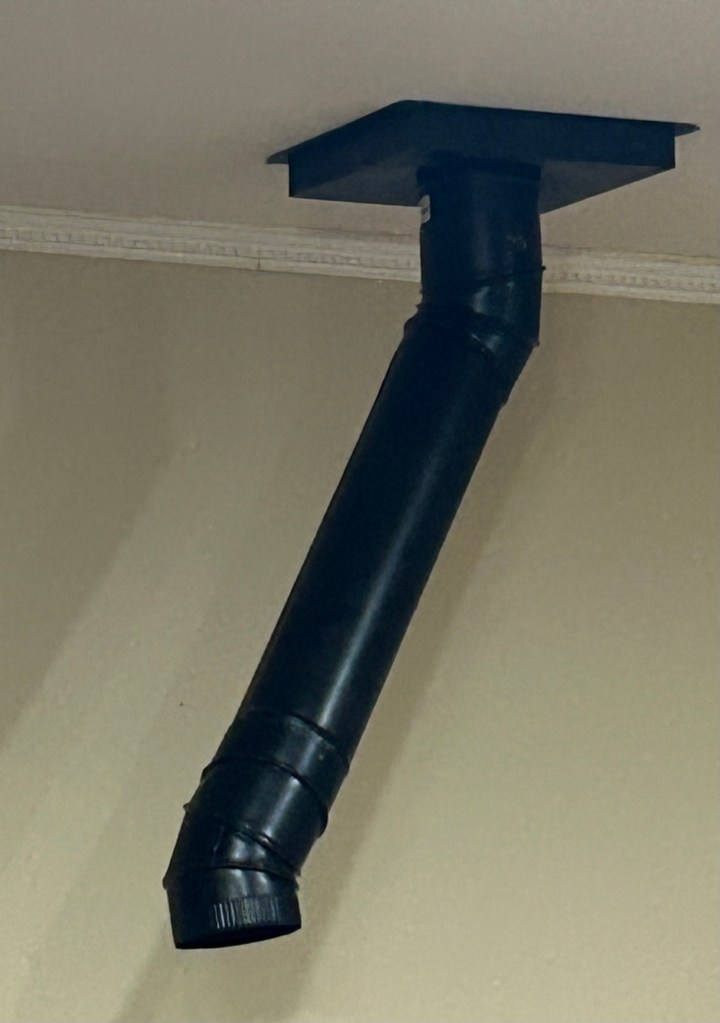
In addition to the standard black stove pipe, we had to purchase 2 adjustable elbows because we could not go straight up with our pipe. Here is a link to the ELBOWS in case you need them.

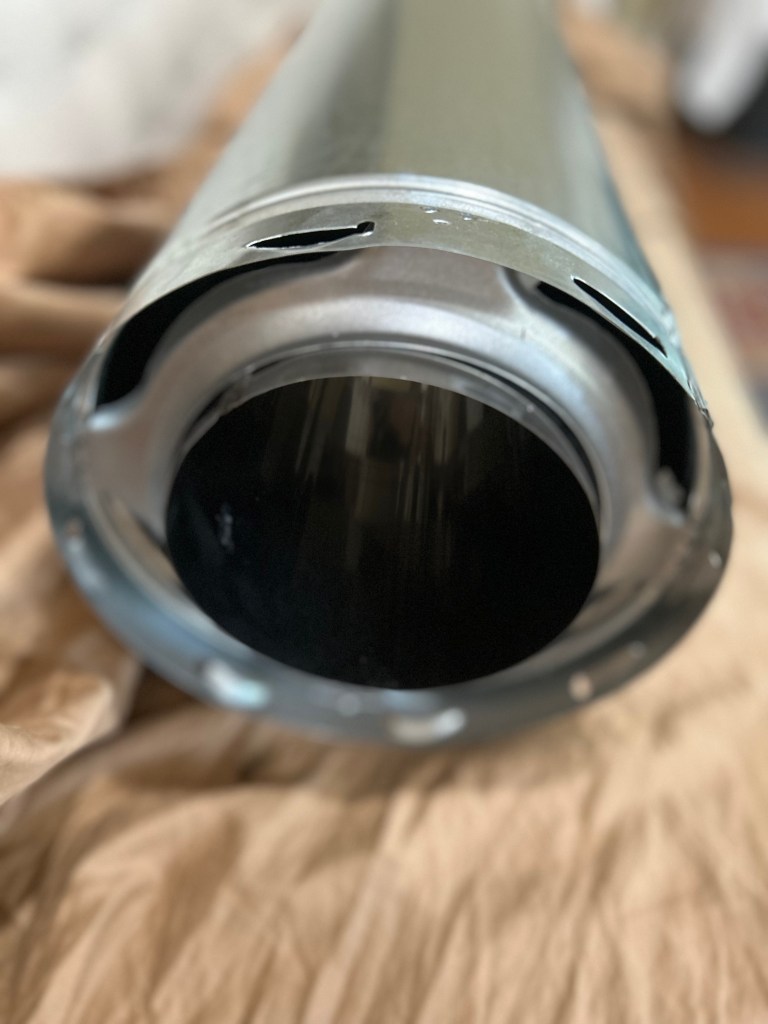
6. Chimney pipe–comes in either insulated or triple wall. Most are stainless steel. This goes through your attic space and extends above the roof. You cannot use the standard black pipe for this because of fire hazard. Most wood stoves and wood cook stoves take either a 6 inch or an 8 inch stove pipe.
It is always best to use STAINLESS from the ceiling box up in either insulated or TRIPLE WALL. We used the TRIPLE WALL STAINLESS.

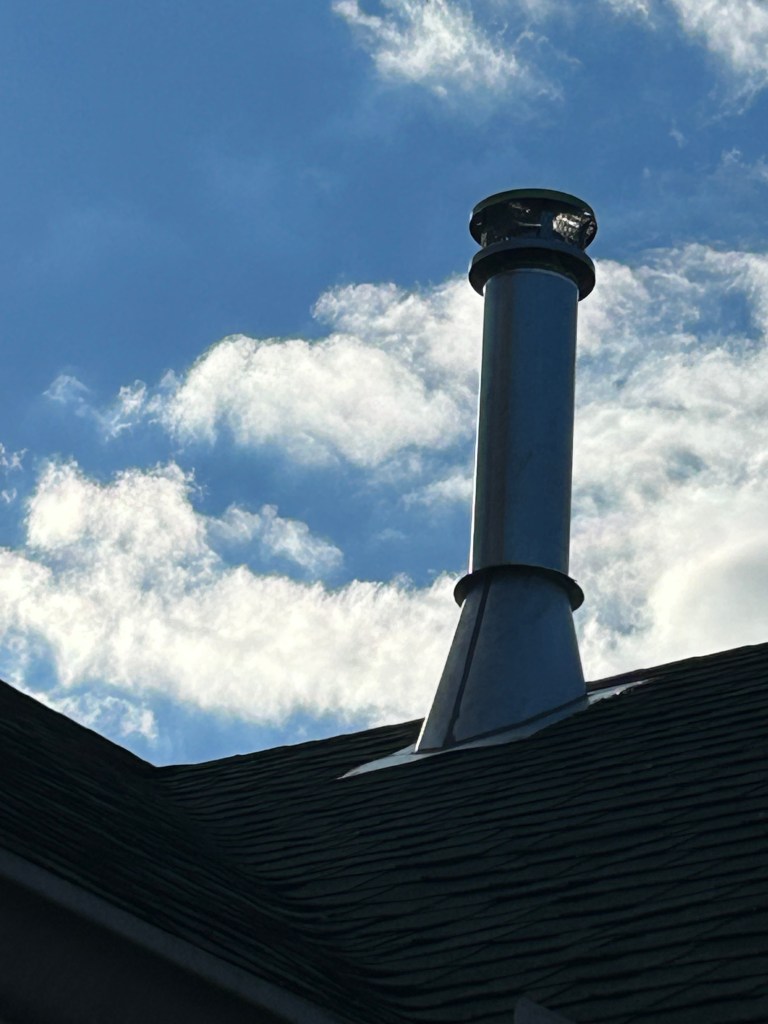
This stainless pipe is fairly expensive when compared to the standard black stove pipe, but it comes in various lengths from 1 foot sections up to 4 foot sections. This should extend above the roof peak at least 2 feet for it to draw well. You need a total of at least 12 feet of this chimney pipe for optimum drawing. Code requirements say the shortest side needs to be at least 3 feet above the roof penetration, and its top has to be 2 feet higher than any part of the building that’s within 10 feet.
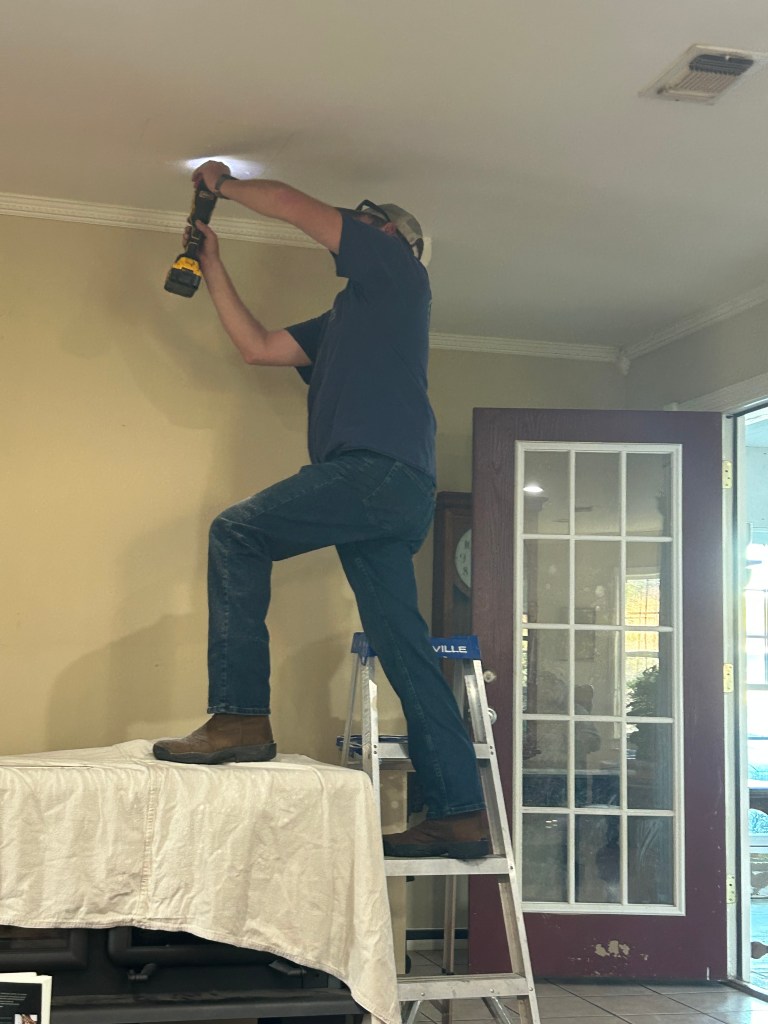
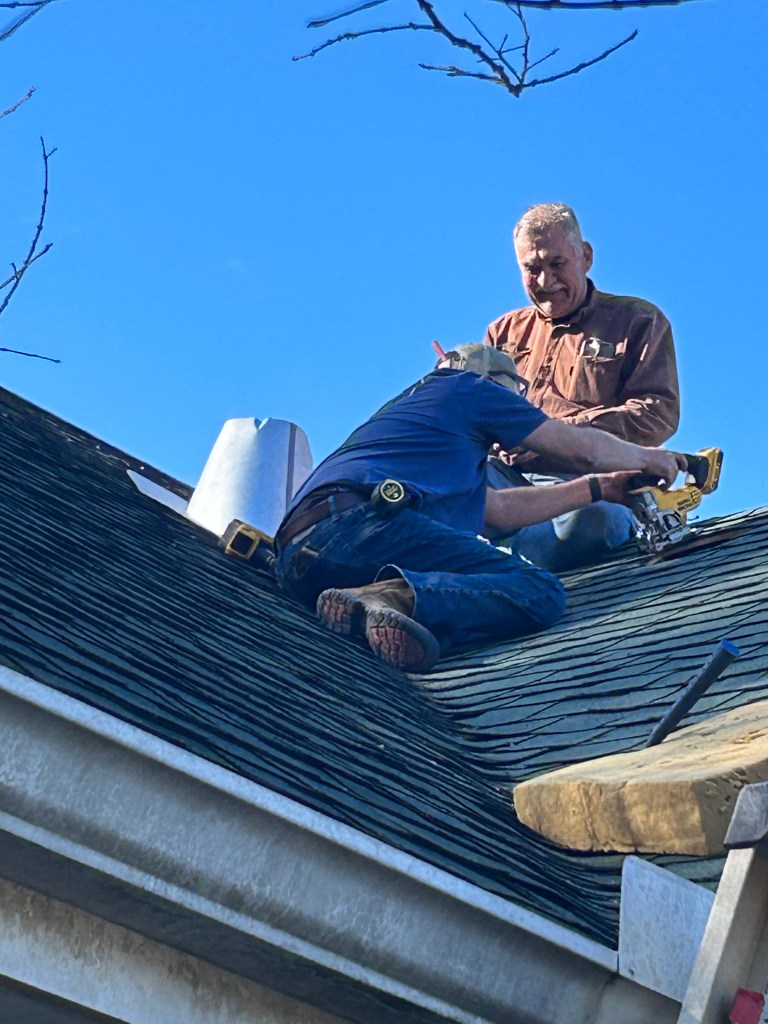
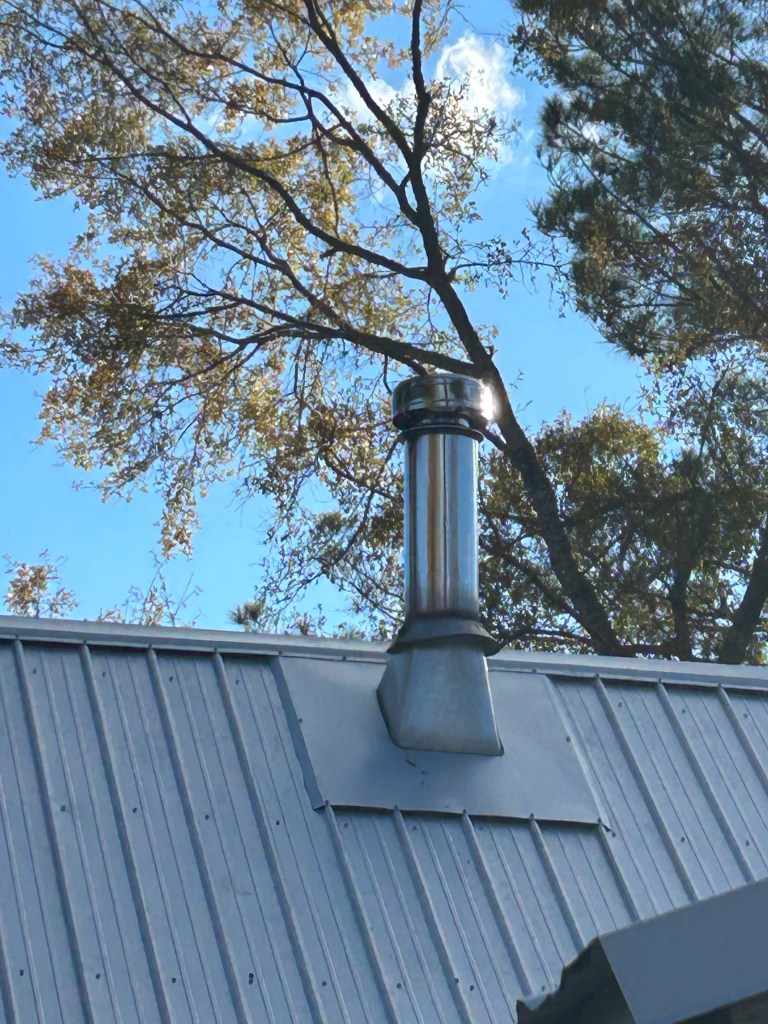
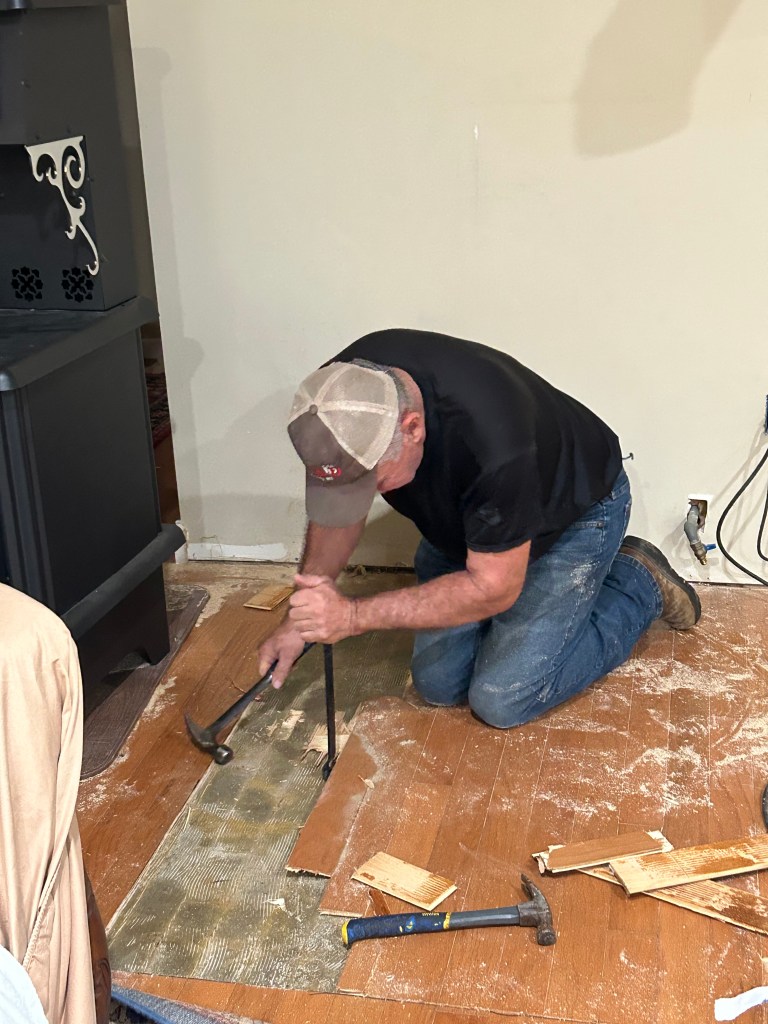
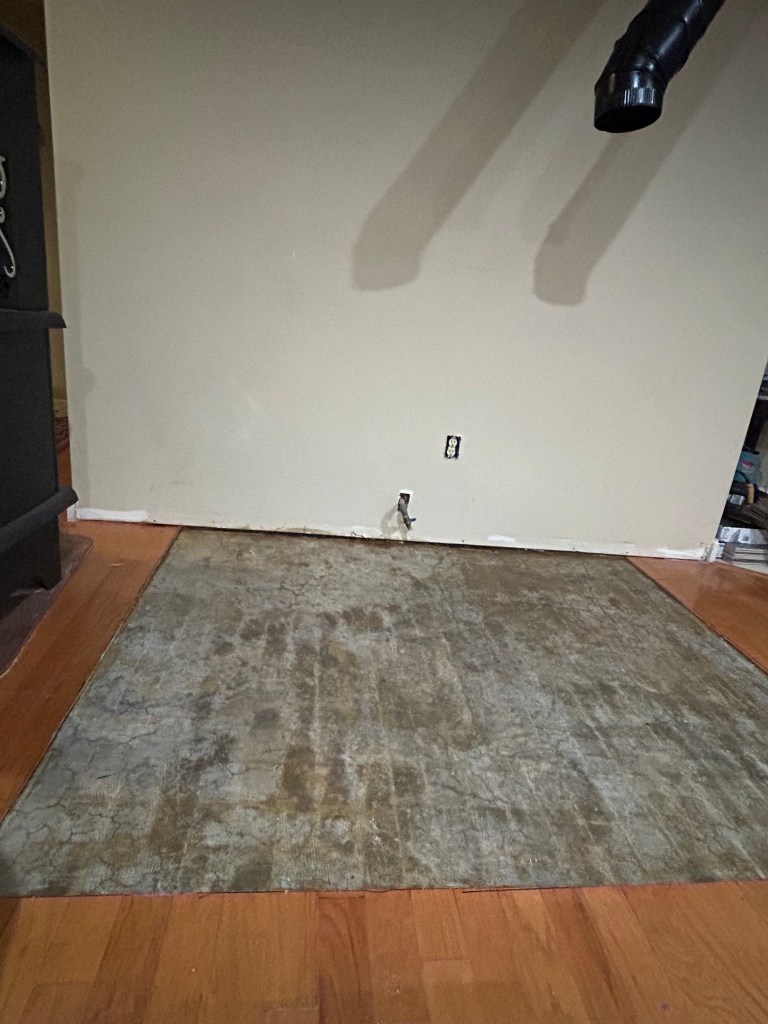
Here is a picture gallery of our wood cook stove installation:

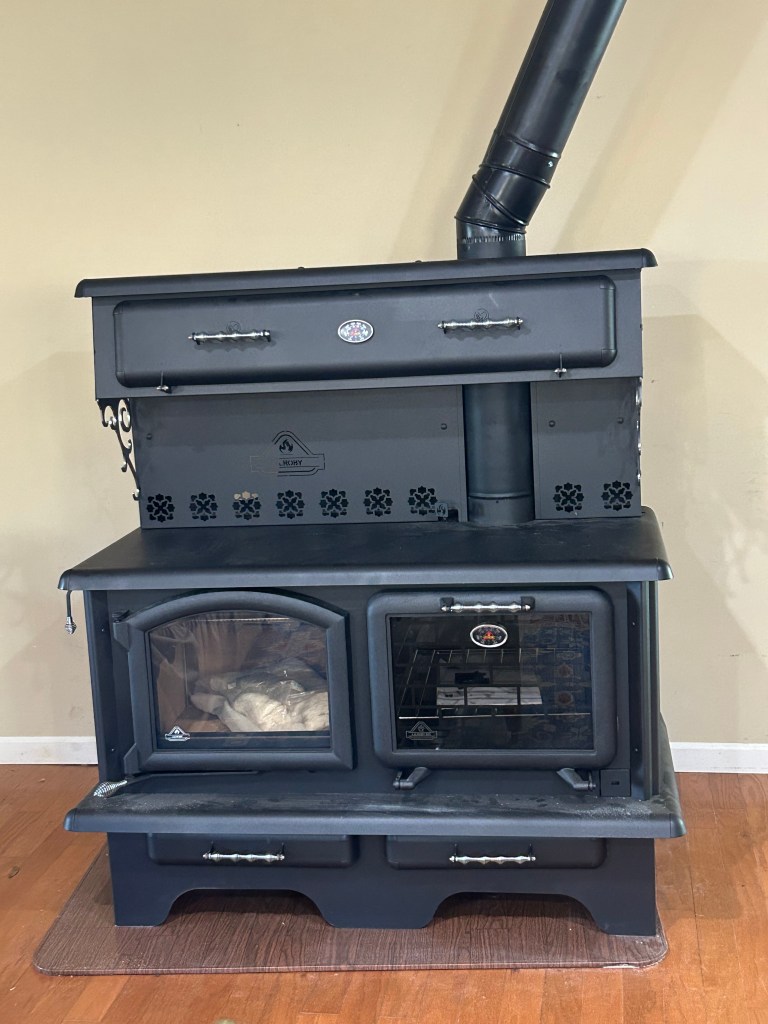
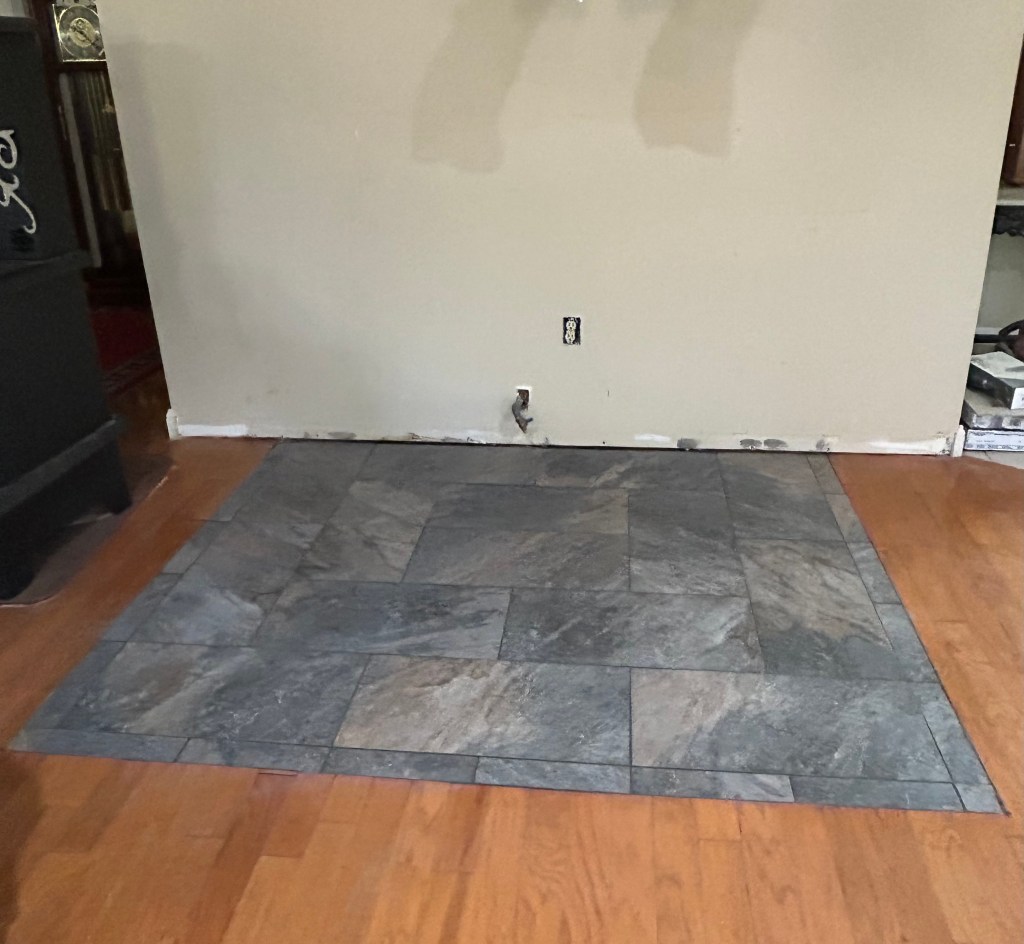
THE HEARTH
Another reminder about affiliate links. As an Amazon Associate, I earn from qualifying purchases. This means, if you click on a link on my blog and make a purchase, I will receive a small commission at no extra cost to you. THANK YOU for helping me start a college fund for Bella!
.
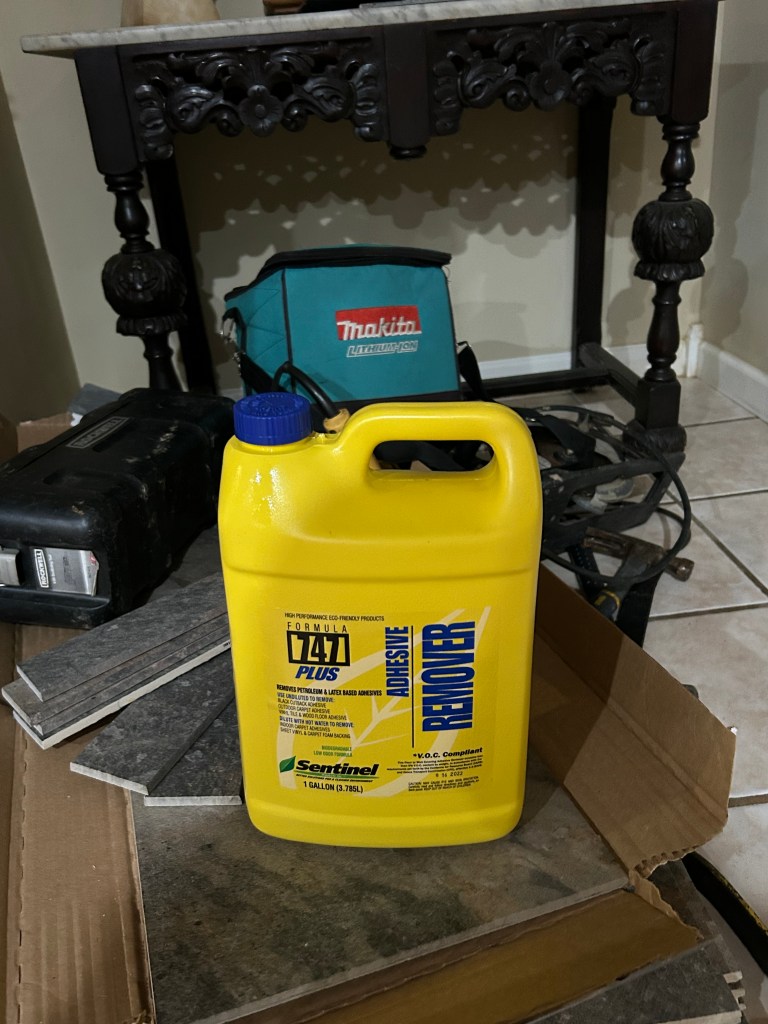

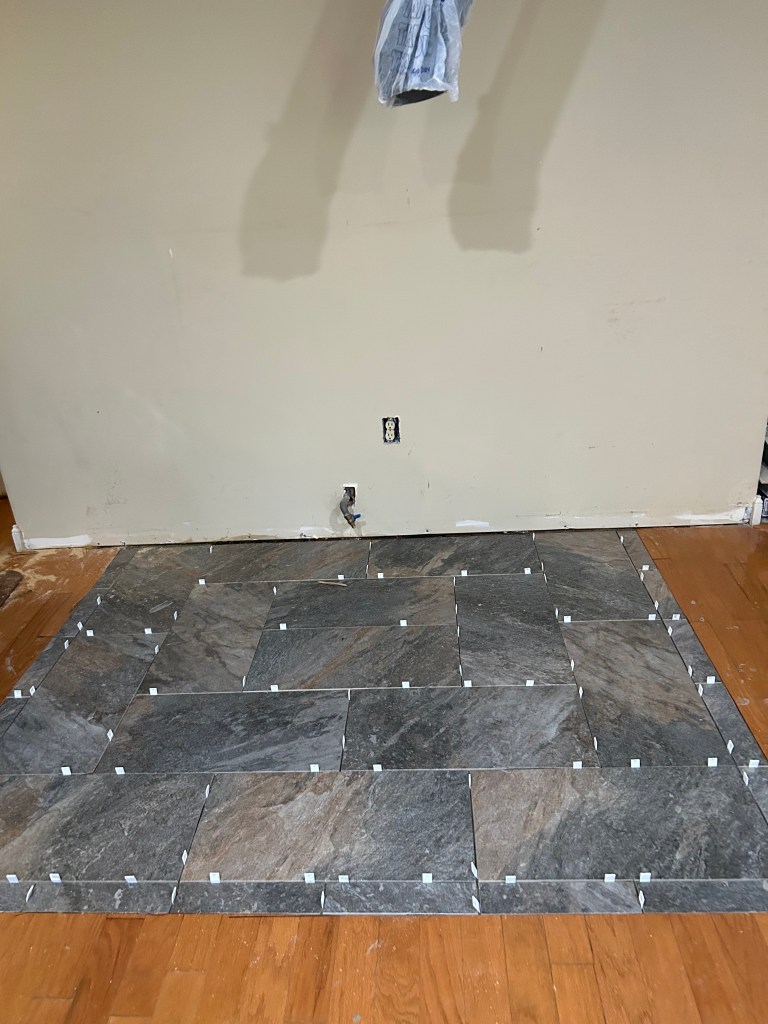
Here is a link to PREMIXED THIN SET MORTAR for tile. If you are doing a large area, it is more economical to purchase a sack of dry thin set from your local building supply and mix your own.

Here is a link to SPACERS.

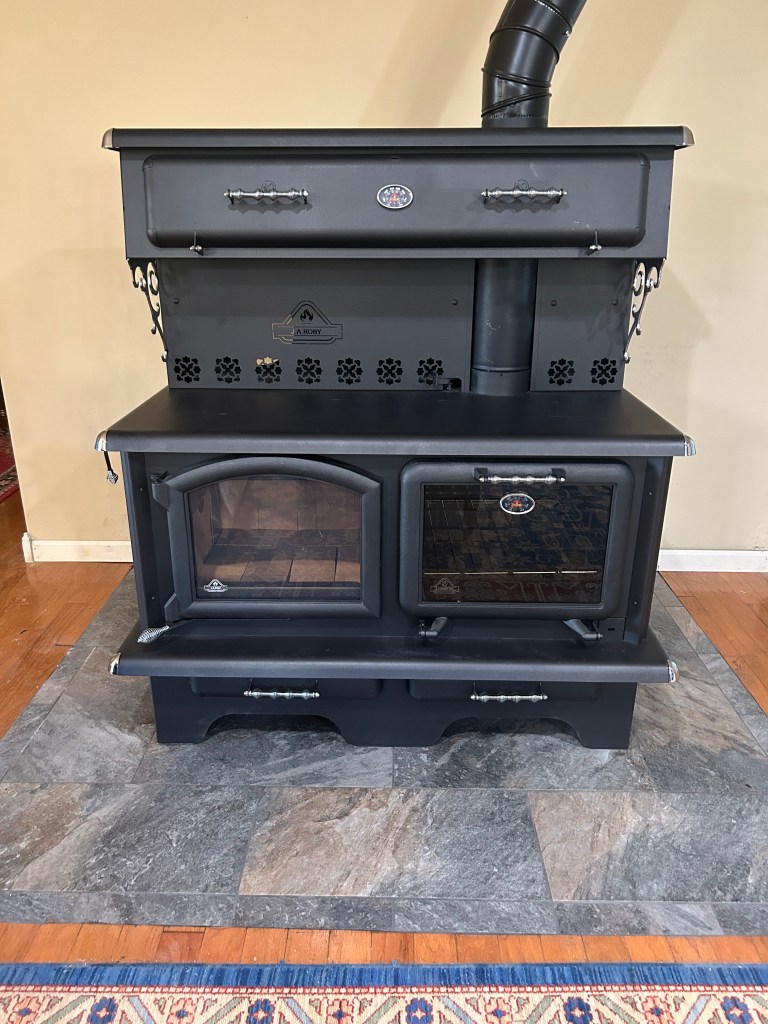
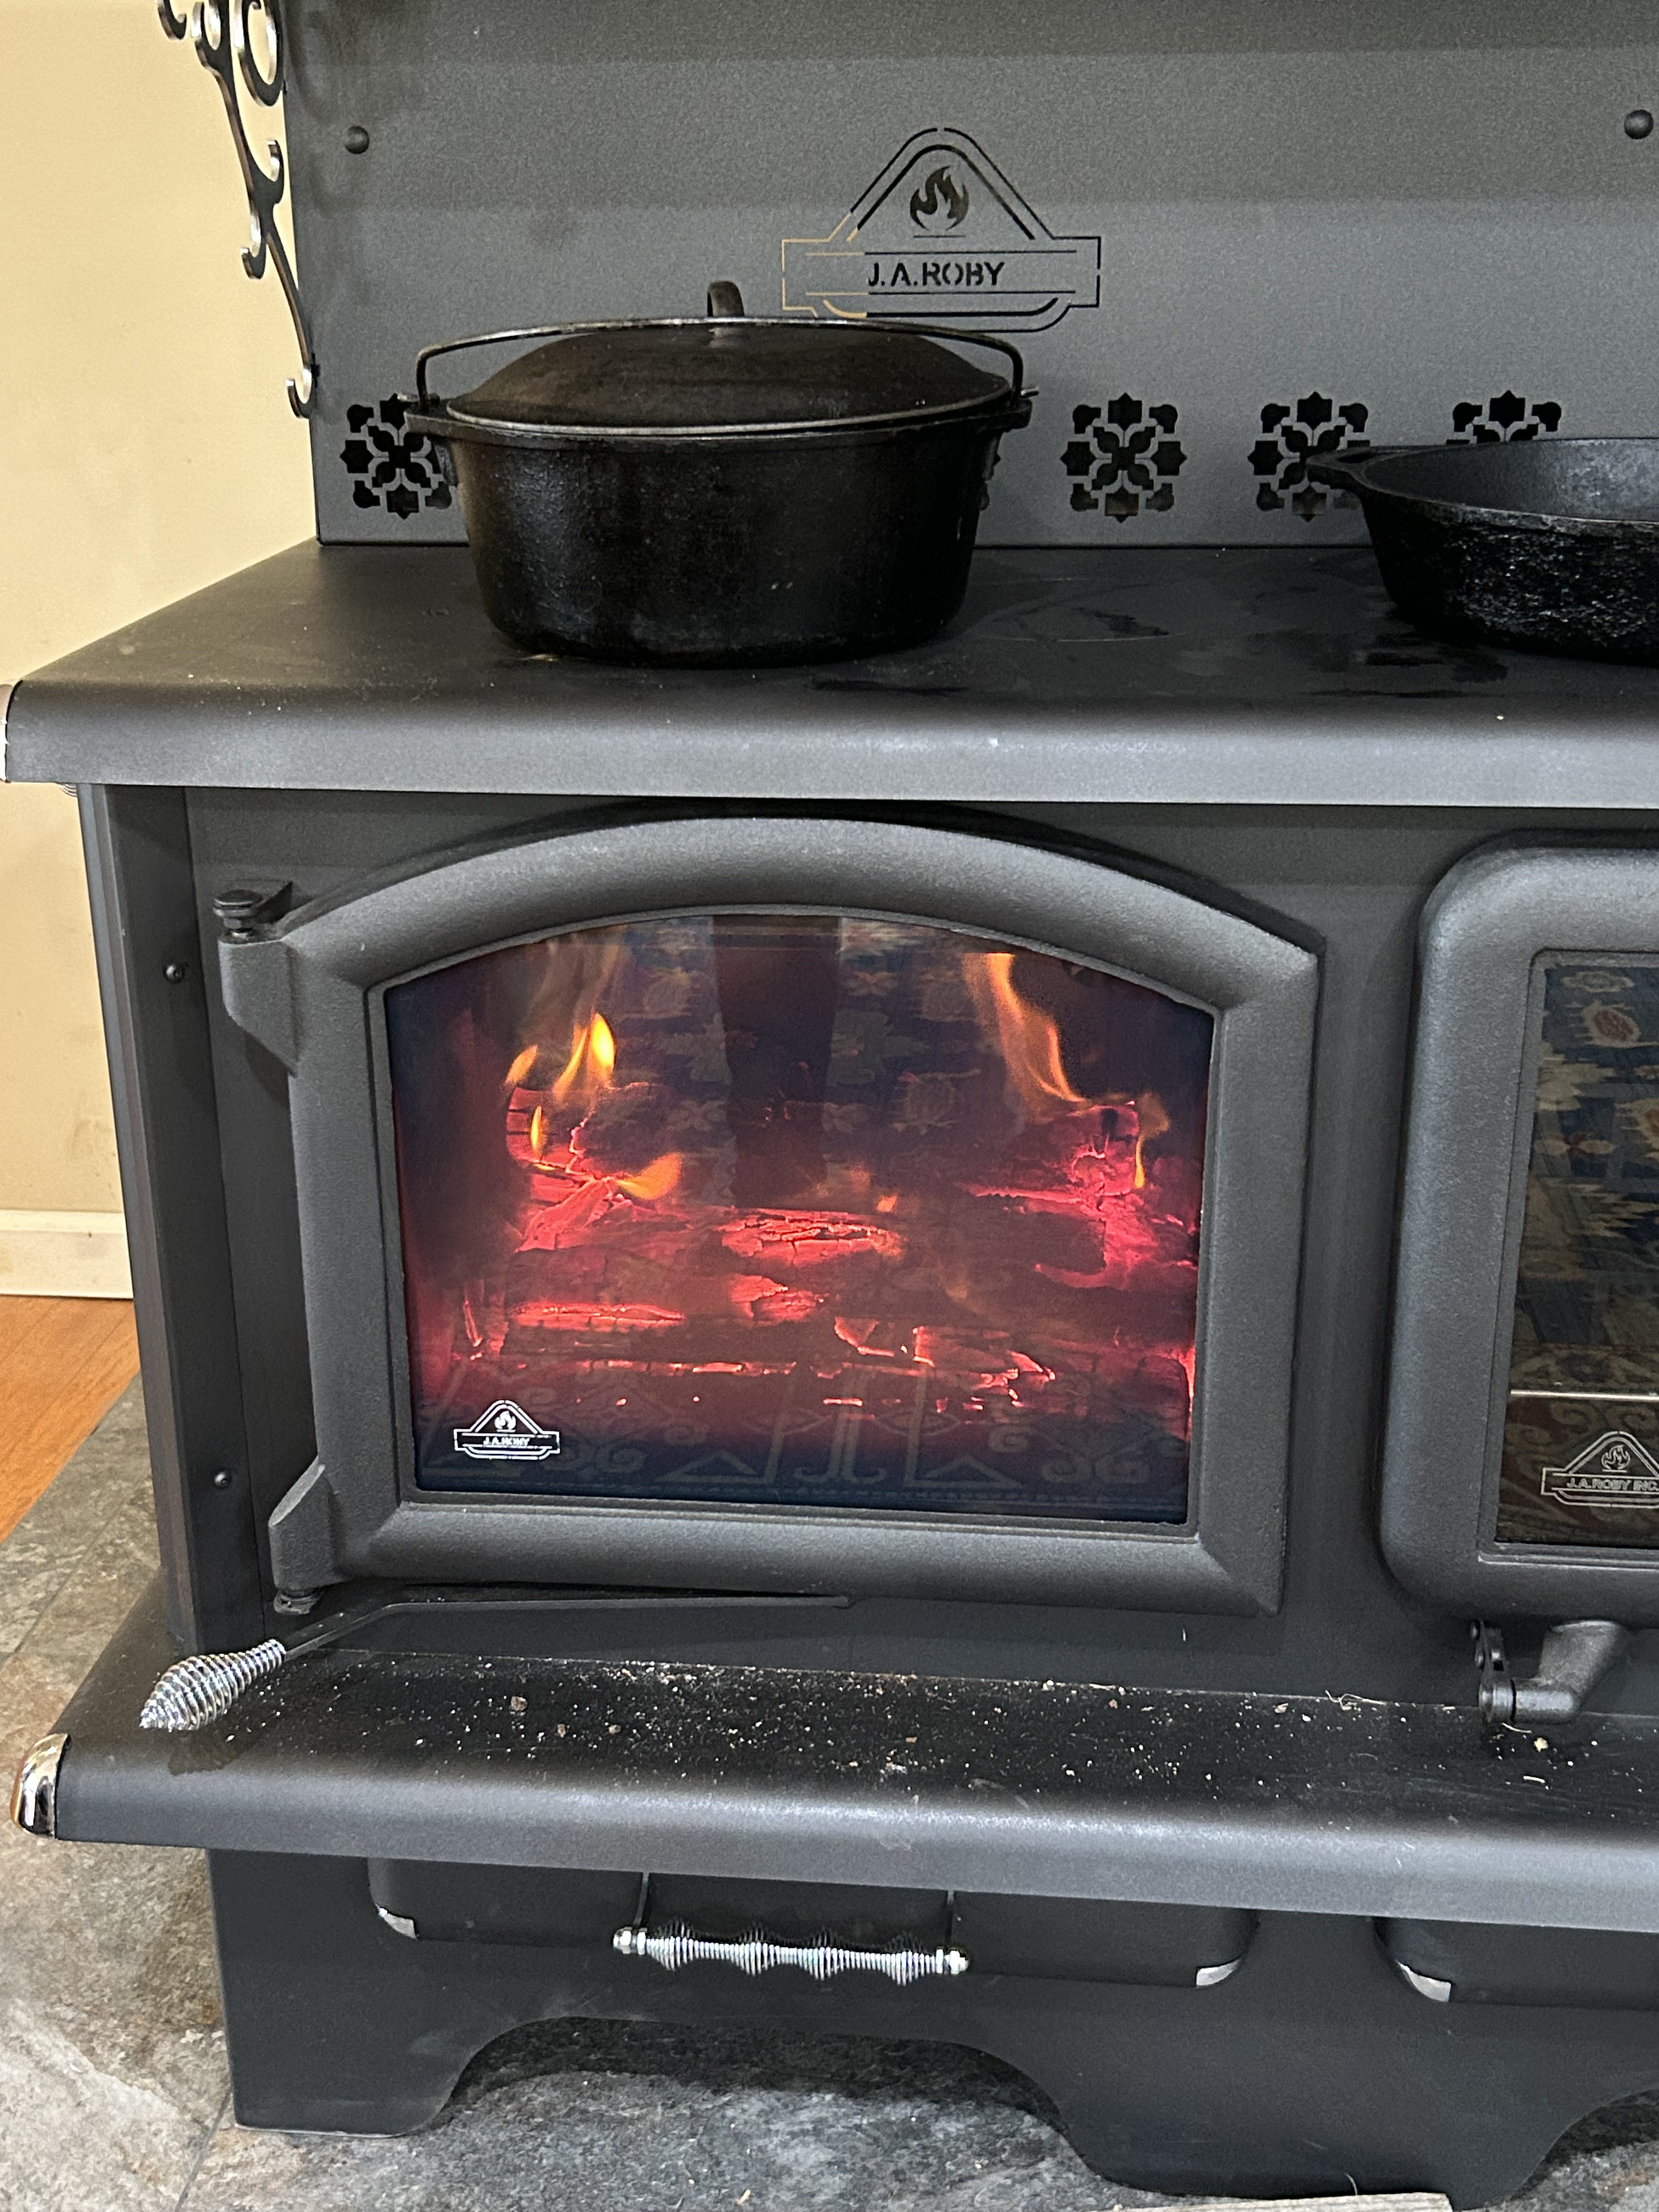
There is nothing like the heat from a wood burning stove! It warms like no other heat. I always feel chilled no matter where the thermostat is set on an electric or gas unit.
When I think of a wood stove, I think of cozy winter nights, a flickering fire, good books, hot chocolate, and parched peanuts. I hope you enjoy your wood burning cook stove as much as I enjoy mine.
Visit us again at Cozy Kitchen Wood Stove for recipes, videos, and other tips for vintage cooking, gardening, and just good ole country living!
