
From Scratch–in a Wood Stove
So so simple–and oh so GOOD!
I grew up with both of my grandmothers and my mother making homemade biscuits from scratch–every morning!
It is a skill that I wanted to pass on to my granddaughters, Bella and Abby. They have been making biscuits in my kitchen since they were small.
My mother would never let me cook. A cake–and that was it. The kitchen was her domain. I did not want my daughter and granddaughters to grow up and not know how to cook.
Mother had an old aluminum pot with a lid that she kept her flour in. It had a top, and it was large enough for the sifter to fit inside. She made her biscuits in that. She would sift the flour, make a well in the center, and add an egg-sized ball of Crisco. She would fill the well with buttermilk and begin working the dough in the old fashioned way, squishing it between her fingers and working it until it was stiff enough to choke off into balls.
She would roll the balls in her hand and pat them out, flip them over in the grease and nestle them in side by side in her black skillet.
I never did master that technique! My biscuits never turned out the same size, and that drove me crazy. And I could never get the right texture using the Crisco and buttermilk.
One of my grandmothers used a biscuit cutter, so I decided to try that. This is the biscuit cutter that Bella and I use. It comes as a 3 pack, but we use the middle size for biscuits. As an Amazon Associate, I earn from qualifying purchases. This means, if you click on a link on my blog and make a purchase, I will receive a small commission at no extra cost to you. THANK YOU for helping me start a college fund for Bella! BISCUIT CUTTER
Much better! At least the biscuits were a consistent size. But I still was not happy with the texture. They were very crumbly and would fall apart.
Believe it or not, it took me over 20 years to finally make a biscuit that I was happy with! A friend brought a skillet-full to a potluck, and they were absolutely perfect. She shared her recipe with me, and I have used it ever since. It is the recipe that Bella is using today!
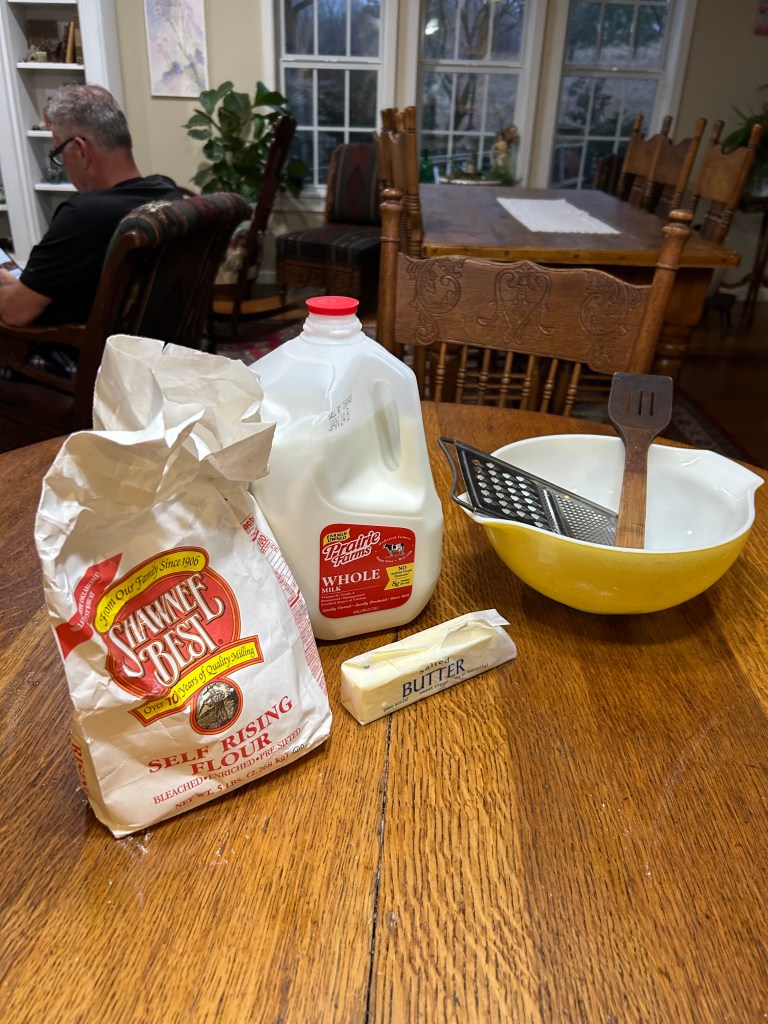
Your brand of flour can also have a huge impact on the way your biscuits turn out. I won’t use anything except self-rising Shawnee flour. I am not receiving any type of compensation for recommending this flour! But in my opinion, it is the best!
If you cannot find that brand where you live, my next go-to would be Sunflower self-rising flour. I CANNOT make a biscuit with plain flour. I gave up on that years ago!
I also use whole milk rather than buttermilk. My grandmother called it sweet milk. And I use real butter rather than Crisco.
Cathead Biscuits
2 c. Self-rising flour (Shawnee or Sunflower)
1 c. whole milk
3 T. grated butter
METHOD:
MEASURE 2 c. Self-rising flour in big bowl.
MAKE A WELL.
STIR until well combined.
MAKE ANOTHER WELL.
ADD 1 c. Whole milk a little at a time, stirring after each addition.
When milk is combined, you should be able to drag a wooden spoon through the dough. If it is too stiff to do this, add 1 T. of milk at a time. (See video for perfect dough consistency.”
Dough will thin out.
FORM into a ball and flatten out to 1 inch thickness.
CUT out 8 biscuits.
TIP:
For a CRUNCHY BOTTOM, heat a cast iron skillet with 3 T. Oil on top of stove until really, really hot (almost smoking) Turn biscuits over in hot oil. They should sizzle.
For a SOFT BOTTOM, turn biscuits over in a cold skillet with 3 T. Oil.
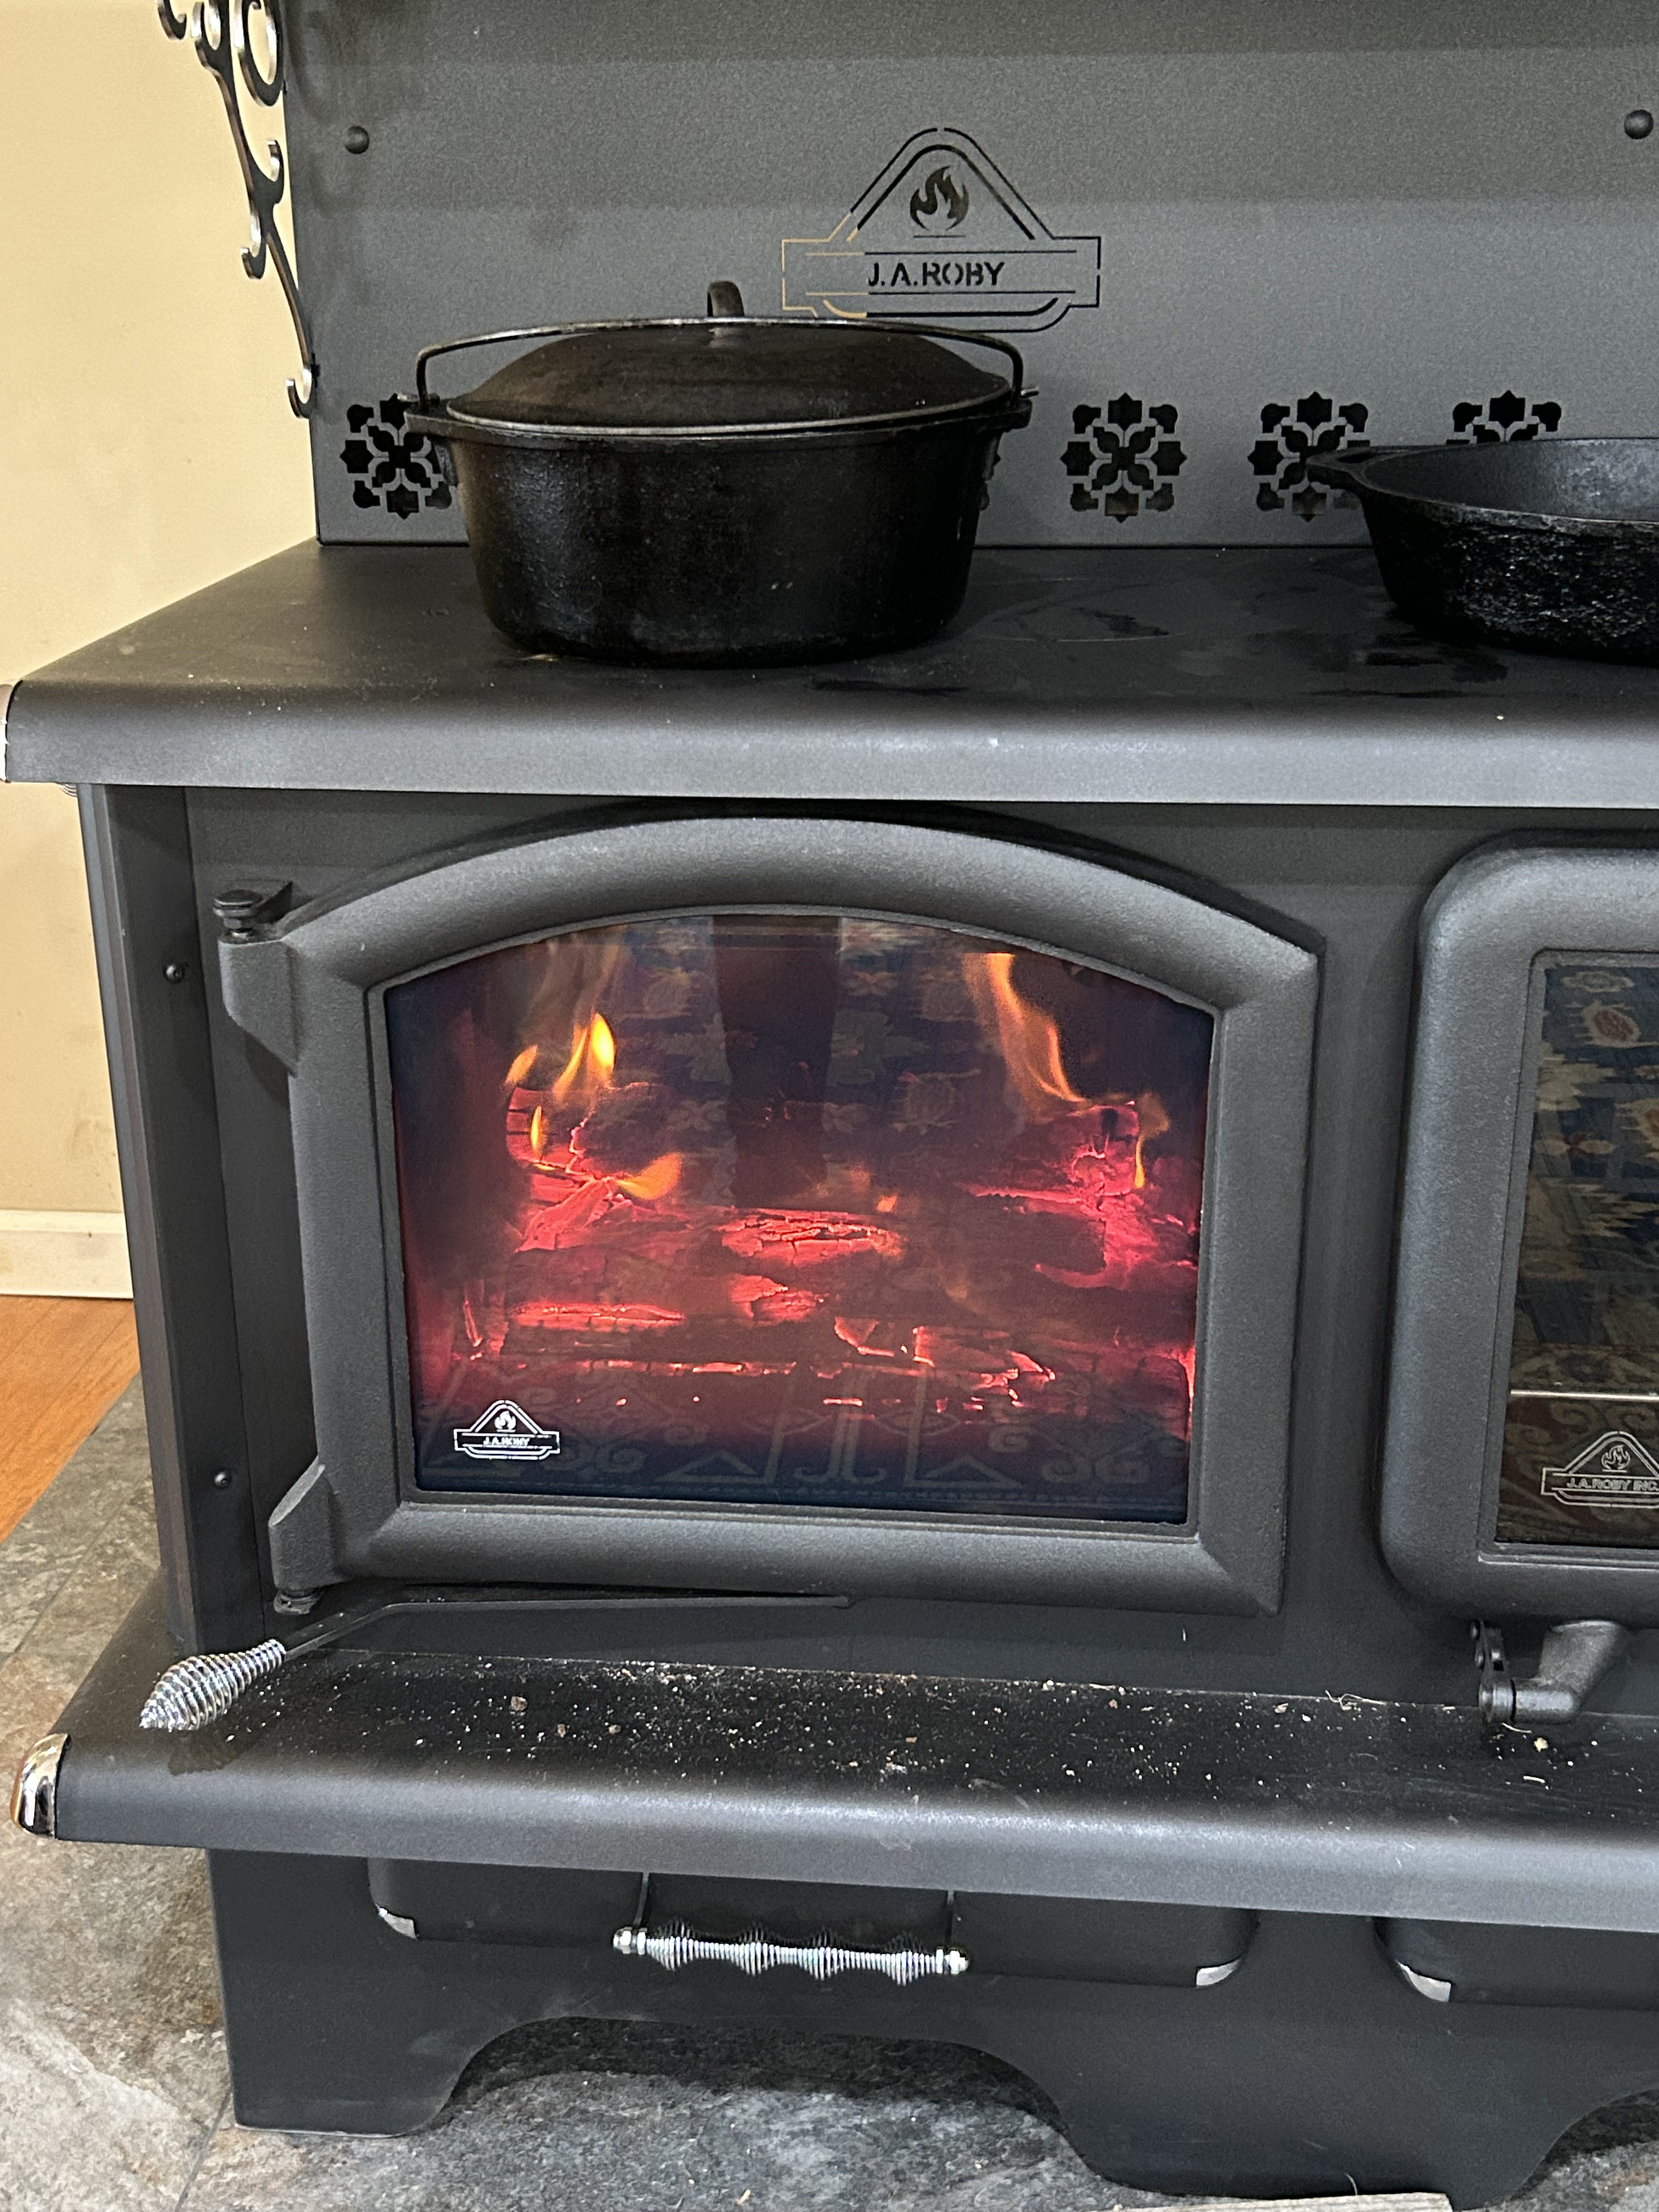
BAKE at 400-500 until tops are golden brown. Get your wood stove as hot as you can!
Ingredients: –makes 8 biscuits (double for more)
- 2 c. self-rising flour (I recommend Shawnee)
- 1 c. whole milk (NOT low fat or 2 percent)
- 3 T grated butter
Method:
- Measure: 2 c. self-rising flour in large bowl (I do not measure it, but you can.)
- Make a well: and grate in 3 T. flour. Yes, you CAN grate butter. It does not have to be frozen or anything–just straight out of the refrigerator.
- Stir: the grated butter into the flour. If it sticks together, it will separate when you stir it.
- Make a well: pour in the milk.
- Mix well: and beat 50 strokes. You want the dough to be thin enough to be able to drag the wooden spoon through it, but thick enough to hold its shape when you cut out the biscuit.
- This is what the dough will look like when it is ready. See video below.
- Turn out: onto floured board and shape into an oval about 1 inch thick. Dough should be the height of your biscuit cutter. You can flour a glass and cut with that if you do not have a biscuit cutter. Or I have cut both ends out of a tin can and used that.
TIP: It is better if your dough is too soft rather than too stiff. After a few bakes, you will get the feel for the exact right firmness.
- Pour: about 2-3 T. oil in black skillet. Turn biscuits over in the oil. I would definitely recommend purchasing a black cast iron skillet if you do not own one. Most of mine are antiques that belonged to my mother and grandmothers, but I do have a couple of Lodge Cast Iron pieces, and they cook just as well as my antique skillets.
My favorite size skillet for baking biscuits is my 10 inch skillet. Actually it is like 10 and a quarter inches. You can fit 8 biscuits in without crowding them.
As an Amazon Associate, I earn from qualifying purchases. This means, if you click on a link on my blog and make a purchase, I will receive a small commission at no extra cost to you. THANK YOU for helping me start a college fund for Bella! Here is a link to a 10.25 inch LODGE CAST IRON SKILLET.
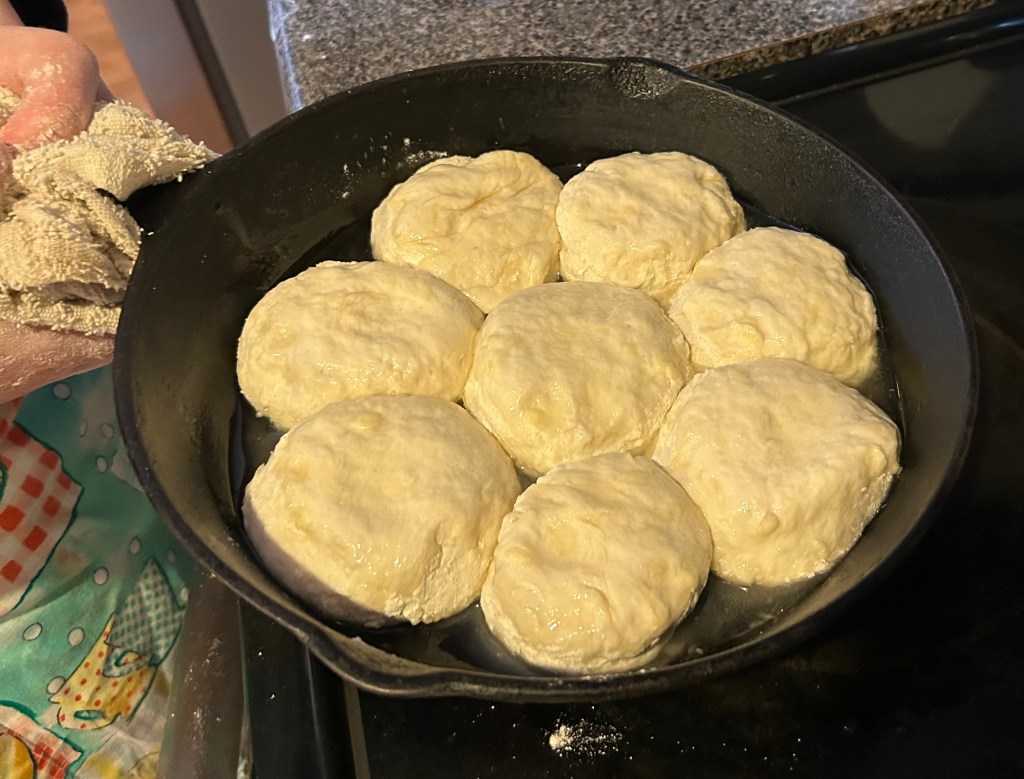
Tip: If you want a crunchy bottom on your biscuit, heat the skillet and 3 T. oil on top of the stove while you cut out the biscuits and turn them over in the hot grease. You want it as hot as you can get it–almost to the point it flames. The biscuits will sizzle when they hit the pan.
For a soft bottom, turn biscuits over in a cold skillet.
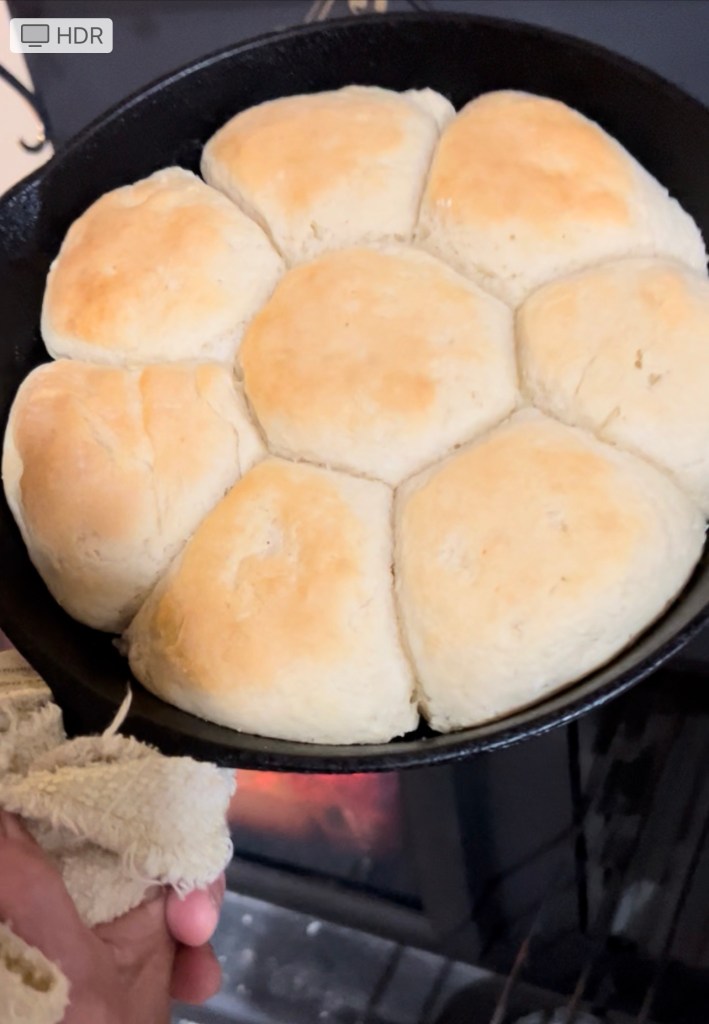
UPDATE: My mother and grandmothers would always–always preheat their oven for biscuits. 400-500 degrees. Mother told me if you do not have your oven HOT when you put the biscuits in, they would NOT bake well at all. Well, I forgot to preheat my oven last week. I had the biscuits in the skillet ready to go in. I was soooo mad. I shoved them in anyway and set the temperature on 500. The absolute best biscuits I have ever baked! They rose up nice and tall. The texture was perfect! Mother would be shocked!
Having said this, I was baking in a conventional oven. To bake in your wood stove, I still recommend getting the temperature up as high as you can before baking.
- Bake: in a hot oven. Get your wood stove oven as hot as you can. Open dampers and air intakes. Mine said 400 degrees. When I am baking in an electric or gas oven, I set the temperature for 500.
- Bake: until brown on top. Today’s bake took 25 minutes.
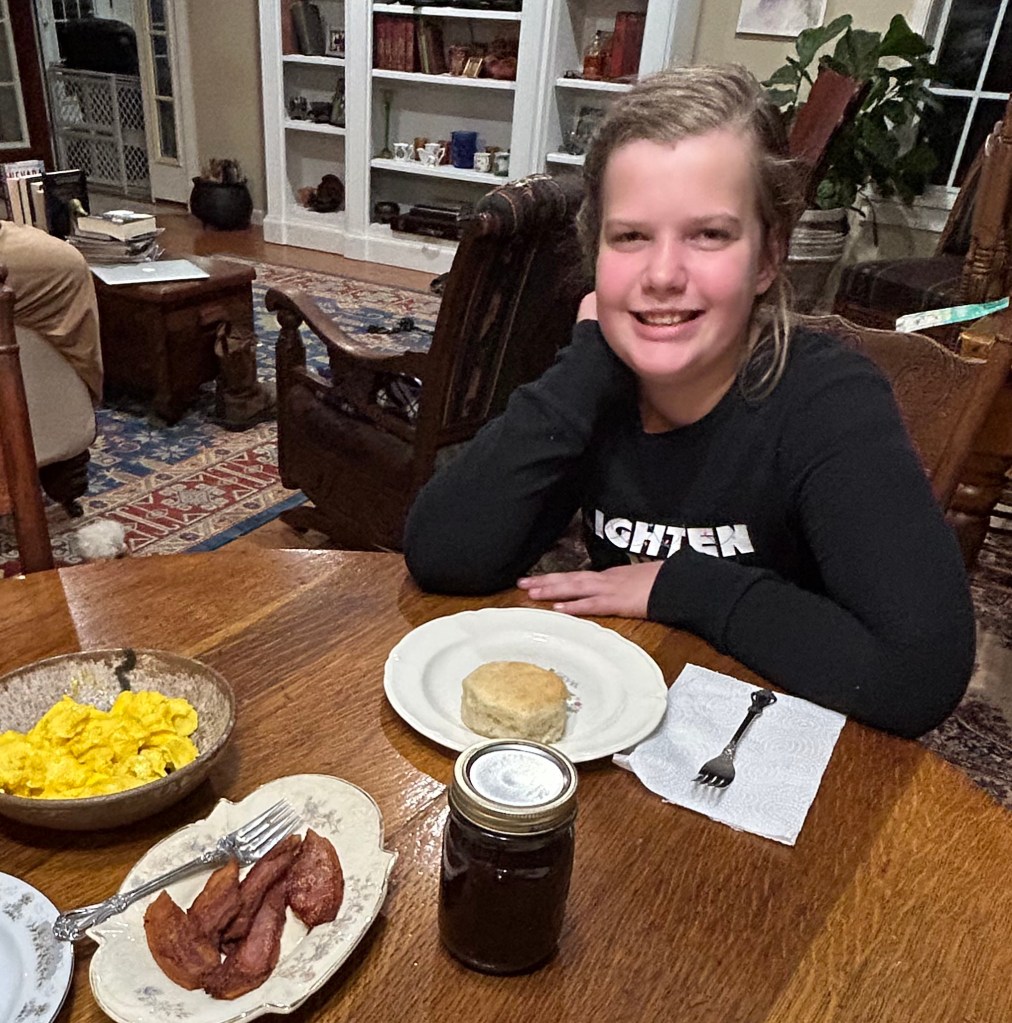
We decided to do breakfast for supper. Bella is putting on a pan of bacon and she is about to scramble six big brown eggs from our chickens. Proud of those girls! They are laying 18-20 eggs a day. Guess they are like the goose that laid the golden egg with prices up close to 8 dollars a dozen!
Bella dances a little jig in the video below when she hears we are about to do an entire supper on the wood stove tonight!
Starting the scrambled eggs!
Finishing up!
Hot buttered biscuits with homemade muscadine jam! Yummylicious! The muscadines were from our vines last fall. Oh! That would be a fun blog post! We will do muscadine jam before long. I have two batches frozen, just waiting to be cooked!
I developed a new recipe here at Cozy Kitchen Wood Stove last fall. It was hands down the best I have ever tasted. We used the whole muscadine–zero waste! And the flavor was outstanding!
Here is a link to the post that gives the recipe and method for the MUSCADINE JAM.

I LOVE my cast iron! I am going to recommend several pieces that I have and could not live without. As an Amazon Associate, I earn from qualifying purchases. This means, if you click on a link on my blog and make a purchase, I will receive a small commission at no extra cost to you. THANK YOU for helping me start a college fund for Bella!
CAST IRON DUTCH OVEN LODGE (spaghetti, soups, baking bread, stews, roast beef, Boston butts, the list of uses for this is endless!) I have a 5 quart and a 7 quart size. Both available at this same link.
12 INCH CAST IRON SKILLET LODGE
CAST IRON CASSEROLE PAN LODGE
5 TIER ORGANIZER LODGE (ohhhhh! I just found this! I have to have one!)
STACKABLE ORGANIZER (Not LODGE, but I like the stackable quality)
I have only recommended LODGE cast iron, because other than my antique pieces, I have no experience with any other brand. I know LODGE will service you well and should last a lifetime. You can pass these pieces down to children and grandchildren just as my mother and grandmothers did.
Visit us again at Cozy Kitchen Wood Stove for recipes and other tips for vintage cooking, gardening, and just good ole country living!
And don’t forget to scroll to the bottom of the page and SUBSCRIBE to our BLOG! We post recipes and tips weekly!
Weekly Timeless Treasure
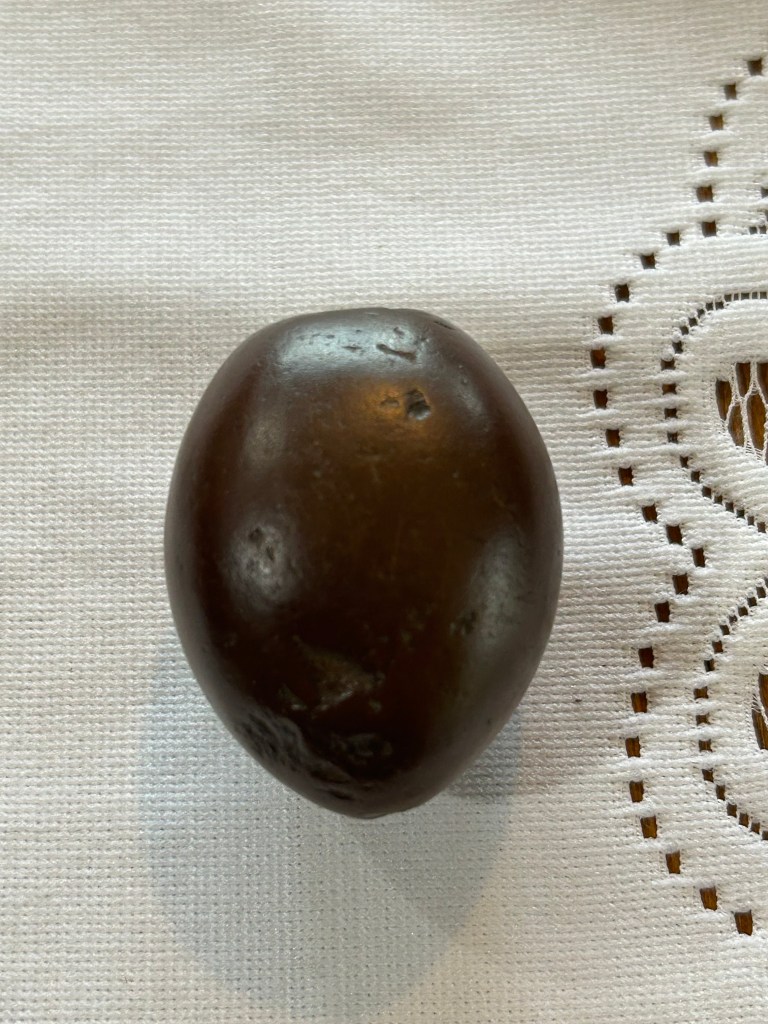
This week’s Timeless Treasure is really a continuation of last week’s–the leather wallet belonging to Bella’s great-great-great-great-grandfather, the American Indian slave who fought in the Mexican War. His wife, Bella’s 4th great-grandmother, was Mary Elizabeth Yates. This egg-shaped rock belonged to her.
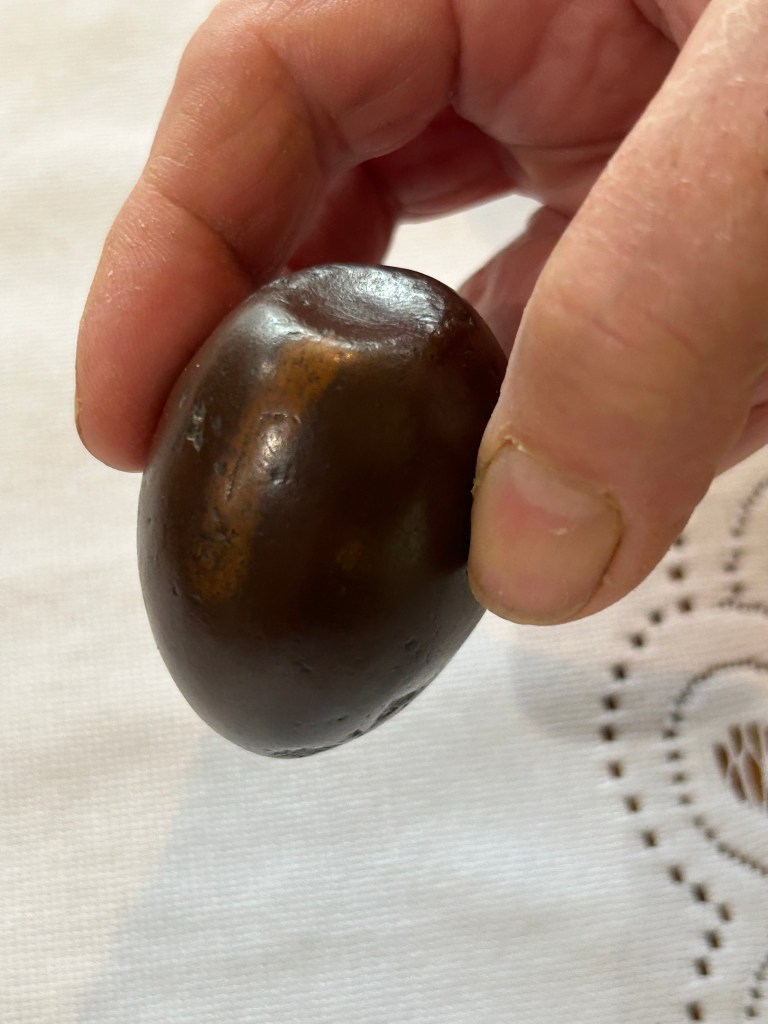
It is one of my earliest memories. My grandfather kept it in a top drawer in an old chest in his bedroom. Frequently, he would pull it out and show it to me and tell this story. I know now, he told me so often because he was afraid that I would forget.
My grandfather would always say that the egg-shaped rock belonged to his grandmother–that she picked it up on the banks of the Cahaba River where they lived in Alabama when she was a little girl. And he would always end the story with–she was a little Indian girl.
I have done extensive research on that branch of my family. Mary Elizabeth’s father was Joshaway Yates, and his wife was Nancy Farrar. It seems that Nancy Farrar was brought to Bibb County, Alabama as an Indian slave of the Farrars from Farrar Island, Virginia. Joshaway, her father, was a Cherokee from Kentucky, according to my grandfather.
I really have no idea what the egg-shaped rock really is. I just know that it is ancient. It undoubtedly belonged to some of the earliest Indians who dwelt in that river bottom along the Cahaba eons before my ancestors arrived.
It is the exact size and shape of a peeled, hard boiled egg. It even has the little dimple in the top!
People always ask you, “If your house caught on fire and you could only grab one thing. What would it be?”
Well for me, I would not have to think twice. It would be my grandfather’s egg-shaped rock.
Mary Elizabeth was born in 1848 in Bibb County, Alabama. So the rock has been in my family over 150 years.

Visit us again at Cozy Kitchen Wood Stove for recipes and other tips for vintage cooking, gardening, and just good ole country living!
And don’t forget to scroll to the bottom of the page and SUBSCRIBE to our BLOG! We post recipes and tips weekly!

One response to “Bella Bakes Cathead Biscuits”
[…] morning while baking her CATHEAD BISCUITS, I remember asking her how much shortening (Crisco) she put, because she had not measured it. She […]
LikeLike