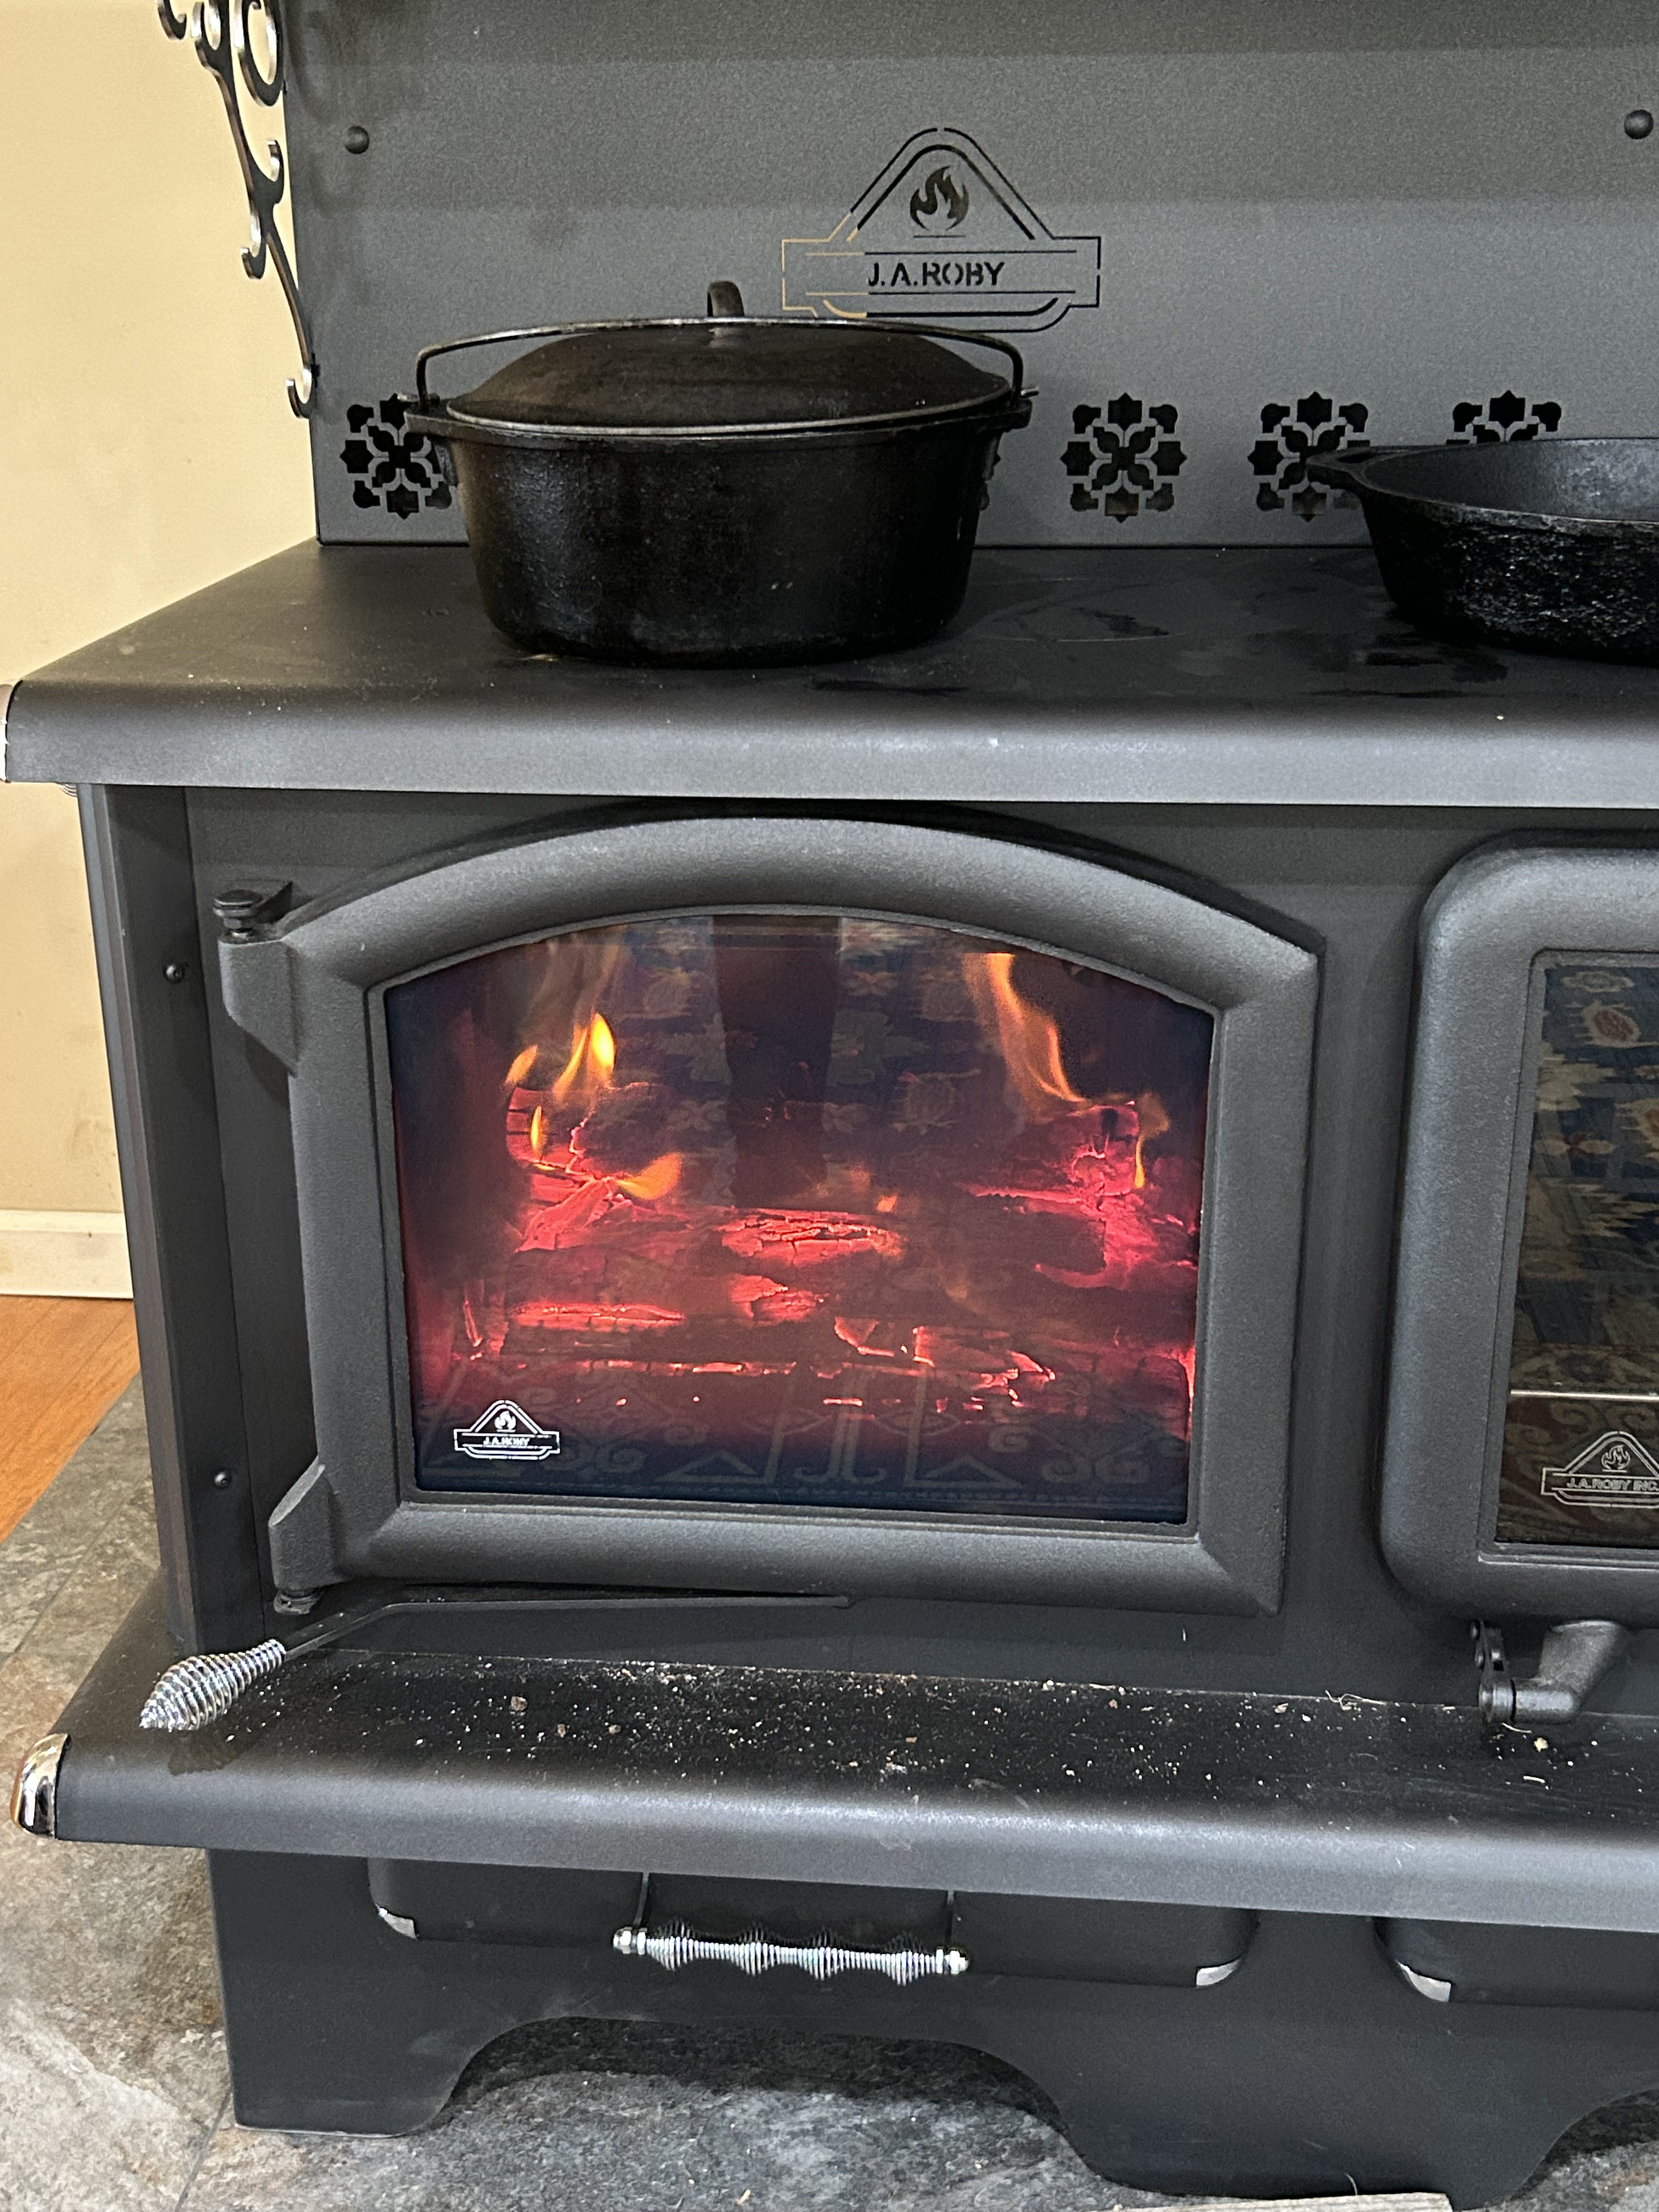

Baked from scratch in a wood stove!
A wood stove friendly recipe!
These are sooo simple! And they taste like they came from a bakery! The dough recipe is included. I use it for everything from bread to dinner rolls to pastry—and it literally takes 5 minutes prep time in a stand mixer.
Cinnamon rolls are one of those old-time favorites that used to intimidate me! They looked so complicated–when actually, they are one of the easiest pastries to make!
Even though my mother and both my grandmothers were fabulous cooks, none of them ever made cinnamon rolls. My friend’s mother did though! I remember when I was 15–back in 1973, my Bible study group made a trip to the Gulf Coast. Lynn’s mother made cinnamon rolls for us to carry along.
There were 10 of us kids in a small Winnebago camper, along with the pastor of the church–and my parents as chaperones. Let me just put it this way–the only way I was getting to go on that trip was if my parents came along!
I will never forget those cinnamon rolls! Everybody was raving over them! But still, it took me 50 years to attempt them on my own. Had I known how easy they were to make, I would never have waited so long.
Bella used a foil pan for these because we were delivering them to one of our church family who has cancer. Her daughter told me that she grabbed one and a cup of coffee as soon as we walked out the door!
If you are not from the south, you may not know about this tradition. If you are sick, everyone brings you food. If you pass away, everyone brings YOUR FAMILY food!
This was actually the second attempt in two days to carry cinnamon rolls to Miss Ann. Company came, and the batch we had made the day before disappeared!
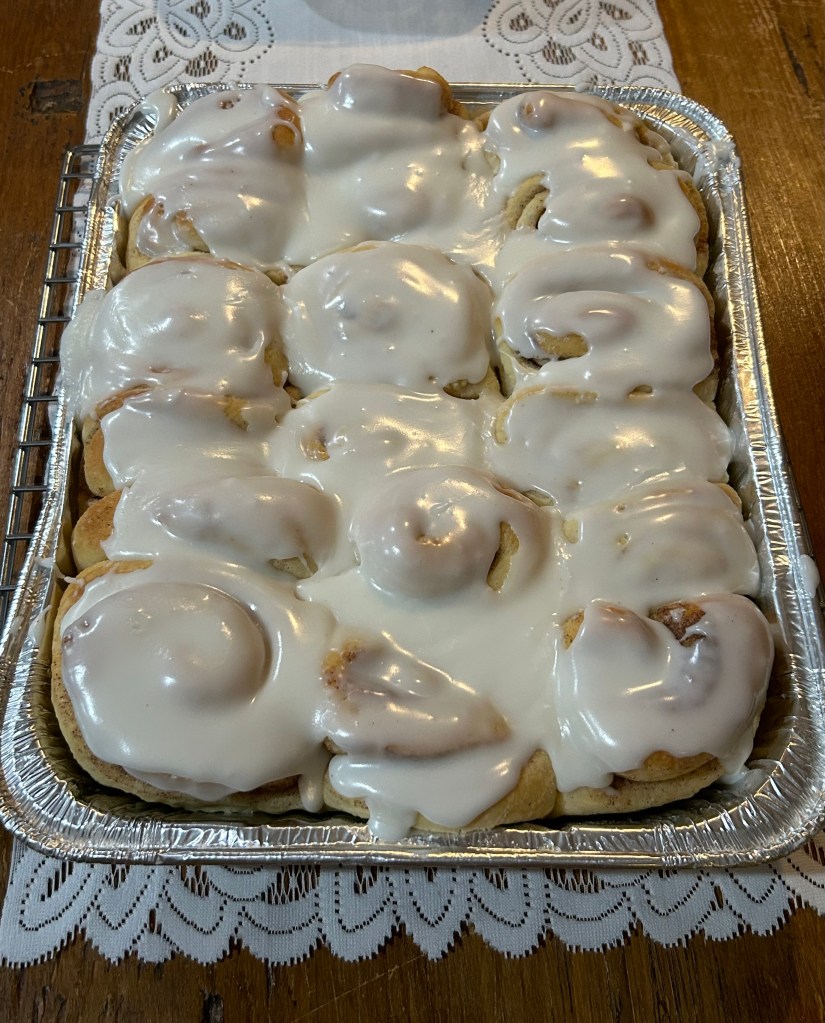
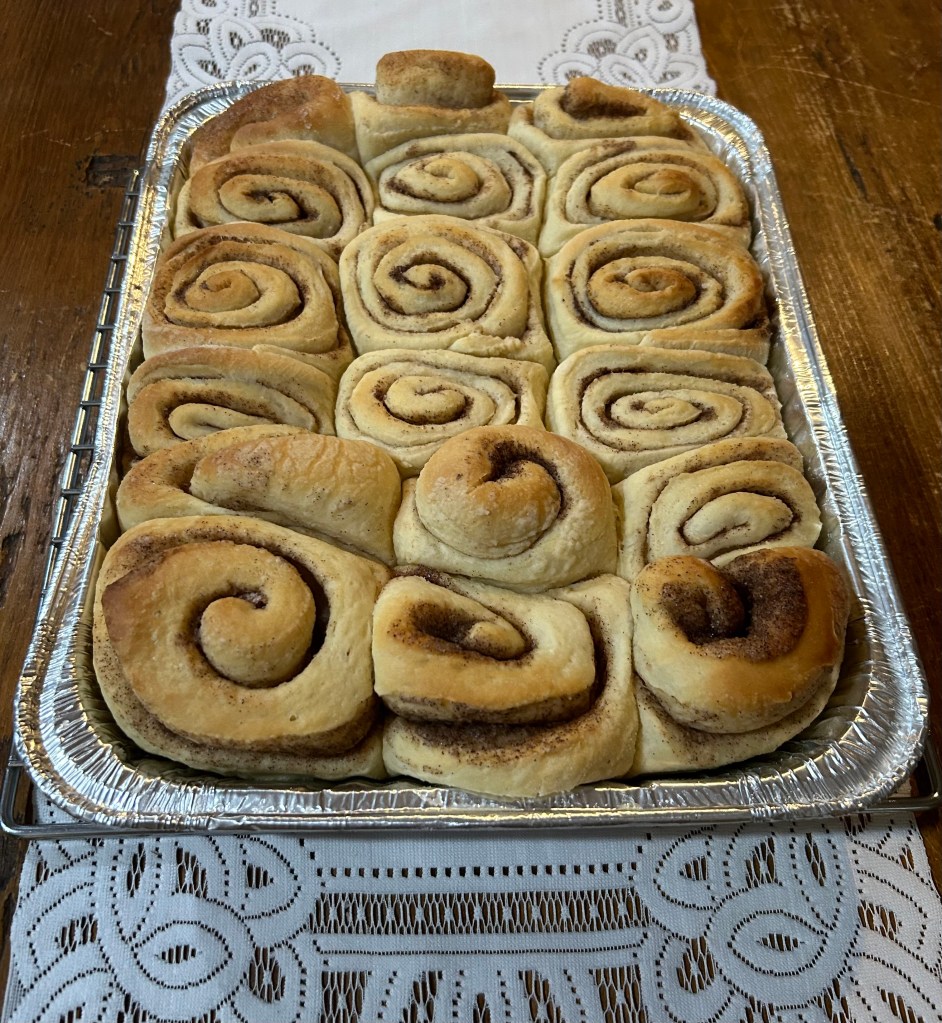
Unglazed version
Tip: If you are going to bake these in a wood stove, build up your fire and get it as hot as you can before you start your rolls. Open all dampers and air intakes. Keep adding wood to the firebox to maintain your heat. You have to have a good bed of red-hot coals.
Cinnamon Rolls
INGREDIENTS:
one batch dough (recipe included at bottom of post) or you can use your favorite dough recipe.
I stick butter
cinnamon and sugar mixed in a shaker (or you can just dust with your hand)
TIP: One recipe of dough will make two pans of cinnamon rolls–24 rolls/ or you can use half to make a loaf of bread.
METHOD:
MELT: a stick of butter in small saucepan.
ROLL OUT: dough until it is about 1/4 inch thick.
BRUSH: butter over entire surface of dough (I spread with the back of a spoon.)
DUST: or shake a good amount of cinnamon mixed with sugar over entire surface of buttered dough. (You can sprinkle sugar and then go back and sprinkle cinnamon directly from you spice bottle–but I like to mix mine in an old shaker.
ROLL UP: dough into a log. (Roll from longest side.)
SLICE: dough into 1 inch circles.
PLACE: circles in a lightly greased baking dish. You can let edges touch. This will give you a nice fat roll.
LET RISE: in pan for 45 min. to 1 hour.
BAKE: at 350 degrees for about 12-15 minutes. Check frequently and when they are golden brown on top, they are done! Don’t overcook!
COOL COMPLETELY BEFORE ICING
ICING:
DUMP: 1 2LB sack confectioners sugar in bowl.
ADD: 3 T. Milk and stir to dissolve.
ADD: 1 T. Milk at a time until you reach desired consistency. Beat well after each addition of milk, because as you beat with wooden spoon, it will get smooth and thin out.
DRIZZLE: on top of cooled rolls.
Ingredients:
- one batch dough (recipe included at bottom of post) or you can use your favorite dough recipe.
- I stick butter
- cinnamon and sugar mixed in a shaker (or you can just dust with your hand)
Tip: One recipe of dough will make two pans of cinnamon rolls–24 rolls/ or you can use the other half to make a loaf of bread!
Method:
- Melt: a stick of butter in small saucepan
- Roll out: dough until it is about 1/4 inch thick.
- Brush: butter over entire surface of dough (I spread with the back of a spoon.)
- Dust: or shake a good amount of cinnamon mixed with sugar over entire surface of buttered dough. (You can sprinkle sugar and then go back and sprinkle cinnamon directly from you spice bottle–but I like to mix mine in an old shaker.
- Roll up: dough into a log. (Roll from longest side.)
- Slice: dough into 1 inch circles.
- Place: circles in a lightly greased baking dish.
- Let Rise: in pan for 45 min to 1 hour.
- Bake: at 350 degrees for about 12-15 minutes. Check frequently and when they are golden brown on top, they are done! Don’t overcook!
Icing
Tip: COOL ROLLS completely before you ice them or the icing will soak into the pastry.
Ingredients: (for 24 rolls)
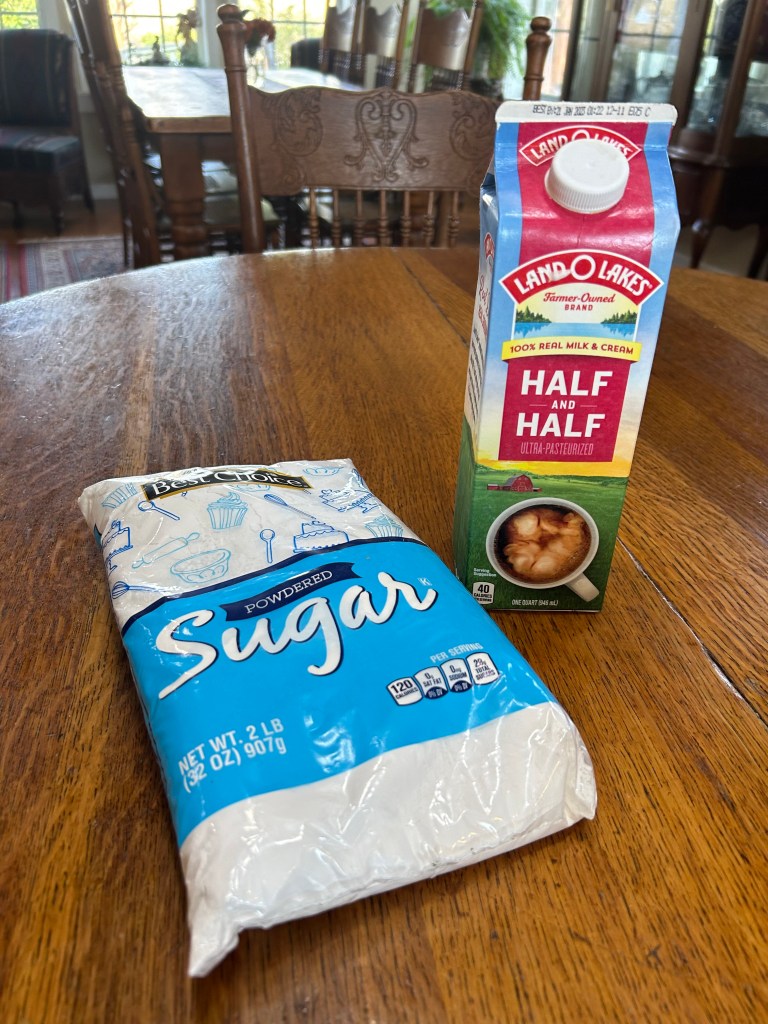
- 1 bag powdered sugar (2 LB)
- Half and Half (I would not buy Half and Half just for this. If you do not have any in refrigerator, just use milk.
Method
- Dump: powdered sugar in bowl.
- Add: 3T. Half and Half
- Stir: Sugar will start to dissolve
- Keep Adding: Half and Half about a T. at a time and stirring until the icing is the consistency that you want. Be careful, it is easy to add too much milk and thin your icing down too much. I like it thick!
Easy Dough
5 1/2 c. Bread flour (The brand makes a huge difference. I use White Lily or King Arthur)
1 1/2 t. Kosher salt
1 1/2 T. yeast1 1/2 T. yeast
1/3 c. sugar (heaping)
2 T. butter
1 c. water
1 c. milk
METHOD:
PUT: 2 T. butter in small saucepan and melt on low heat.
ADD: 1 c. milk and 1 c. water to pan. (total 2 c. liquid)
LEAVE: on eye until liquid is barely warm to the touch. If it is too hot, it will kill your yeast.
REMOVE: from heat.
SPRINKLE: yeast over liquid and allow to dissolve. You may have to stir a little before you add to your flour.
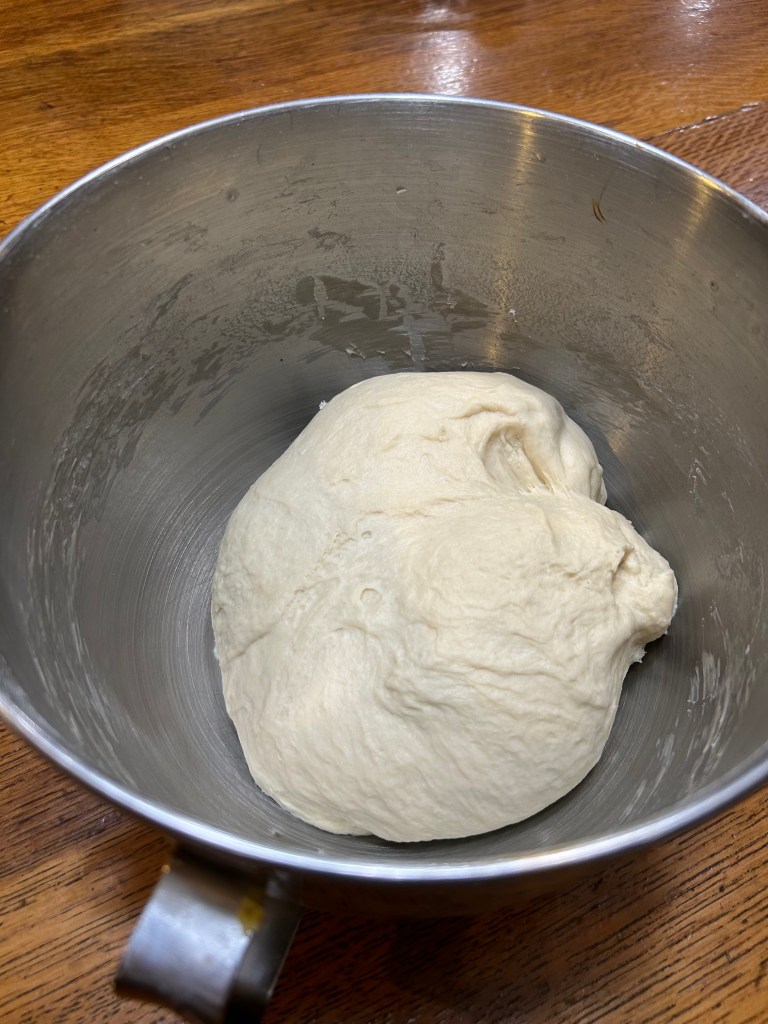
IN BOWL OF YOUR MIXER: ADD: 5 1/2 c. bread flour, 1 1/2 t. salt, and 1/3 c. sugar.Put: dough hook on mixer.
MAKE A WELL: in flour.
POUR: liquid in well with mixer running on speed 2. Pour slowly. The dough will form a ball. This should take a minute or two.
MIX: for 10 minutes on speed 2 after the dough has formed a ball.
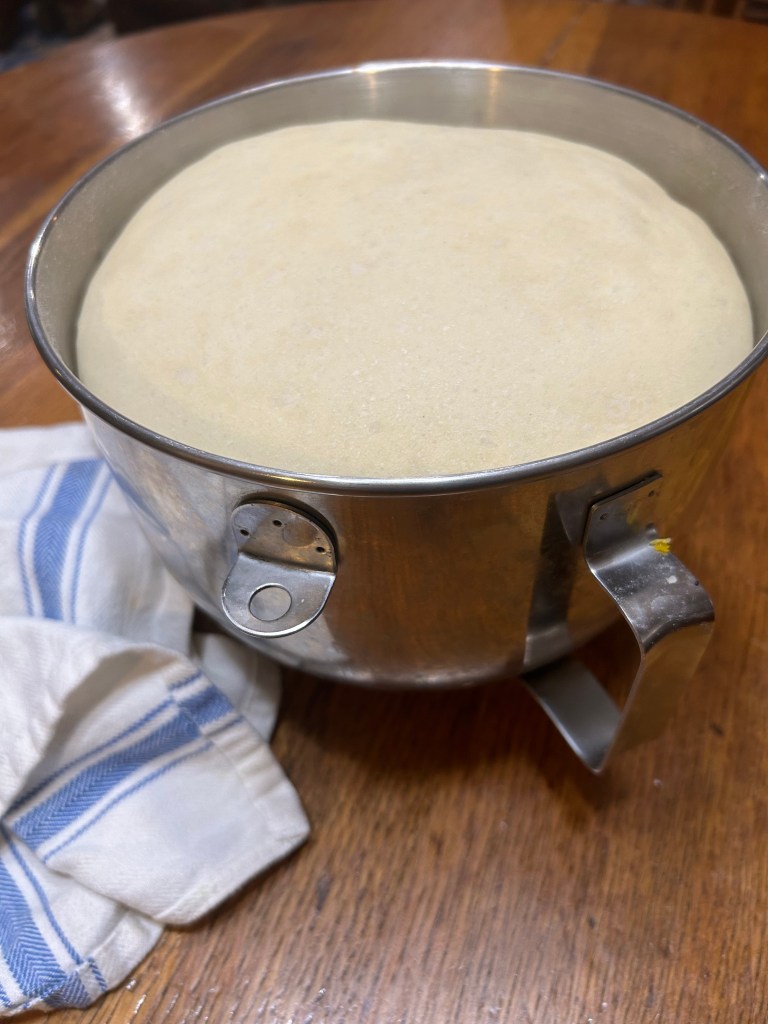
COVER: dough with a clean dish towel and let rise until double. I let mine rise to top of mixing bowl. Do this right in your mixing bowl–no need to transfer to a greased bowl! Will take from 1-2 hours depending on temperature and other factors.
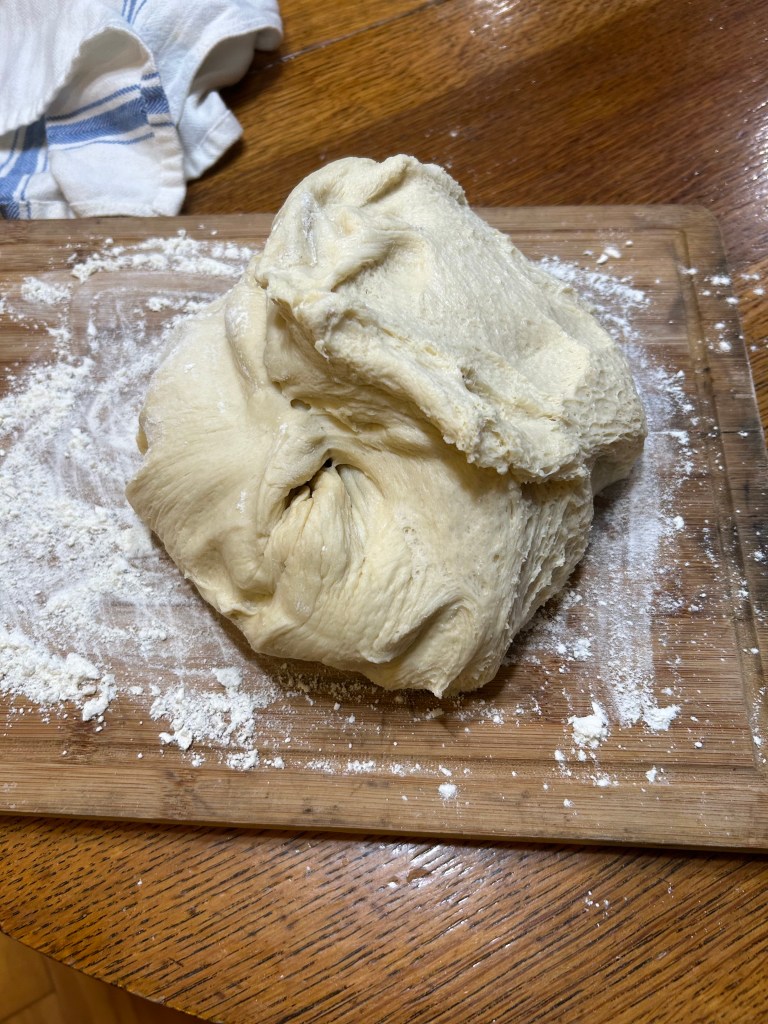
PUNCH DOWN: the dough gently. You are not trying to kill it! I used to do this. You want to keep as many air bubbles in the dough as you can. Just punch down enough to gently rake it out of mixing bowl onto a floured board. (You can flour a paper towel.)
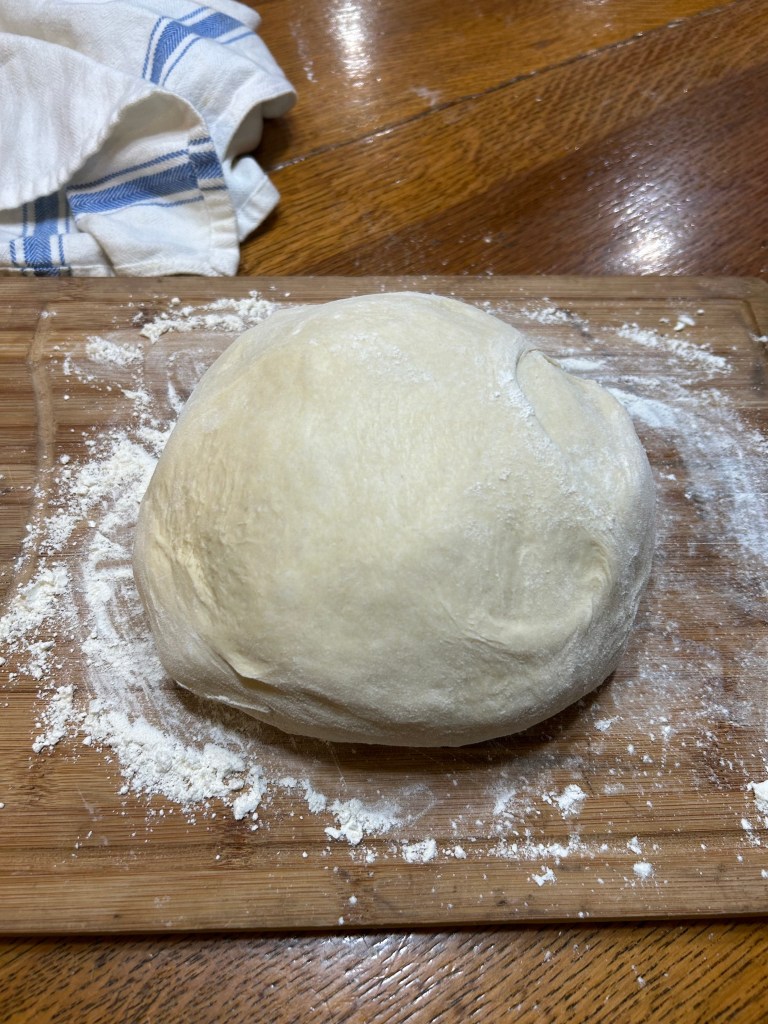
FORM: dough into a smooth ball.
CUT: dough in half with a large knife.
At this point you have a CHOICE: 1) You can put the dough into ziplock bags and refrigerate until you are ready for it. OR 2) Let dough rest on board for 5-10 minutes, roll out, and continue to make your cinnamon rolls. The rolls will need to rise in your pan for 45 min. to 1 hour before you bake.
If you refrigerate the dough, you will need to leave it on the counter for an hour or two to bring it to room temperature before you roll it out. After you have rolled out the dough, buttered it, sifted on sugar and cinnamon, rolled it up, cut out your rolls and put them in the pan, you will need to let them rise for 45 min to 1 hour before you bake.
If you chose to make a loaf of bread with half, grease your bread pan and form 1/2 the dough into a loaf. Put in pan and let rise 45 minutes to 1 hour before you bake. The second half should make 12 cinnamon rolls. The entire batch of dough will make 24 rolls.
The Dough
You will NOT want to Lose this recipe!
Ingredients:
- 5 1/2 c. Bread flour (The brand makes a huge difference. I use White Lily or King Arthur)
- 1 1/2 t. Kosher salt
- 1 1/2 T. yeast
- 1/3 c. sugar (heaping)
- 2 T. butter
- 1 c. water
- 1 c. milk
Method:
- Put: 2 T. butter in small saucepan and melt on low heat.
- Add: 1 c. milk and 1 c. water to pan. (total 2 c. liquid)
- Leave: on eye until liquid is barely warm to the touch. If it is too hot, it will kill your yeast.
- Remove: from heat.
- Sprinkle: yeast over liquid and allow to dissolve. You may have to stir a little before you add to your flour.
- In bowl of your mixer: ADD: 5 1/2 c. bread flour, 1 1/2 t. salt, and 1/3 c. sugar.
- Put: dough hook on mixer.
- Make a well: in flour.
- Pour: liquid in well with mixer running on speed 2. Pour slowly. The dough will form a ball. This should take a minute or two.
- Mix: for 10 minutes on speed 2 after the dough has formed a ball.
- Cover: dough with a clean dish towel and let rise until double. I let mine rise to top of mixing bowl. Do this right in your mixing bowl–no need to transfer to a greased bowl! Will take from 1-2 hours depending on temperature and other factors.

This is what the dough looks like after rising.
- Punch Down: the dough gently. You are not trying to kill it! I used to do this. You want to keep as many air bubbles in the dough as you can. Just punch down enough to gently rake it out of mixing bowl onto a floured board. (You can flour a paper towel.)
- Form: dough into a smooth ball.
- Cut: dough in half with a large knife.

At this point you have a CHOICE: 1) You can put the dough into ziplock bags and refrigerate until you are ready for it. OR 2) Let dough rest on board for 5-10 minutes, roll out, and continue to make your cinnamon rolls. The rolls will need to rise in your pan for 45 min. to 1 hour before you bake.
I refrigerated mine over night, and Bella made the cinnamon rolls the next day. If you refrigerate the dough, you will need to leave it on the counter for an hour or two to bring it to room temperature before you roll it out. After you have rolled out the dough, buttered it, sifted on sugar and cinnamon, rolled it up, cut out your rolls and put them in the pan, you will need to let them rise for 45 min to 1 hour before you bake.
If you chose to make a loaf of bread with half, grease your bread pan and form 1/2 the dough into a loaf. Put in pan and let rise 45 minutes to 1 hour before you bake. The second half should make 12 cinnamon rolls. The entire batch of dough will make 24 rolls.
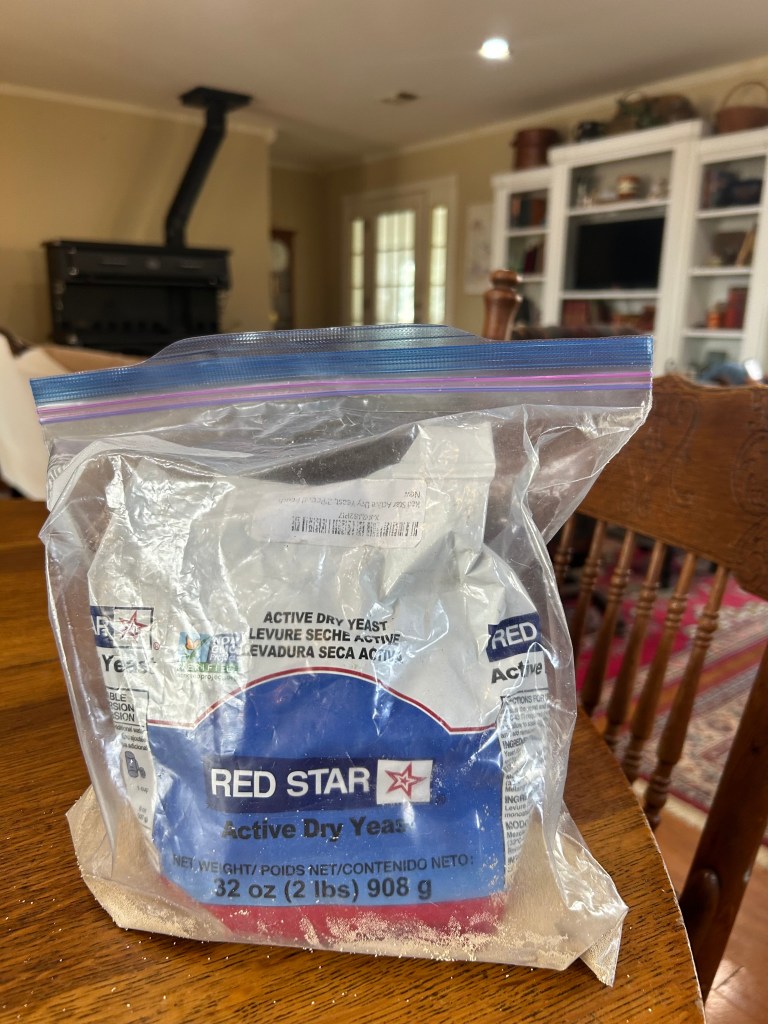
Tip: (for storing yeast)
I store my yeast in a ziplock bag in the refrigerator (not the freezer). My mother-in-law bought me a huge bag of yeast when my husband retired from the Coast Guard and we moved home to the farm.
I was teaching school in Oxford, Mississippi–commuting almost 2 hours a day, and I did not have much time to bake. I did occasionally make a loaf of bread.
I retired after 20 years and started baking fairly regularly. I was still using yeast out of that same bag! It had been in my refrigerator for 23 years, and it was still GOOD! MY dough would rise as well as when the yeast was new!
I ordered another huge bag off Amazon last year, and I am storing it the same way. This bag is almost empty though! Will never make it 20 years!
Weekly Timeless Treasure
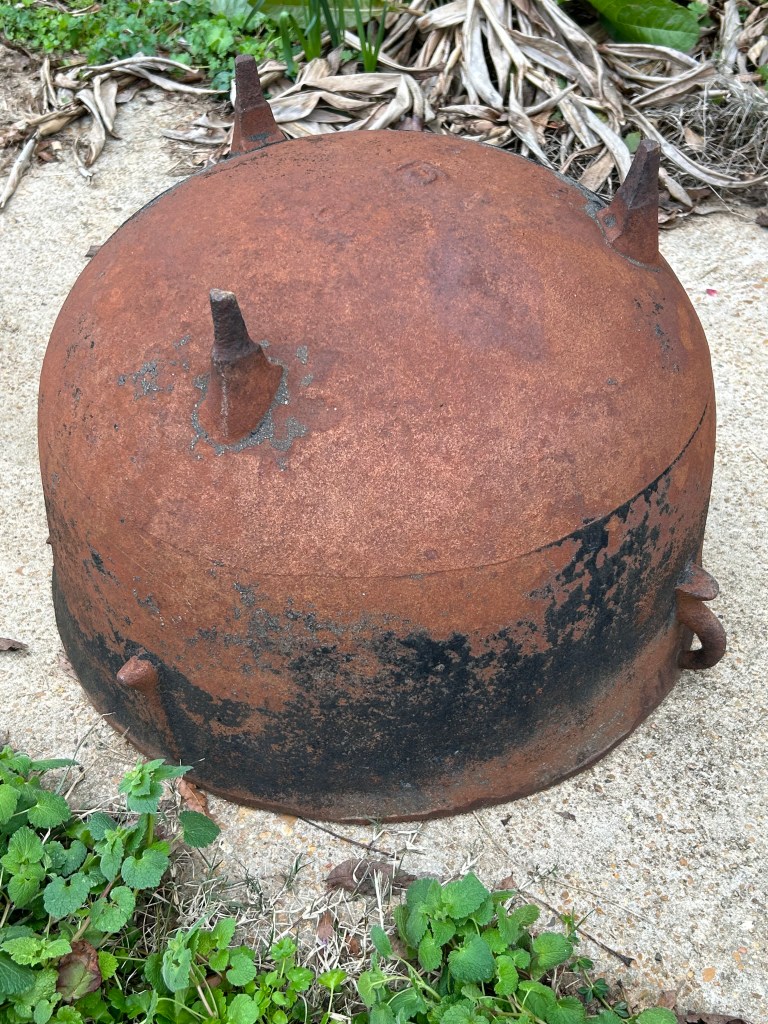
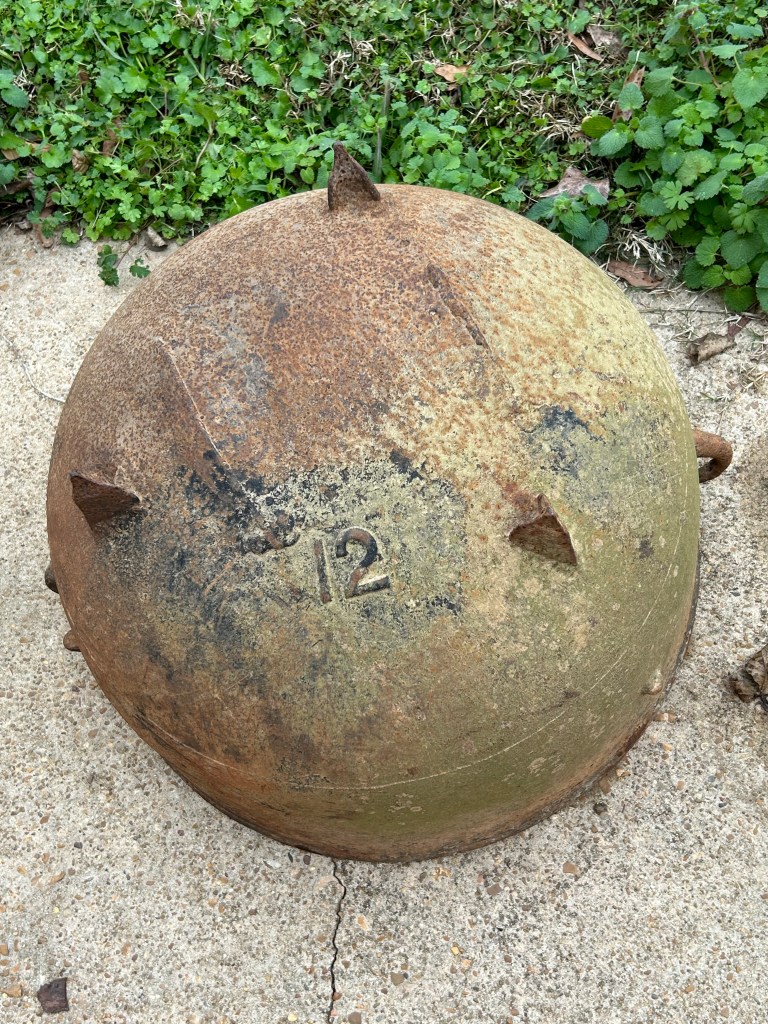
This week’s timeless treasure is a black washpot–actually two washpots. Each belonging to one of my grandmothers.
The larger one, a 15 gallon, belonged to my grandmother who lived here at the farm. She kept it at the corner yard of the old farm house, and she washed clothes in it once a week for as long as I can remember.
Nanny continued washing clothes in this manner until well into the 1970s. She said that washing machines did NOT get the clothes clean. Now that I am actually living on the farm, I know exactly what she meant! At the time though, I thought she had lost her mind!
She would build a big fire under the washpot and bring her water to a rolling boil. And in the clothes would go. She used a walking cane to punch the clothes down, boiling them for about 10 minutes before she lifted them out with the end of the walking stick and dropped them into a galvanized tub of hot soapy water.
I can still remember the big, orange box of TIDE washing powder. Nanny used it to wash dishes, too. But it made the dishes super slick, and if you weren’t careful, they would slip out of your hand and break!
Her rub-board was positioned in the galvanized tub, and she would rub and scrub until every last stain was gone. When the clothes were clean, she would wring them out and drop them into a second tub filled with clean rinse water–rinse them well-wring them out again, and hang them on the line to dry.
And ohhhh, they smelled so good!
The second pot is a 12 gallon, and it belonged to my mother’s mother. Memaw moved to Water Valley in the late 1950s and ran a little country grocery store that belonged to my dad. She kept the pot turned upside down under the back of her house, and I never actually saw her use it. But I treasure both of them!
I decided to refurbish the washpots and bring them in the house to use for firewood storage. The method I used was a complete flop. I do NOT know why I decided to listen to a random stranger on Facebook and not follow my grandmother’s instructions on how to clean cast iron!
The method I tried used vinegar. The tutorial said to spray it on–wait about 30 minutes–scrub with steel wool–rinse and repeat. Well, I rinsed and repeated all afternoon, and when I had finished scrubbing, I could tell very little difference in the appearance of either pot.
I remember asking my grandmother how to get the black gunk (carbon build-up) off of a cast iron skillet. She told me to burn it off.
I have decided to use them as is, and I am actually glad they did not come out looking like brand new. If I decide to clean them further, next spring I will build a fire in the yard and let it burn down to coals–and burn off the carbon.
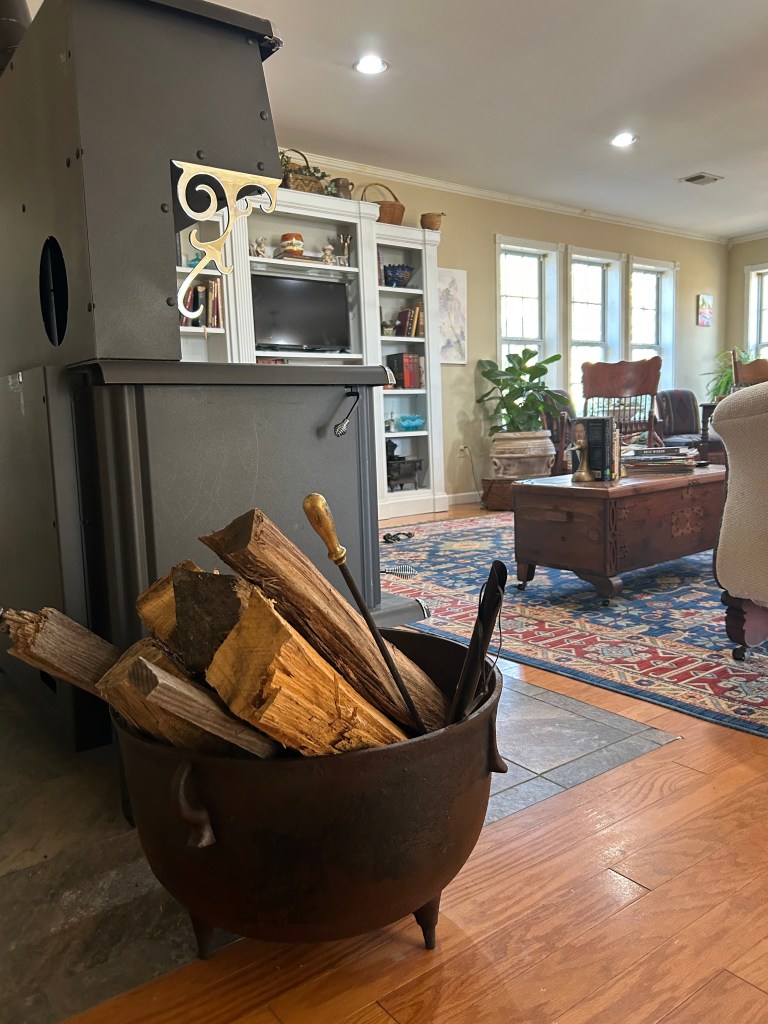
And YES! This firewood is too large for a wood cook stove! My husband was used to cutting for our wood burning heater at the old farmhouse. Next year we will cut half this size. About a 2-3 inch diameter stick will get the fire much hotter!
