
at Cozy Kitchen Wood Stove
Pizza crust from scratch–in 5 minutes! Then just let it rise in the same mixing bowl for 1 hour and you are set!
UPDATE: This update is not reflected in the printable version. Bella and I have started dividing the dough into 4 equal pieces rather than 2. This produces a thinner crust that bakes perfectly! If you do not need 4 pizzas, you can save 2 or 3 for later.

Pizza Crust from scratch! Bella has been wanting to try this for so long. I was reluctant, but it turned out to be sooooo simple! We will definitely do this again!
Bella put all of the ingredients in the bowl of our Kitchen Aid mixer and she had pizza dough in 5 minutes…start to finish!
I love my Kitchen Aid mixer! Can’t believe I waited 40 years to buy one. If you are considering purchasing a Kitchen Aid, I am providing several links for you. As an Amazon Associate, I earn from qualifying purchases. This means, if you click on a link on my blog and make a purchase, I will receive a small commission at no extra cost to you. THANK YOU for helping me start a college fund for Bella!
KITCHEN AID MIXER (6-Quart Professional–attachments sold separately for noodles, ice cream etc.)
KITCHEN AID MIXER (5-Quart Tilt head / 20 color choices) This one is very popular.
KITCHEN AID MIXER (7-Quart Pro Line)


You can relax with a cup of coffee and a book while you wait for the dough to rise for one hour. And then it comes together quickly.
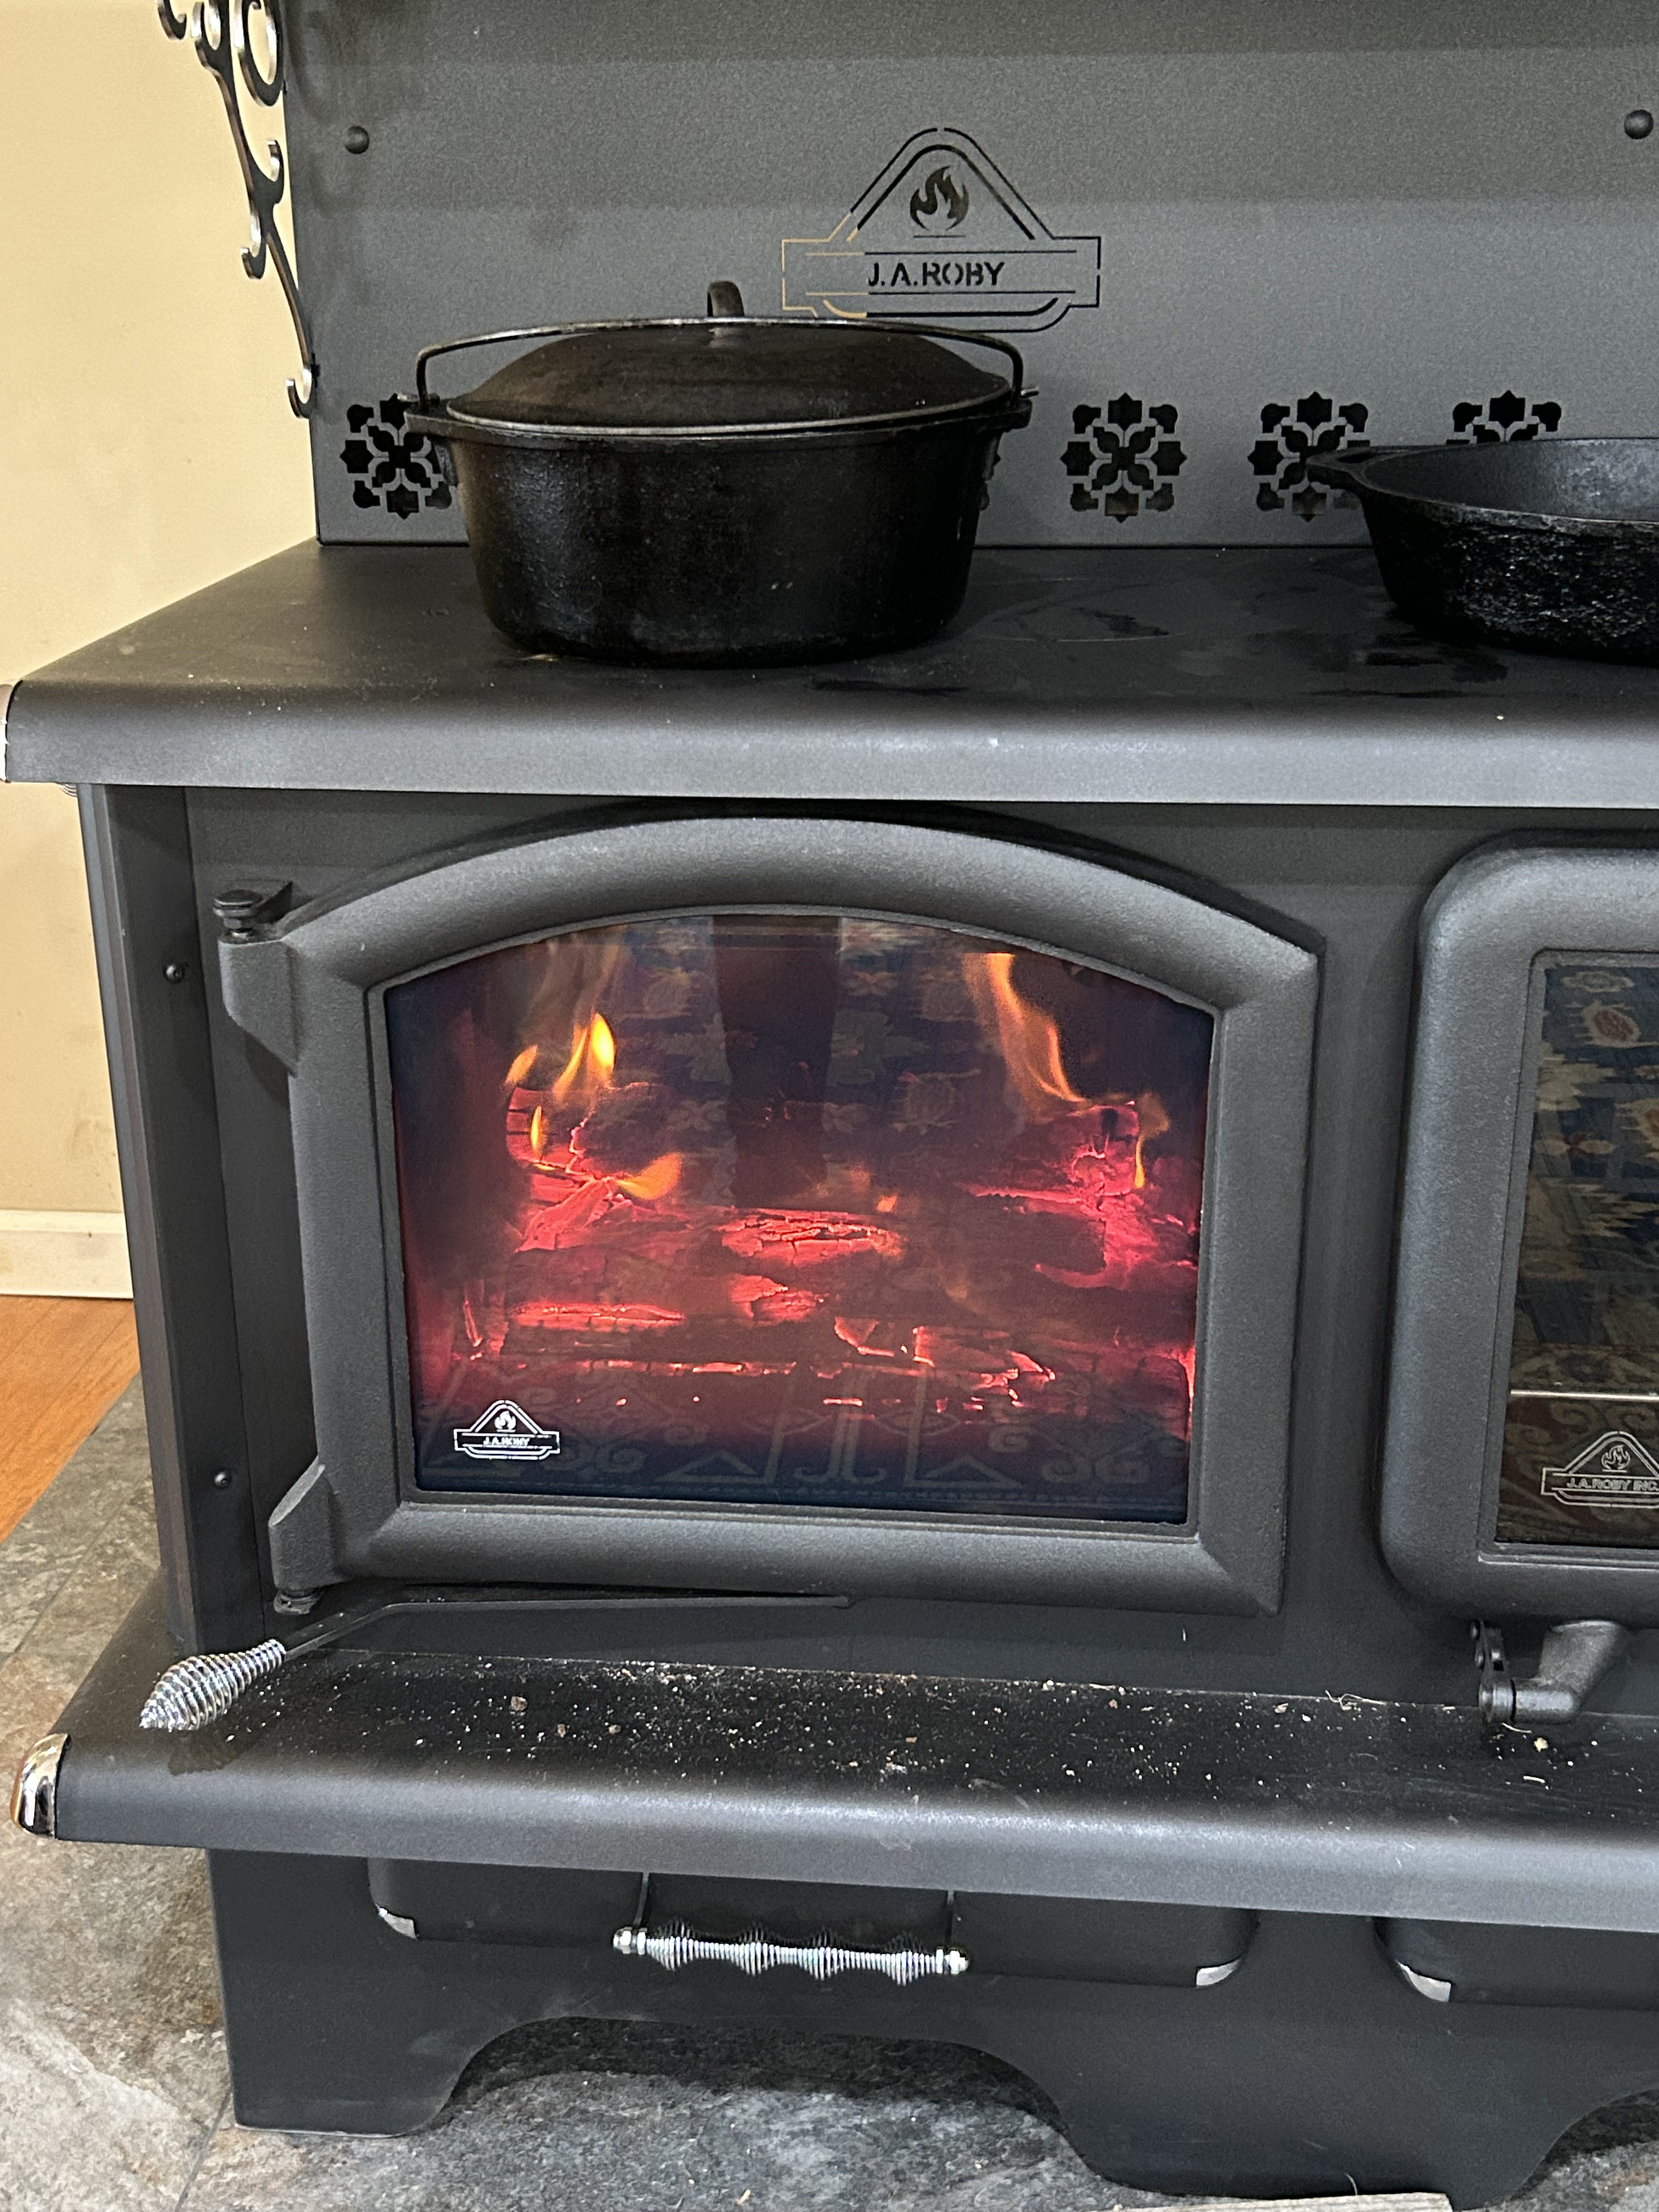
We had planned to bake this pizza in our wood cook stove. Bella has really become proficient at baking in this beast! But, when we had the pizza ready to go in the oven, we noticed the recipe called for 500°! We already had the house up to 88° because we had been baking cakes all day, and our wood stove was only at 400°.
Decision time! We could try the 400° oven or heat up the electric range. The thermometer on our wood oven goes up to 800°, but I wasn’t about to add more wood to increase the temperature! Definitely time for our outdoor kitchen here in the Southland!
We were starving. Bella and I had been baking all day, and we meant for this to be the best homemade pizza we could possible make.
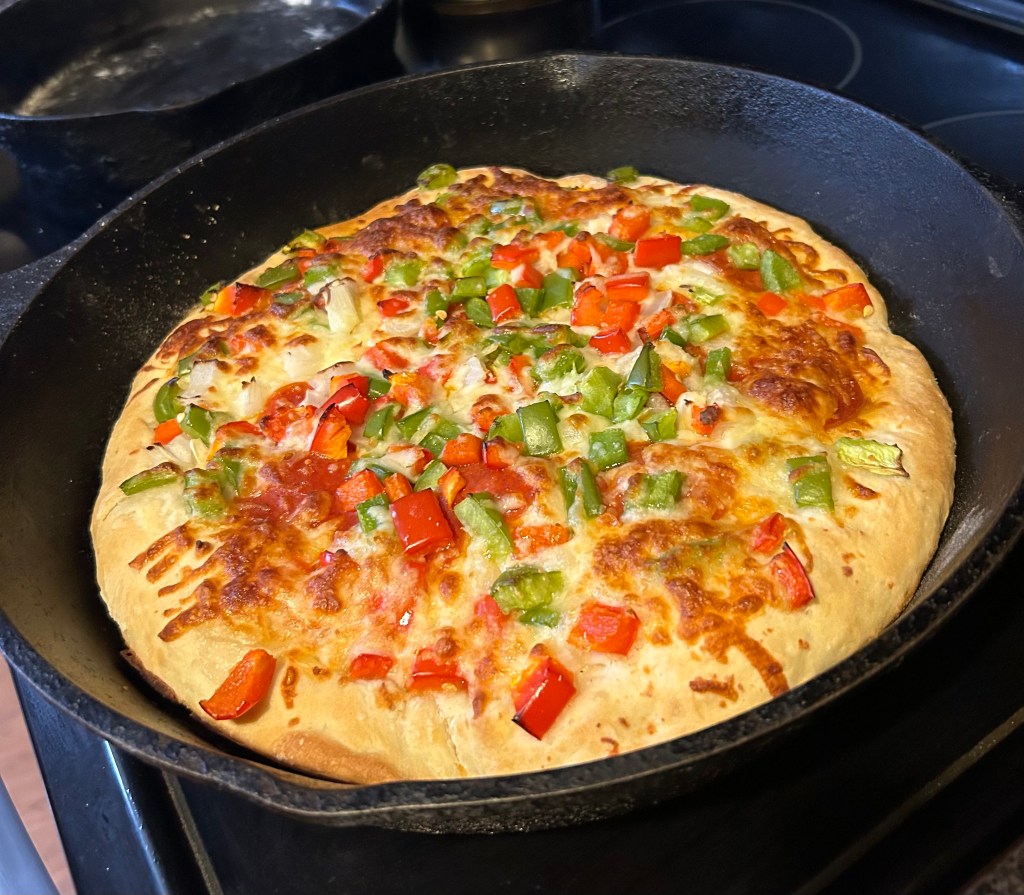
So, electric oven it was. It turned out fabulous! The crust was perfect…the bottom brown and a little crunchy–the way a perfect pizza crust should be!
My husband and I worked in a pizza shop while we were in college to help make ends meet. His job was baking the pizzas. Mine was chopping onions. Definitely crying times! You should try chopping a 50 pound bag of onions some day! The manager gave me a glass of sweet tea to sip through a straw. Believe it or not, it worked. Stopped the tears completely!
Some nights my husband would have 24 pizzas in the oven at one time! The perfect pizza bottom, according to our manager, should look like a saltine cracker. I am certain Bella’s pizza crust would have passed his inspection!
We plan to bake these a lot over the summer with fresh veggies from Bella’s kitchen garden. It will be a quick and easy healthy meal. I keep a big economy bag of shredded mozzarella cheese in the fridge at all times. So this is something I can throw together in no time with ingredients that I have on hand. Our farm is 12 miles from the nearest town, so this is important!
Choose different vegetables for a different look and taste! Of course, you can add sausage, hamburger, or pepperoni if you like, but I LOVE a pizza loaded down with lots of cheese and fresh vegetable toppings.
HINT: If you are having trouble getting your kiddos to eat vegetables, this might be a solution. Don’t add a lot of different vegetables at one time. Start with just one or two. As they begin to eat these, you can add a new one occasionally. Let them sprinkle the vegetables over the top themselves. Be creative!
Our local pizzeria serves Greek style pizza and we love it! No sauce! If you prefer, you can add your favorite pizza sauce on top of the dough before you add the cheese and other toppings.
We made the traditional Greek pizza with no sauce! It was yummylicious!
Easy PIZZA Dough
1 T. yeast
1 T. sugar
4 1/2 C. all-purpose flour or bread flour
1/4 C. olive oil
pinch salt
METHOD:
PREHEAT oven to 500°.
ADD all ingredients at one time to bowl of a stand mixer and mix until just combined (hook attachment).
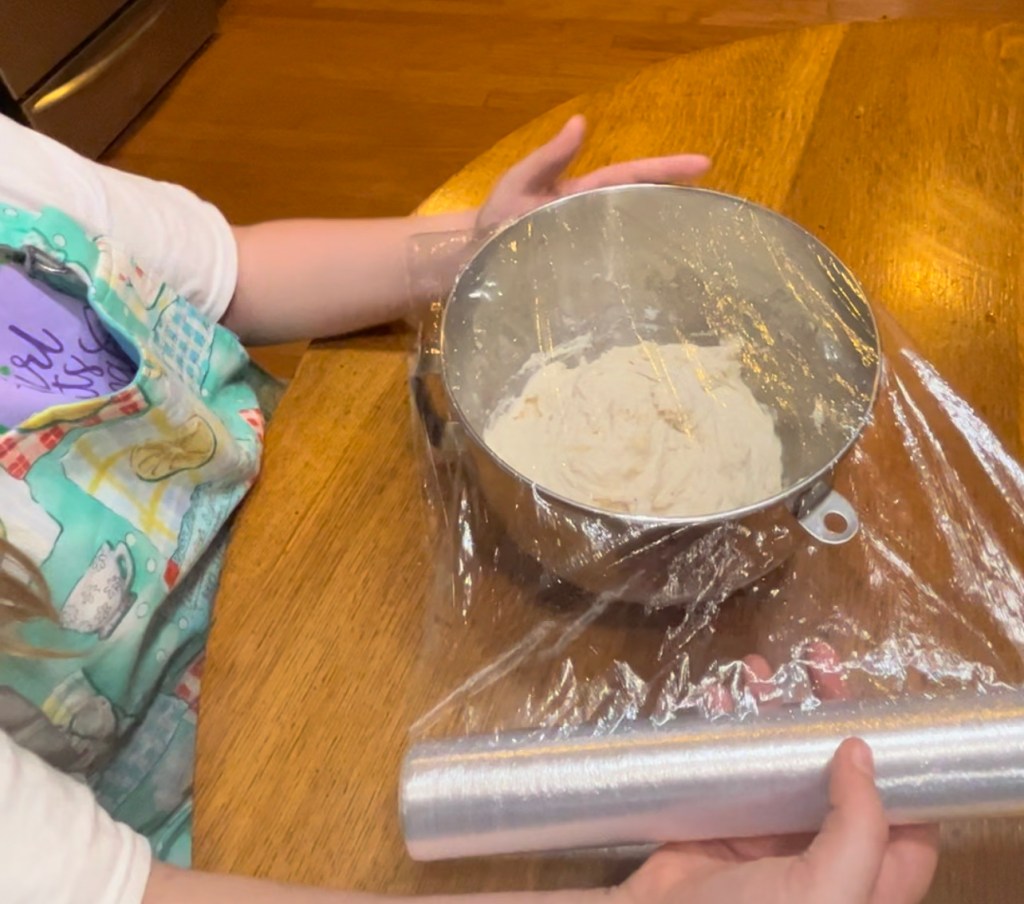
COVER dough with cling wrap or clean cloth and let rise 1 hour.
DIVIDE dough into 2 balls and let rest 15 minutes.
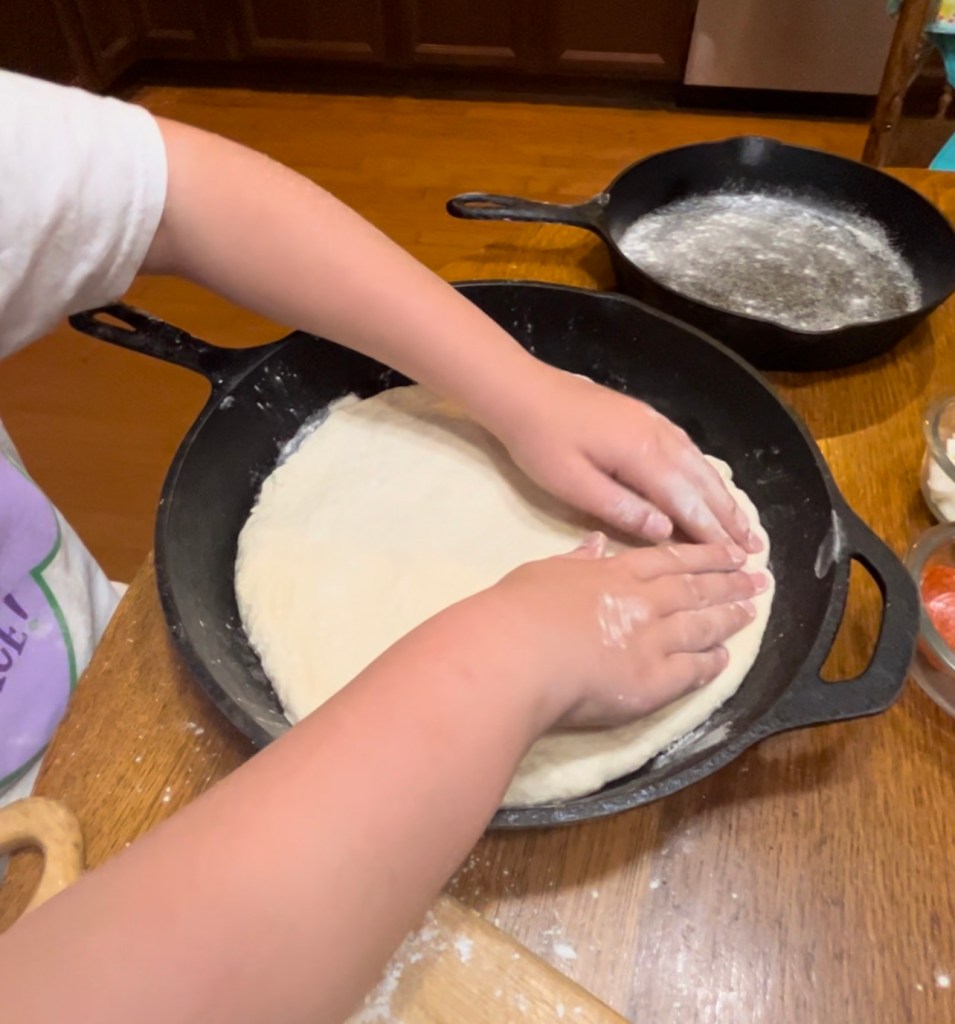
FORM each ball into a 12 inch pizza dough shell. ( We used 2 large black cast iron skillets.)–We actually divided the dough into two unequal pieces–a ball of 2/3 of the dough went into our large 13″ skillet. The left over ball of 1/3 of the dough went into a 10″ skillet. This worked out perfectly! If you do not have a cast iron skillet, a cookie sheet dusted with cornmeal will work. (No grease! Just dust with cornmeal.)
ADD cheese and toppings.
BAKE at 500° for 10 minutes.
Brought to you by COZY KITCHEN WOOD STOVE!

Ingredients:
- 1 3/4 C. Luke warm water–(barely warm to the touch)
- 1 T. yeast
- 1 T. sugar
- 4 1/2 C. all-purpose flour or bread flour
- 1/4 C. olive oil
- pinch salt
Method:
- Preheat oven to 500°.
- Add all ingredients at one time to bowl of a stand mixer and mix until just combined (hook attachment).

3. Cover dough with cling wrap or clean cloth and let rise 1 hour.
4. Divide dough into 4 equal balls and let rest 15 minutes
5. Press each ball into a cast iron skillet dusted heavily with corn meal. (We used a 12 inch skillet and a 10 inch skillet and froze the remaining 2 pieces of dough to use later.) You could make two 12 inch pizzas if you have two skillets that large. I only have one 12 inch skillet. This worked out perfectly! If you do not have a cast iron skillet, a cookie sheet dusted with cornmeal will work. (No grease! Just dust with cornmeal.). You may have to work to get the dough pressed all the way to the edge, but keep working, it will relax and cover the entire bottom of the skillet and come up the side just a little to form an outer crust.
6. Add cheese and toppings.

7. Bake at 500 degrees 10 minutes. Check the bottom. It is done when the bottom is lightly browned and resembles a saltine cracker.

This was so simple! We can’t wait for the kitchen garden to come in! Homemade pizza with fresh garden veggies will definitely be on the table a lot this summer here at Cozy Kitchen Wood Stove!
If you have been considering purchasing cast iron cookware, I am providing a couple of links here. I recommend the LODGE brand. Most of my cast iron skillets are antiques handed down by my mother and grandmothers. I do have several LODGE pieces, and they cook just as well as my vintage ones. Not all cast iron cookware is created equal! LODGE cast iron will last a lifetime and you can hand it down to your children and grandchildren. It is made in the USA.
As an Amazon Associate, I earn from qualifying purchases. This means, if you click on a link on my blog and make a purchase, I will receive a small commission at no extra cost to you. THANK YOU for helping me start a college fund for Bella!
10 INCH CAST IRON SKILLET ( LODGE–I use this for pizzas, 8 biscuits, frying chicken and pork chops, sautéing vegetables, frying eggs…the list goes on!)
12 INCH CAST IRON SKILLET (LODGE–I use this for large pizzas, cooking for guests, etc. )
CAST IRON DUTCH OVEN (LODGE–5-Quart–I use this for pot roast, stews, soups, spaghetti sauce, etc.)
CAST IRON CASSEROLE PAN (lODGE– 9 X 13 inch high side walls)


Weekly Timeless Treasure

This week’s Timeless Treasure is a gift from a dear friend. She knew that Bella and I were collecting antique enamelware to decorate the area behind Cozy Kitchen’s wood cook stove, so she brought this pitcher to us yesterday!
It is very special! My friend’s husband was a fighter pilot, and when they were first married, he was stationed in England. She told me that they did not have a shower there, and that when she shampooed her hair, she used this pitcher to pour water over her head to rinse it. So many of our luxuries we take for granted!
I am truly blessed to have such a dear friend! Friends and family are the only true Timeless Treasures! Treasure each moment that you get to spend with them.
We had such a special day yesterday. She brought this pitcher as a gift. We then walked up the hill to where the muscadines vines are trellised. I pruned the vines, and she took the trimmings and made 12 wreaths. We talked and laughed as we worked, and it was such a beautiful, warm, springlike day.
I had a huge pot of vegetable–sausage soup made/ keeping hot on the stove. When we got back to the house, we made a skillet of hot corn pone and a pot of coffee. She had brought homemade sugar cookies. The guys beat us at cards, but hey, you can’t win ’em all! Such a special day!
I found a link to a similar pitcher if you are drooling over this one! As an Amazon Associate, I earn from qualifying purchases. This means, if you click on a link on my blog and make a purchase, I will receive a small commission at no extra cost to you. THANK YOU for helping me start a college fund for Bella! FARMHOUSE ENAMEL PITCHER (same size as my vintage one–almost identical)

Visit us again at Cozy Kitchen Wood Stove for recipes and other tips for vintage cooking, gardening, and just good ole country living!
And don’t forget to scroll to the bottom of the page and SUBSCRIBE to our BLOG! We try to post recipes and tips weekly!
