
Are you wondering why your squash plant is blooming its heart out, and there are NO baby squash? Well, you aren’t alone. But the answer is so simple.
I have been growing squash for 25 years, 55 if you count the time I spent in the garden with my grandmother, and I just learned this! You would think it would be common knowledge!
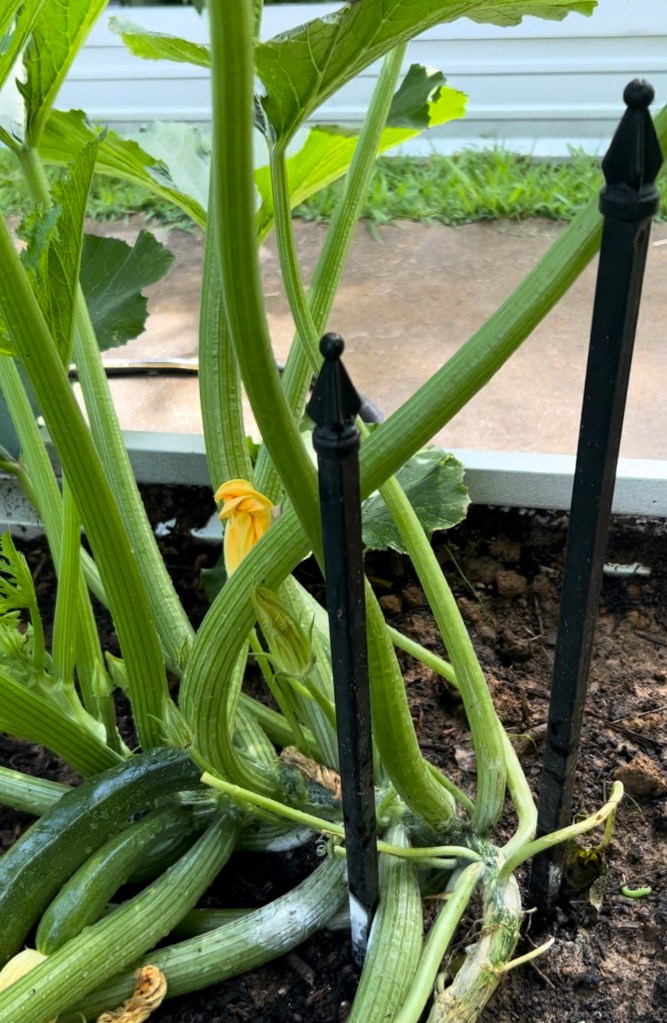
Squash have male and female blooms. The male flowers usually show up first. The male flower will NEVER produce a squash–only the female flower.
And yes, there is an easy way to tell them apart. The male flower has a blossom that looks like it is just stuck right on the end of a long stem. Its sole purpose is to pollinate the female flower. Here is a picture of a male flower below. If you look closely, you can see the bare stem where another male flower has fallen off. I do not see a female flower in this entire image. All male flowers.

The female flower will have a swollen stem right below the blossom. This swollen stem will produce a squash. No matter how tiny and immature your flower is, if it is a female flower, you can see the little bulbous part that will become your squash right below the blossom. Here is a picture of two female flowers.

These flowers and baby squash are actually very tiny and immature–not much bigger than a match stem. If you see a flower with a long slender stem and no swelling beneath, it will never produce a flower no matter how long you wait and hope.
Something else that I have noticed…it seems that all of my male flowers are on one side of the plant, and the female flowers are produced on the opposite side. Not sure if this is just a coincidence.
If you have squash plants, check your flowers. If you find only male flowers on one side and female flowers on the opposite side, please leave a comment on this post. My curiosity is stirred up!
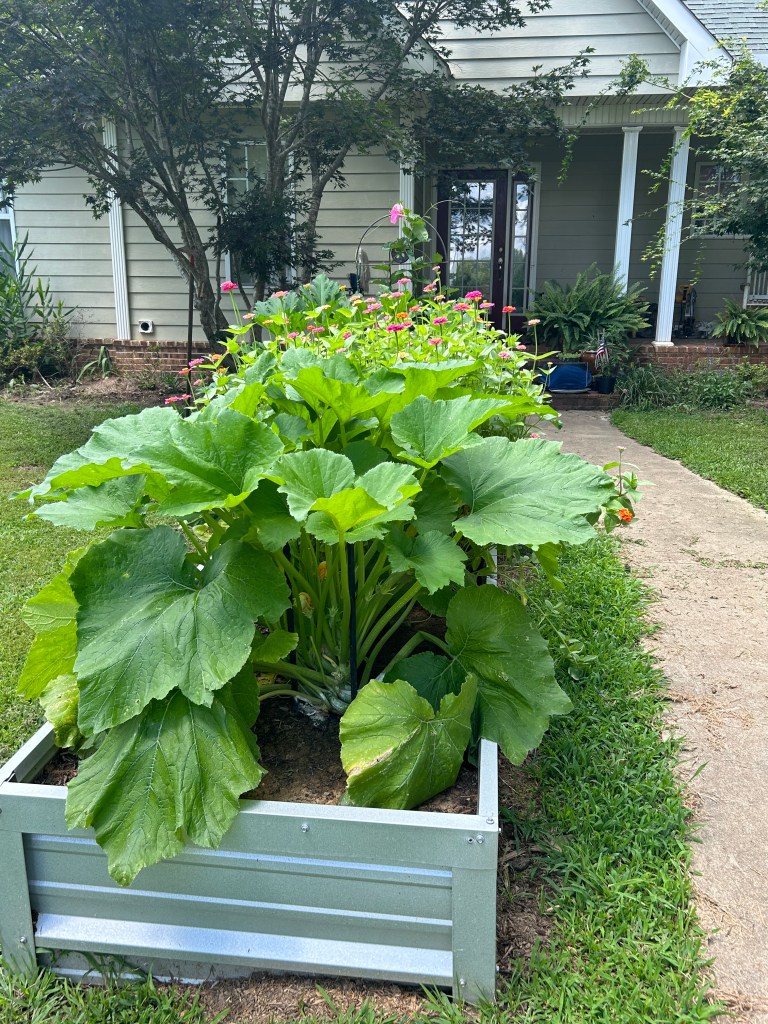
We had a windstorm earlier in the year, and it completely destroyed one of my zucchini plants. Thankfully, I never plant just one. Squash bugs are so bad where we live here in Mississippi, and the little devils can kill a plant in a day before you even notice them. So, I always plant several.
After the wind, I took a few rods from an old iron fence and drove them down on each side of the squash plants, anchoring them to protect them from the wind. You could use sturdy sticks, and they would work almost as well.
I used these same rods to stake the pepper plants. Usually things have already left in the garbage truck before I find a use for them. This old metal fence was piled at the end of the beds waiting to be hauled off. My husband suggested using the posts and rods for stakes. Love them! And they were free! Can’t get any better than that!
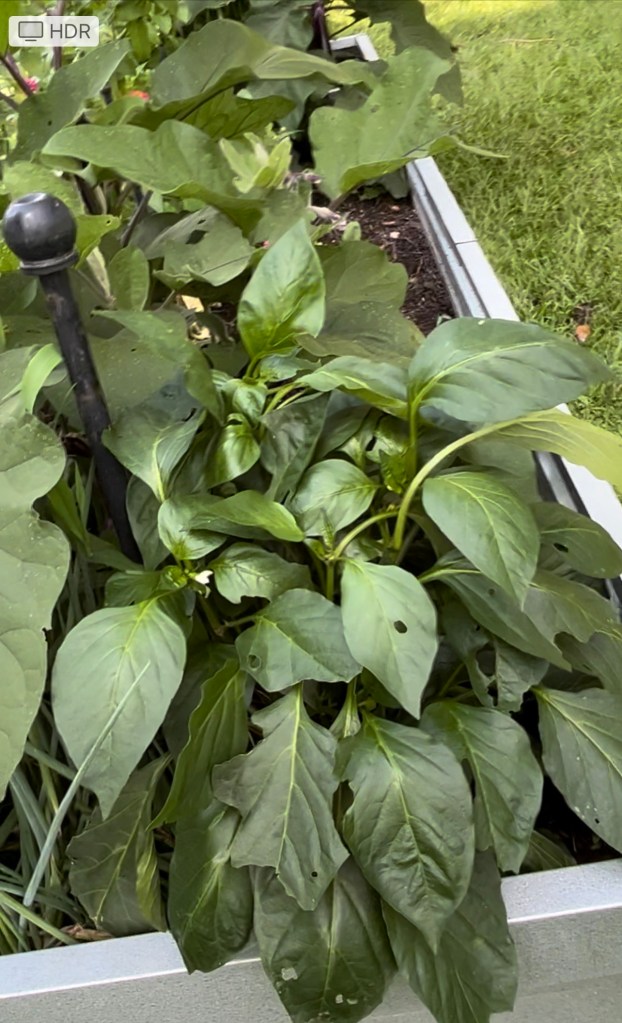
Here is one of our egg plants. I grow them because they are so pretty! Hardly ever cook them. I give them away usually. If you have a good recipe, please leave in the comments.

I ALWAYS plant zinnias in with my vegetables. The bright blossoms bring in the pollinators like crazy! That yellow blob is a butterfly!
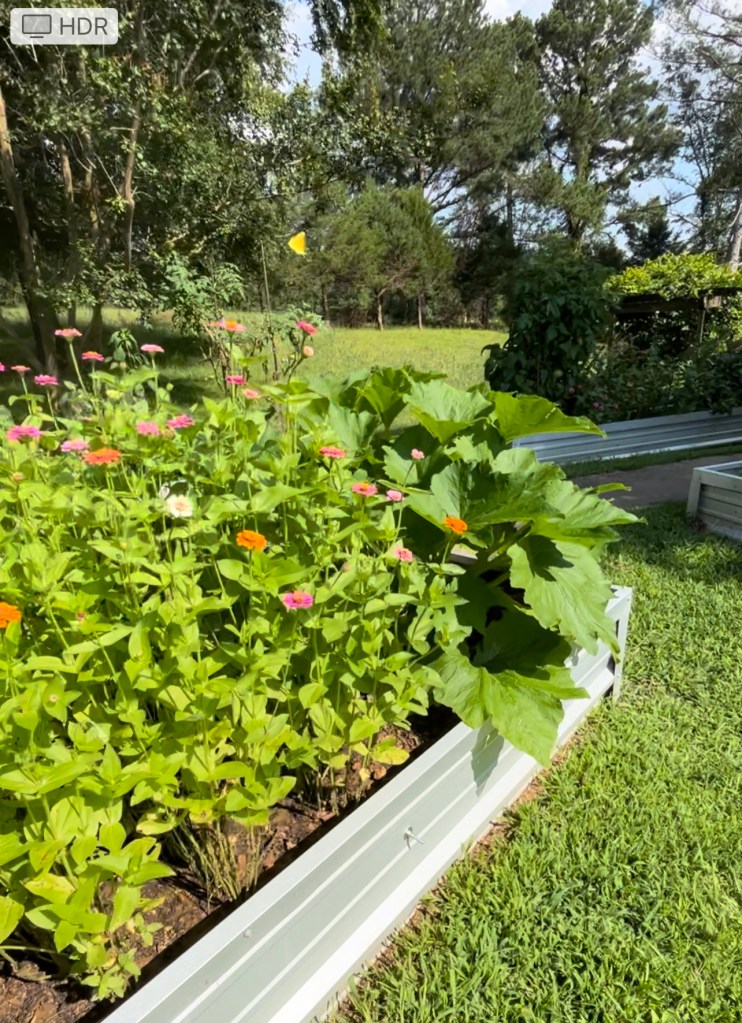
And they make beautiful cut flowers as a bonus!

The variety of zinnias I plant are is called Lilliput. The flowers are small, about 1 inch to 1 1/2 inch. I have grown the giant ones before, but have always gone back to the smaller ones. These tiny bursts of color steal my heart!
As an Amazon Associate, I earn from qualifying purchases. This means, if you click on a link on my blog and make a purchase, I will receive a small commission at no extra cost to you. THANK YOU for helping me start a college fund for Bella! Here is a link to a pack of 1000 seeds. Lilliput zinnia When I plant long rows in the garden, I usually purchase them in bulk. BULK zinnia seeds pack of 3,000. Here is a link to a larger variety called the California Giant. They come in gorgeous colors, and the flowers grow up to 5 inches in diameter. But I still prefer the small ones! I am also including a link to an awesome little 7 piece garden tool set. Its heavy duty tote bag doubles as a garden stool! LOVE it! Stainless steel construction.


You can save your seeds after the first year. Just pick flowers that are past their prime, dry them either in a single layer in a basket or paper sack. I pick the whole flower head, and when it is dry, crumble the seed head and save only the seeds.
If you would like to learn more about Bella’s raised beds, here are two links to other pages on her blog.
Bella’s Raised Garden Beds. This post shows how the beds were constructed and gives detail instructions and a material list–videos and pictures.
One Down! 5 to Go! Filling Bella’s Raised Garden Beds This post gives Step by step instructions for 5 layers to build good, fertile soil. We had all of the topsoil, rotten limbs, etc. here on the farm, and the cotton gin trash was free at the gin, so we had $0 invested in filling the beds.
Visit us again at Cozy Kitchen Wood Stove for recipes and other tips for vintage cooking, gardening, and just good ole country living!
And don’t forget to scroll to the bottom of the page and SUBSCRIBE to our BLOG! We try to post recipes and tips weekly!

4 responses to “Squash Blossoms–NO squash! Here’s why!”
Thank you so much for this information! Do I need to hand pollinate the two flowers or will they pollinate
LikeLike
No need to do that. Once the female blossoms appear, the insects and wind will do the job. If you notice, the male blossoms are on a long stem and tower above the female blossoms. This helps too,
LikeLike
thank you for solving my blooms question.gardened nere all my life and never knew about the male blooms doing that ,thank goodness.thought I had a dud plant . Again Thank you !
LikeLike
So glad I could help. I have to be honest here. I am 65 years old and have gardened all my life. I just found out about the male and female blooms this year!
LikeLike