
Embossed and Molded Cookies–an Extra-Special Treat for the Holidays!
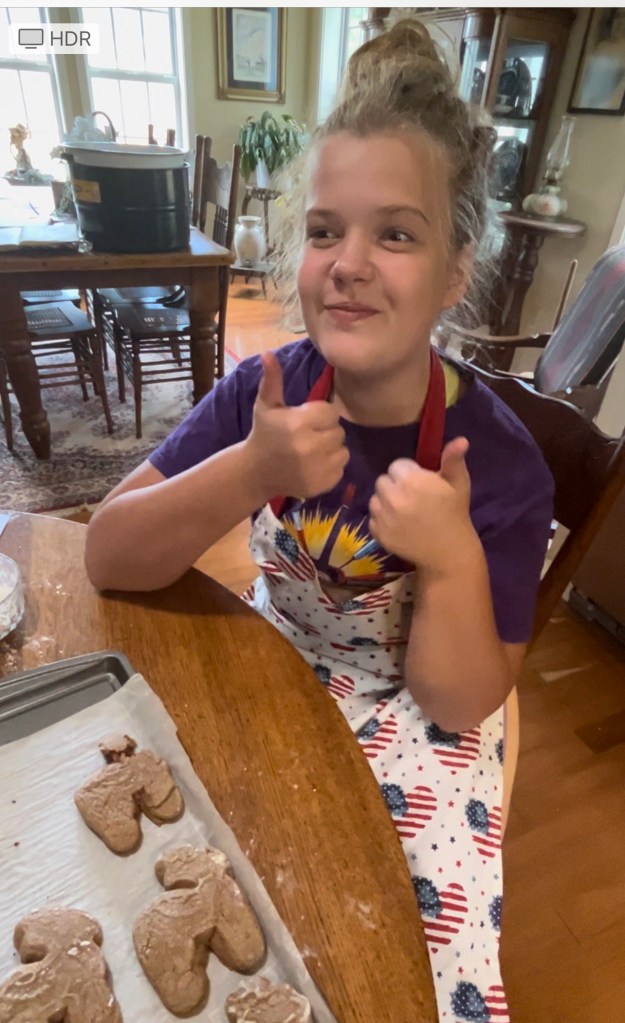
I wanted the Holiday Baking Season to be extra special this year, so I ordered embossed rolling pins and cookie molds. Bella has taken a break from baking this summer, but we are definitely ready to roll!
We started with the embossed rolling pins, because I thought this would probably be an easier technique to master than using the mold. It was definitely easier! But before too long, we had mastered both methods! What a fun day! And the cookies were amazing!
As an Amazon Associate, I earn from qualifying purchases. This means, if you click on a link on my blog and make a purchase, I will receive a small commission at no extra cost to you. THANK YOU for helping me start a college fund for Bella!
I am providing links to all of the embossed rolling pins and cookie molds that I ordered. Several have not come in yet, so I suggest that if you plan to do this for the holidays, you order as soon as possible. Oh! I just checked the mailbox and the rest of the molds are here!
The first order to arrive was the DEER MOLD and the EMBOSSED ROLLING PNS. These are the ones that you will see demonstrated in this blog post. Bella and I plan to do another bake one day this week using the molds that just arrived.
DEER COOKIE MOLD Bella loved this! So cute! (not as large as the molds that came in today but still adorable and worked well)

EMBOSSED ROLLING PINS (package of 2). The engraving was very detailed and deep enough to leave a beautiful impression in the dough that lasted throughout the baking process.

WOODEN COOKIE MOLD CHAMOMILE PATTERN I am extremely pleased with this mold. It is quite a bit larger than the DEER mold and seems to be a higher quality.

WOODEN COOKIE MOLD ENAMORED BIRDS PATTERN (another large high-quality mold)

WOODEN COOKIE MOLD TWO BIRDS (a large, high quality mold)

I ordered three shapes along with the deer shape. The first is a circle, the second a heart, and the third a rectangle.
Tips (be sure to read before you begin!)
- Use a cookie recipe designed for molded or embossed cookies. Not all cookie dough will hold its shape or design while baking. You need a dough that will not rise too much. One of the recipes that we used today worked beautifully. The other did not. The soft gingerbread recipe that we used for the deer, although absolutely delicious, completely lost its shape and design while baking.
- The dough must be REFRIGERATED for most recipes! Be sure to keep cold for the entire recommended time before starting to mold. Take out only enough dough to mold one cookie at a time and return the remaining dough to the refrigerator. If dough starts to soften while molding, let the entire batch re-harden before you continue.
- You must grease the mold lightly with a cooking spray before you begin. Dust it lightly with cornstarch before molding EACH cookie. OK, I’ve just watched several YouTube videos where people dust the mold heavily and then give it a tap to remove almost all of the flour. They did not grease their mold. It seems that what works for one dough may not work for all. You may have to experiment a little if you use a different dough, but I would think that the light spray with Pam and then a gentle dusting with cornstarch would work for all.
- If your design starts to loose its crispness, CLEAN the little carved details out with a wooden toothpick and re-dust with cornstarch. Sometimes the little details will become clogged with grease and flour causing an imperfect design.
- Some recipes call for a drying period of 6-12 hours before you bake. This allows a crust to form over the top and helps the design hold its shape.
- When you are finished, clean the mold with warm running water and a new toothbrush. I keep one in my silverware drawer just for this purpose. Allow the mold to air-dry.
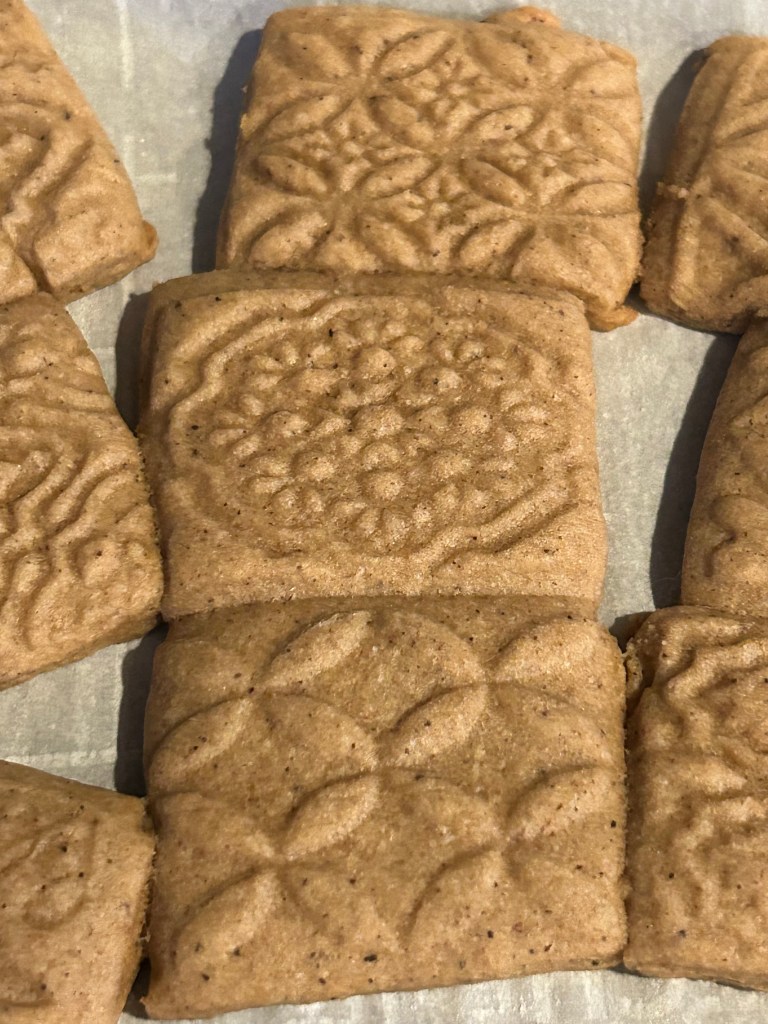
THIS RECIPE FOR SPICED BROWN SUGAR COOKIES IS THE ONE WE USED FOR THE ROLLING PIN METHOD. IT WORKED LIKE A DREAM!
RECIPE
SPICED BROWN SUGAR COOKIES
INGREDIENTS:
150 gm unsalted butter (10 1/2 T.)
1 1/4 cups dark brown sugar
2 eggs
2 tsps vanilla extract
1/2 tsp baking powder .
1/4 tsp baking soda .
1/4 tsp salt .
3 1/4 cups all purpose flour
2 tsps cinnamon ground
1 tsp nutmeg finely grated
1/2 tsp cloves ground
3/4 tsp ginger powdered dried
1/2 tsp anise seeds powdered
1/2 tsp black pepper finely crushed
METHOD:
1. Cream together 1 1/4 C dark brown sugar and 150 g. butter (10 1/2 T.) until fluffy.
2. Add 2 eggs and 2 t. vanilla extract and mix well.
3. Sift together 3 1/4 C flour, 12 t. baking powder, 1/4 t. baking soda and 1/4 t. salt. Add to creamed butter and sugar and beat till just combined.
4. Shape the dough into a ball and flatten it. Wrap with cling wrap and refrigerate for at least two hours. Overnight is better. This makes it easier to handle and helps cookies hold their shape.
5. Divide the dough in half and return half to the refrigerator. Dust work surface and regular smooth rolling pin with flour and roll out the dough evenly to 1/4″ thickness.
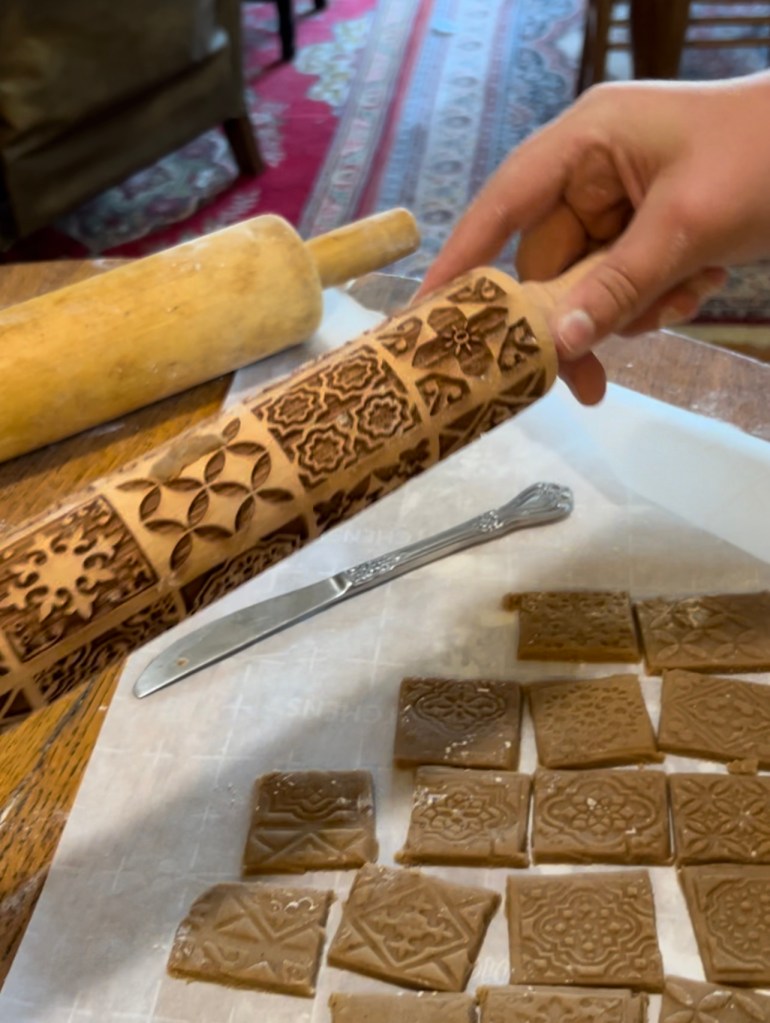
6. Now the fun part! With your embossed rolling pin, press down evenly into the dough, and keeping an even pressure, roll the pin across the entire length of the dough. Do not stop and restart. You will need to press hard enough to get the deepest design possible so it will hold up throughout the baking process. The cookies may puff up a bit during baking but should shrink down to the design after cooling.
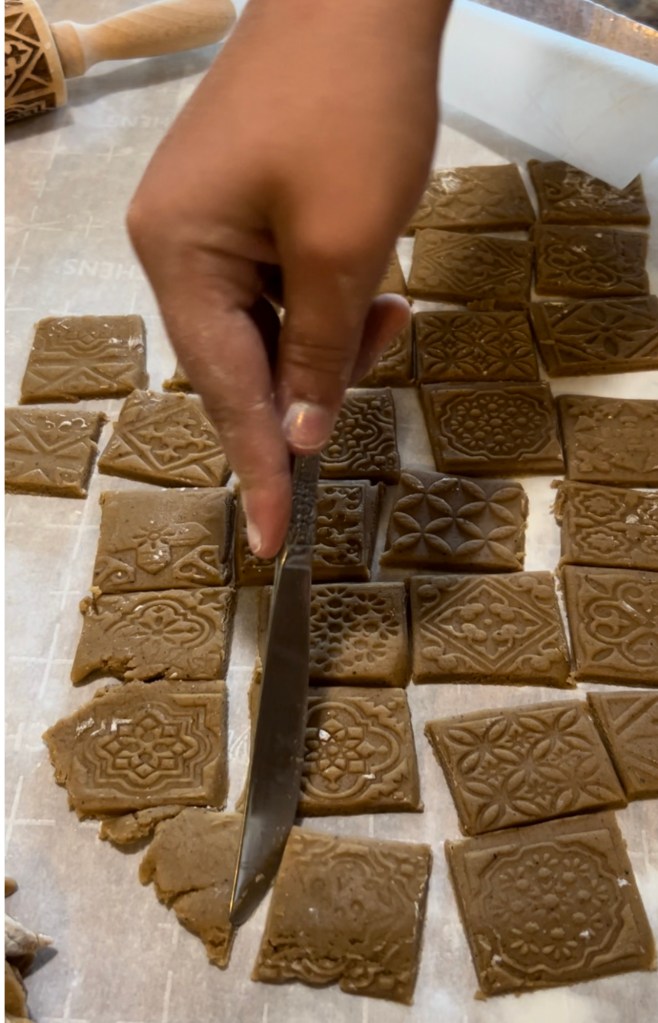
7. Now use cookie cutters and cut out shapes. Bella used a butter knife and cut along the lines of the design, but some rolling pins have designs with no lines.
8. Place cookies on parchment paper-lined cookie sheet and put cookie sheet in refrigerator for about 30 minutes before baking. This is another tip that will help the cookie retain its best design.
9. Bake at 180C (350F) for 10 to 15 minutes.
10. Let the cookies cool completely on the sheet before removing.
We ordered 2 embossed rolling pins with different designs. They worked really well!
The deer mold was a little harder to work with.
We finally got the hang of it though. A very light spray with Pam cooking oil and a light dusting with cornstarch worked. We also floured the dough pretty heavily before we pressed it into the mold.
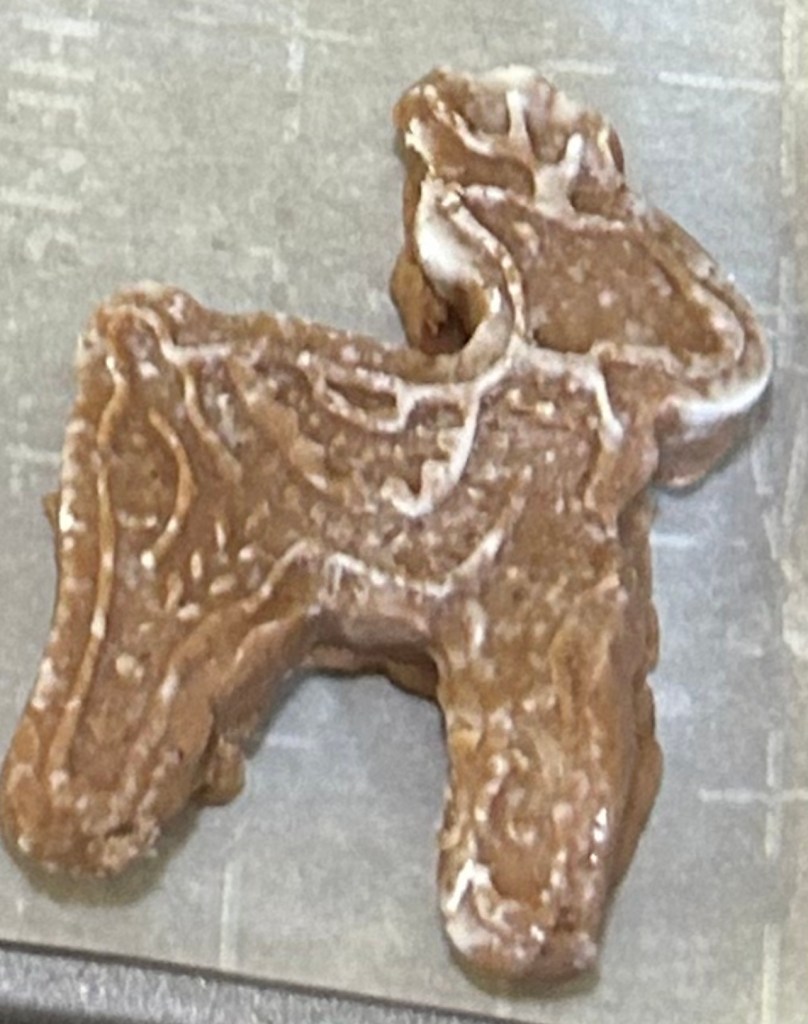
I was not pleased with the way the deer turned out. It did not hold its shape well when baked and was a little difficult to mold. So, I am NOT going to post that recipe. We are trying a different gingerbread recipe this week. Hopefully I will have a good recipe that molds well for the next post!
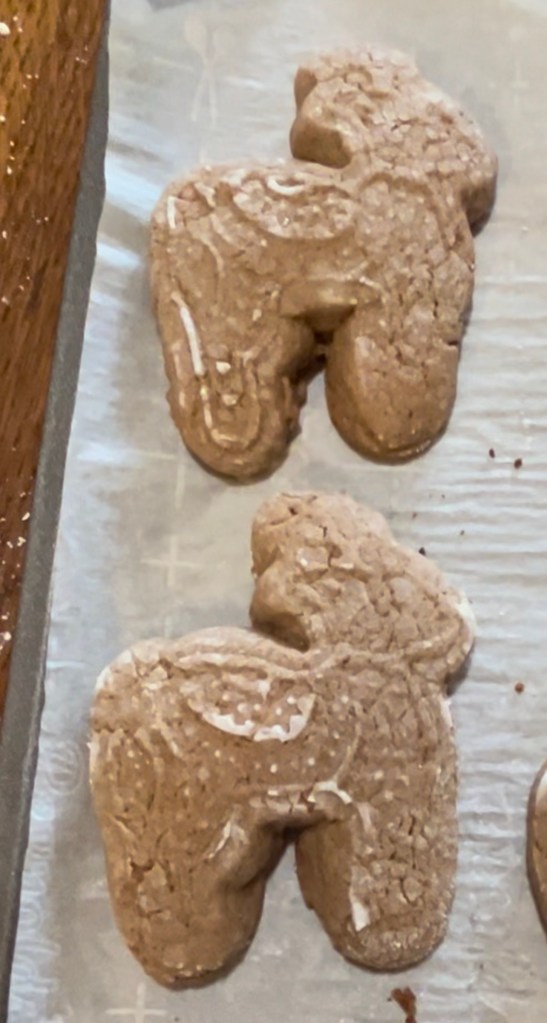
Having said that, I could not complain about the texture and flavor of the gingerbread deer. They were delicious and vanished quickly!
As an Amazon Associate, I earn from qualifying purchases. This means, if you click on a link on my blog and make a purchase, I will receive a small commission at no extra cost to you. THANK YOU for helping me start a college fund for Bella!
