
Are you having trouble getting your cookie dough out of the mold? Here is a trick we tried here at Cozy Kitchen Wood Stove!
They come out of the mold perfectly every time!

A Special Treat for the Holidays!
After baking for two days and struggling to get the cookies out of the mold–Bella and I tried every method we could read on the internet–finally we came up with a trick that works perfectly every time!
Tip:
(for easy removal from cookie mold) Spray the mold very lightly with Pam canola oil blend. You need to be at least 12-15 inches from mold when you spray. And then, fill the mold with flour. Turn mold over and dump flower back in bowl. Take the mold the the kitchen sink and, holding it upside down, tap it a coupe of times on the hard edge of the sink. You should have only the barest trace of flour visible. If you got too much Pam, the details will be invisible. Just the right amount and you should not see flour stuck in the details. If you got too much, wash the mold under warm running water and start over.
Once your mold is floured, press the dough into it. You need dough that has been refrigerated at least 2 hours–overnight is better. The refrigerated dough will be very hard, but you can work it down into the mold with your fingers and heel of your hand. Once worked in all the way around the mold, take a rolling pin and roll it a few times putting as much pressure as you can on the pin.
Go around the edges and get off all or the excess dough, and then tap it lightly. You may have to tease at an edge to get the cookie started out, but once it starts, it comes out easily. Occasionally, it will just fall out on its own!
Be sure to only take out enough dough to mold one cookie at a time and leave the rest in the refrigerator!
Additional Tips: (for perfectly molded cookies and ornaments)
- Use a cookie recipe designed for molded or embossed cookies. Not all cookie dough will hold its shape or design while baking. You need a dough that will not rise too much. The recipe that we have posted on the blog today came from the Springerle site and worked like a dream.
- I had never heard of Springerle cookies until Bella and I decided to bake molded cookies. I have always thought they were so beautiful. Apparently, they have been around for generations and go all the way back to the 1300’s! The story goes that in Germany, the peasant people were too poor to give gifts, so they carved dough, baked it, and gave the cookies as presents.
- The dough must be REFRIGERATED for most recipes! Be sure to keep cold for the entire recommended time before starting to mold. Take out only enough dough to mold one cookie at a time and return the remaining dough to the refrigerator. If dough starts to soften while molding, let the entire batch re-harden before you continue. Some recipes say they don’t have to be refrigerated. Beware! You can try it, and if the dough will not come out of the mold, REFRIGERATE anyway!
- You must grease the mold lightly with a cooking spray before you begin. Dust it lightly with flour before molding EACH cookie. After molding several cookies, you can spray lightly again with the Pam but this does not seem to be necessary every time. If it looks like you are not getting a light coat of flour, respray it.
- If your design starts to loose its crispness, CLEAN the little carved details out with a wooden toothpick and respray with Pam and re-flour. Sometimes the little details will become clogged with grease and flour causing an imperfect design.
- Some recipes call for a drying period of 6-12 hours before you bake. This allows a crust to form over the top and helps the design hold its shape. Bella and I put the cookies back into the refrigerator, uncovered, for two hours before baking. The design held up perfectly!
- When you are finished, clean the mold with warm running water and a new toothbrush. I keep one in my silverware drawer just for this purpose. Allow the mold to air-dry before storing away.
I plan to hang these gingerbread cookies on the tree with red ribbon for Christmas!
You can also use SALT DOUGH and mold ornaments that will last for years when baked!
Making salt dough ornaments was a tradition at our house every Christmas when my daughter was little. We used cookie cutters, but I can just see ornaments made from these molds! Of course, salt dough ornaments would NOT be edible.
I will post our salt dough recipe at the end of this blogpost.
As an Amazon Associate, I earn from qualifying purchases. This means, if you click on a link on my blog and make a purchase, I will receive a small commission at no extra cost to you. THANK YOU for helping me start a college fund for Bella!
Here are links to the 3 new cookie molds that we used today. These are high quality wooden molds that have deep, detailed carving that shows up beautifully on the baked cookie.
This is a handmade wooden cookie mold Chamomile pattern. It is a large Springerle mold perfect for making gingerbread.

This is another handmade mold. It is a heart shaped mold with an enamored bird pattern. Of all the molds that we have tried, this is my absolute favorite. It has a large, deep, well carved design.

This rectangular mold is very well made and has a beautiful design. At Size 6,3 * 3.9 * 0,8 inches, it is the smallest of these 3 molds.

Gingerbread
Ingredients:
- 3 1/2 c. all purpose flour
- 1/2 t. baking soda
- 1/2 C sugar
- 2 t. ground cinnamon
- 1 t. ground cloves
- 3 t. ground ginger
- 1 t. nutmeg
- 1/2 t. salt
*You can adjust the spices to taste.
- 1/2 C. vegetable oil
- 1/2 C. molasses
- 1/2 C. dark corn syrup
You can use all molasses in the recipe if you prefer. If you use 1 C. of molasses instead of the dark corn syrup, you will need to add more flour–about 4 T. extra. I tried a version with all dark corn syrup and no molasses, and it worked nicely using the amount of flour called for (3 1/2 C.)
Method:

- Step 1: Whisk together all of the dry ingredients.

- Step 2: Into a separate large mixing bowl measure 1/2 C. vegetable oil, 1/2 C. molasses, and 1/2 C. dark corn syrup.
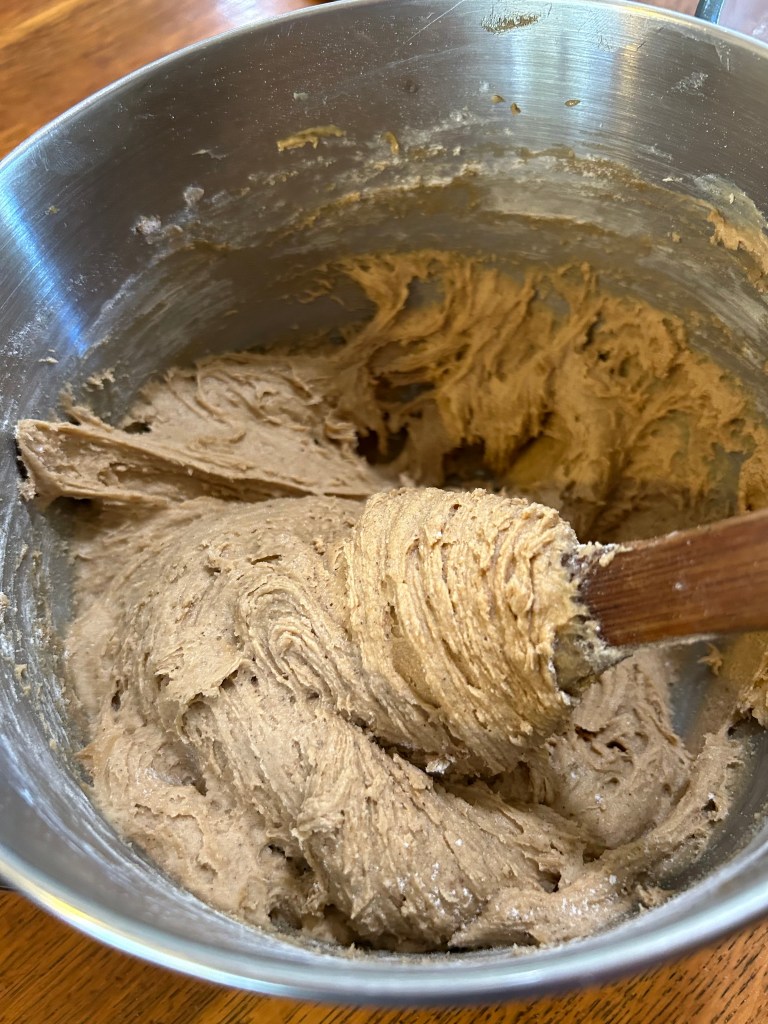
- Step 3: Start mixing the flour into the liquid ingredients adding about 1 cupful at a time. Mix well before adding more flour.

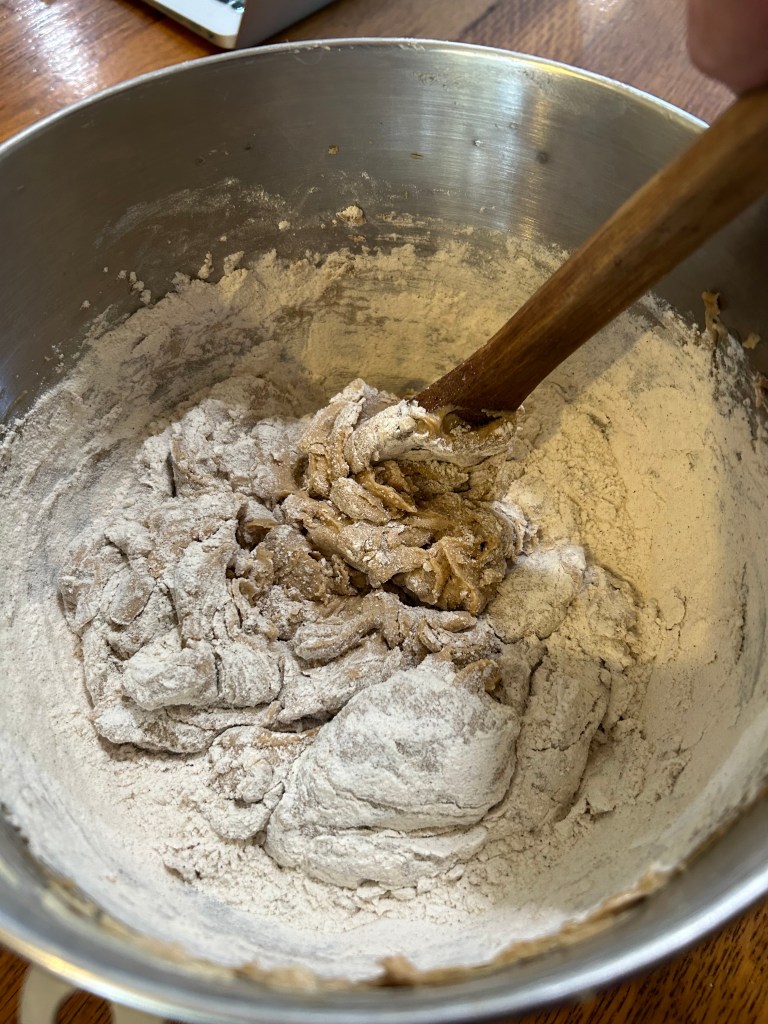
Tip: Near the end, the dough became so stiff Bella had to get in there with her hands to incorporate all of the flour.
- You will need to keep working the dough until it holds together and forms a solid ball.
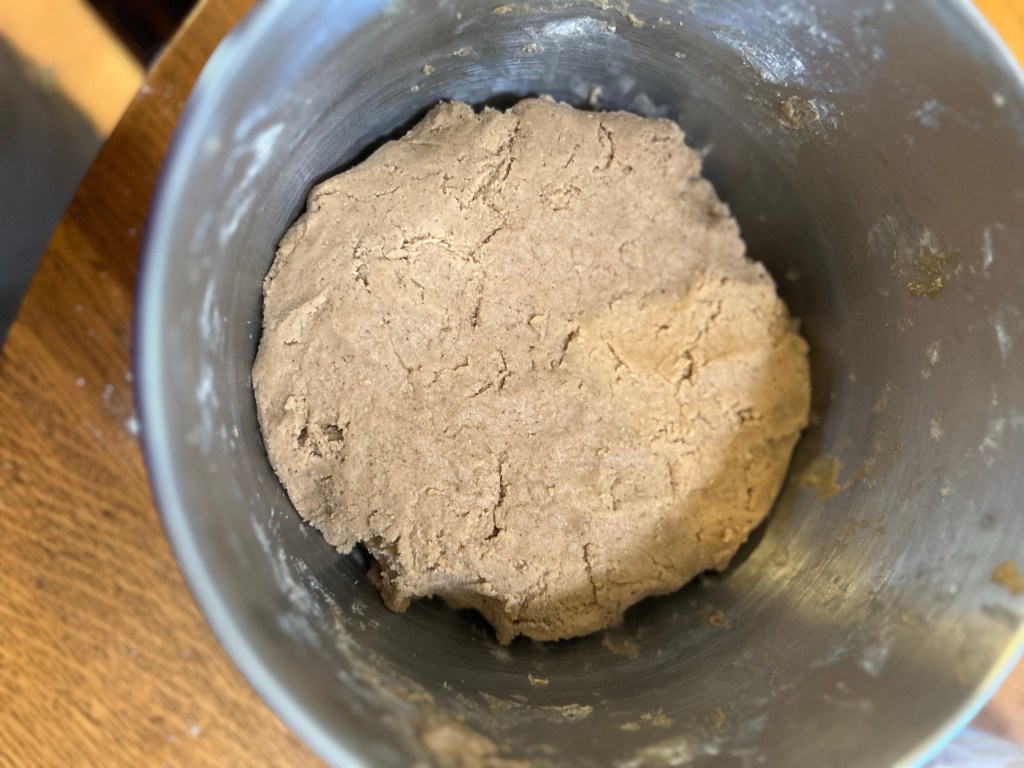
- Step 4: Divide the dough into 3 equal pieces and wrap with plastic wrap or put in a ziplock bag. Refrigerate 2-3 hours–overnight is best.

Molding the cookies
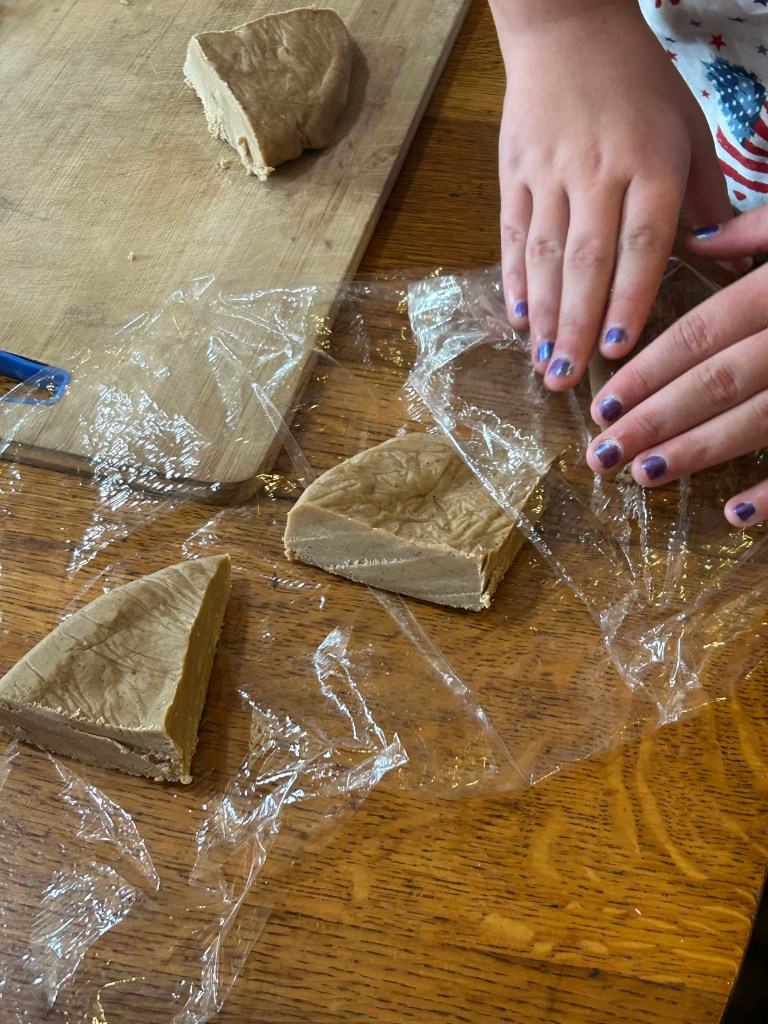
- Take one part of the dough out of the refrigerator, unwrap it and cut it into 4 equal parts.

- Save out one of the pieces to work with and rewrap the remaining two pieces. Return them to the refrigerator while you mold 1 cookie at a time. The dough has to be kept very cold. If left out of the refrigerator, it will soften and will NOT MOLD.
- Prepare the mold. Holding a can of Pam about 12-15 inches from the mold, spray it very very lightly. We used original Pam canola oil because that is what we had.
- Fill the mold with four, and then dumb the flour back into a bowl. Go to the kitchen sink and tap the mold gently on the hard edge of the sink. Any remaining loose flour will fall into the sink.

- Now that you have your mold floured, take the dough and press it into the mold. The dough will be very stiff, so you have to use your fingertips and the heel of your hand to work it down it there. Once the mold is filled, take a rolling pin and roll back and forth over the mold, making sure to press down hard to assure the dough gets into all of the details of the design.
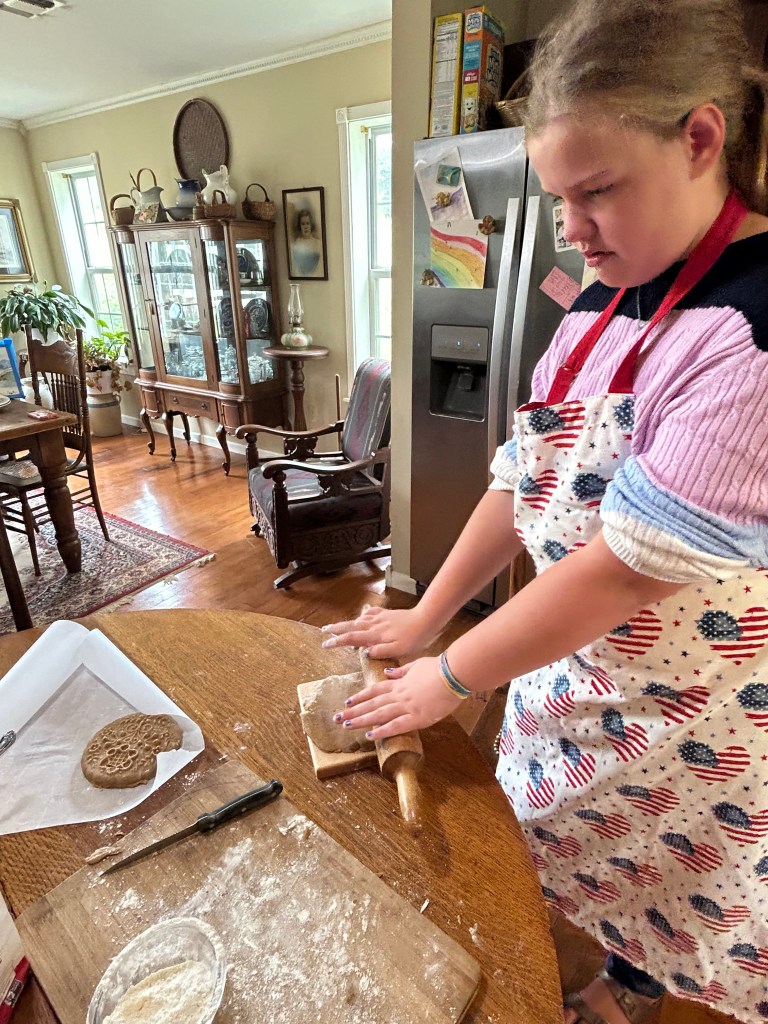
- Once the mold is filled, go around the edges removing the extra dough. You can return this to the refrigerator. Take your finger and start to push the dough away from the edge of the mold, and then turn it over, tapping lightly on your work surface. If the cookie does not fall out, you may have to gently tease at the edge, but once it begins to come out, it will release quite easily.

- Place the cookie on a parchment lined baking sheet and get a second piece of dough from the refrigerator to mold another cookie.
- Re-flour the mold for each cookie. For every 3-4 cookies, you may have to reapply a very light coat of Pam.
- When you have made enough cookies to fill your sheet, return the entire sheet of cookies to the refrigerator and refrigerate UNCOVERED for 12-24 hours. This will help set the design so it will not lose any detail during the baking process.

- Bake at 300 degrees. The size of your cookies will determine the length of bake time. Small cookies should be done in 12 minutes. Larger cookies can take up to 15-20 minutes. Watch the color. When they start to look golden brown, they are done!
- Let cookies cool completely before storing.
Printable Recipe!
GINGERBREAD
3 1/2 C. all purpose flour
1/2 t. Baking soda
1/2 C. Sugar
2 t. Ground cinnamon
1 t. Ground cloves
3 t. Ground ginger
1 t. Nutmeg
1/2 t. Salt
*You can adjust the spices to suit your taste. Add more or less of any one.
1/2 c. Vegetable oil
1/2 c. Molasses
1/2 c. Dark corn syrup
You can use all molasses in the recipe if you prefer. If you use 1 C. of molasses instead of the dark corn syrup, you will need to add more flour–about 4 T. extra. I tried a version with all dark corn syrup and no molasses, and it worked nicely using the amount of flour called for (3 1/2 C.)
METHOD:
STEP 1: Whisk together all of the dry ingredients.
STEP 2: Into a separate large mixing bowl measure 1/2 C. vegetable oil, 1/2 C. molasses, and 1/2 C. dark corn syrup.
STEP 3: Start mixing the flour into the liquid ingredients adding about 1 cupful at a time. Mix well before adding more flour.
Tip: Near the end, the dough became so stiff Bella had to get in there with her hands to incorporate all of the flour.
You will need to keep working the dough until it holds together and forms a solid ball.
STEP 4: Divide the dough into 3 equal pieces and wrap with plastic wrap or put in a ziplock bag. Refrigerate 2-3 hours–overnight is best.
MOLDING THE COOKIES
1. Take one part of the dough out of the refrigerator, unwrap it and cut it into 4 equal parts.
2. Save out one of the pieces to work with and rewrap the remaining two pieces. Return them to the refrigerator while you mold 1 cookie at a time. The dough has to be kept very cold. If left out of the refrigerator, it will soften and will NOT MOLD.
3. Prepare the mold. Holding a can of Pam about 12-15 inches from the mold, spray it very very lightly. We used original Pam canola oil because that is what we had.
4. Fill the mold with four, and then dumb the flour back into a bowl. Go to the kitchen sink and tap the mold gently on the hard edge of the sink. Any remaining loose flour will fall into the sink.
5. Now that you have your mold floured, take the dough and press it into the mold. The dough will be very stiff, so you have to use your fingertips and the heel of your hand to work it down it there. Once the mold is filled, take a rolling pin and roll back and forth over the mold, making sure to press down hard to assure the dough gets into all of the details of the design.
6. Once the mold is filled, go around the edges removing the extra dough. You can return this to the refrigerator. Take your finger and start to push the dough away from the edge of the mold, and then turn it over, tapping lightly on your work surface. If the cookie does not fall out, you may have to gently tease at the edge, but once it begins to come out, it will release quite easily.
7. Place the cookie on a parchment lined baking sheet and get a second piece of dough from the refrigerator to mold another cookie.
8. Re-flour the mold for each cookie. For every 3-4 cookies, you may have to reapply a very light coat of Pam.
9. When you have made enough cookies to fill your sheet, return the entire sheet of cookies to the refrigerator and refrigerate UNCOVERED for 12-24 hours. This will help set the design so it will not lose any detail during the baking process.
10. Bake at 300 degrees. The size of your cookies will determine the length of bake time. Small cookies should be done in 12 minutes. Larger cookies can take up to 15-20 minutes. Watch the color. When they start to look golden brown, they are done!
Let the cookies cool completely before storing.
SALT DOUGH RECIPE
(for ornaments)
2 C. All purpose flour
1 C. Salt
1 C. Cold water
PREHEAT oven to 250 degrees.
STEP 1: Whisk together four and salt in a large bowl.
STEP 2: Gradually add 1 C. Cold water mixing as you go. Don’t add all of the water at one time.
STEP 3: Knead the dough for about 10 minutes until it becomes smooth.
STEP 4: Wrap dough in plastic wrap and let stand for 20-30 minutes.
STEP 5: Move dough to a floured work surface and knead until soft and workable.
STEP 6: Mold dough into desired shapes or cut with a cookie cutter.
STEP 7: Make a hole in each ornament for hanging.
STEP 8: Bake on an ungreased cookie sheet 2-4 hours depending on the thickness of your ornament.
You can preserve your ornament by spraying with a sealer like Mod Podge. Most recipes tell you to do this for the ornament to last for decades. I made these every year with my daughter and kept them for years. They stayed beautiful with no sealer at all.
