
Bella and I have been waiting all fall and winter to make a Wild Redbud Cake! Since the redbuds only bloom in the early spring, you have only one opportunity each year.
It seems that spring came early to the Southland, and the redbud trees are blooming in February! We took her little basket this week and headed to Horsepen Creek that runs through our farm.
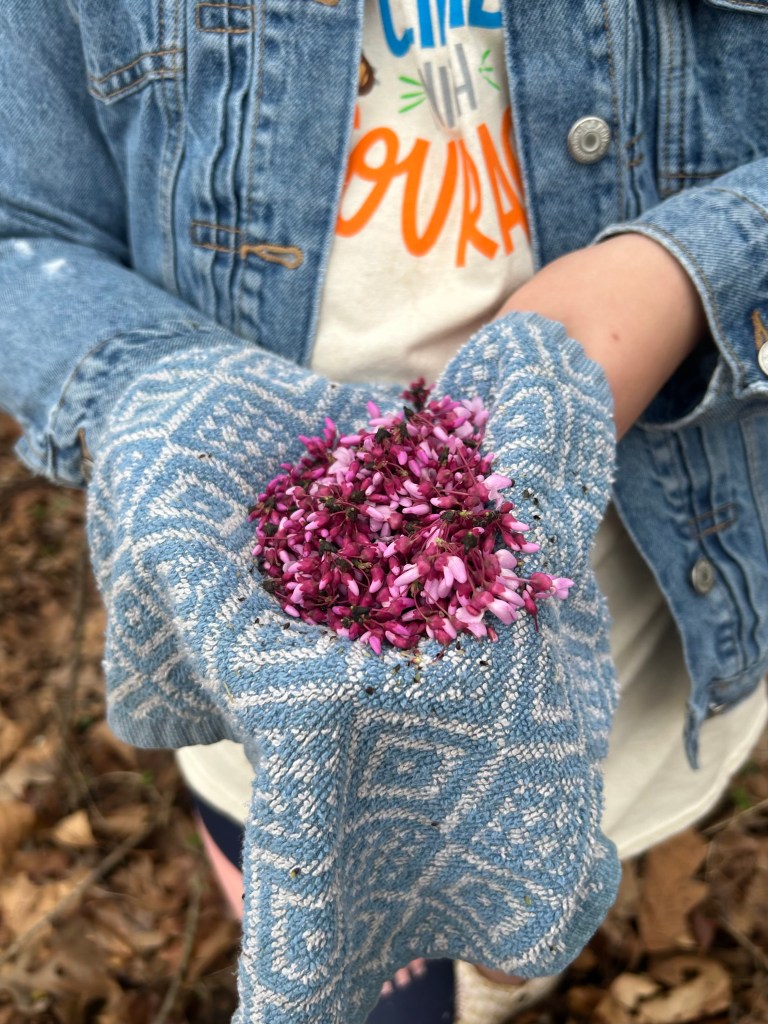
Since the trees grow quite tall, we had to do a bit of searching to find a young one that had blossoms down low enough for Bella to reach. She was so excited, and had to taste one before she picked her little basket full.
It was such a memorable day. Absolutely perfect. The sun was shining and it was a balmy 75 degrees. Birds and frogs were singing, and Bella was singing too!
A word of caution here. Never pick a wild edible unless you are absolutely certain that you can identify it. Here in Mississippi, I grew up seeing redbud trees. They are very easy to recognize, and the only tree that blooms wild in the woods in the spring that are that awesome fuchsia color.
I’m not sure who named them redbuds, because the blossoms are not truly red. But nonetheless, they are exquisite. They also make a wonderful tea.
A stroll to the top of the bluff so you can see the redbud trees up close. It has been about a week since they started to bloom, and they are spectacular!
Wild Redbud Cake
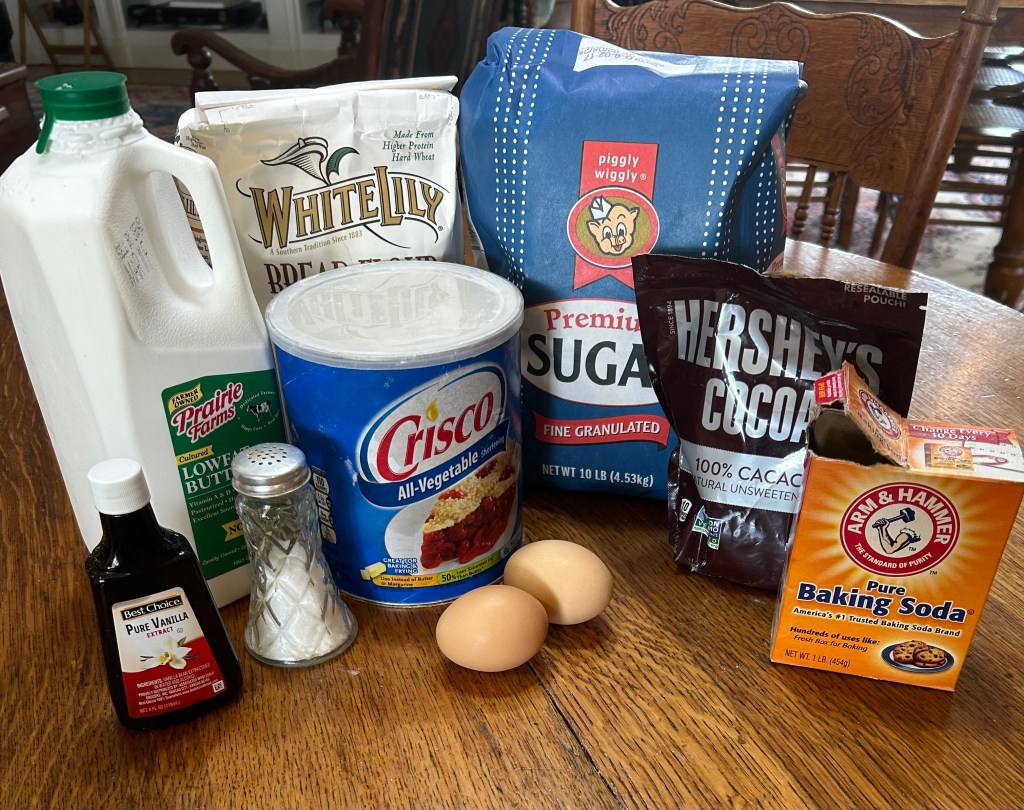
1/2 C. cocoa powder
2/3 C. shortening (Crisco)
1/2 C. boiling water
1 3/4 C. sugar
1 t. vanilla extract
2 eggs
2 1/4 C. all-purpose flour
1 1/2 t. baking soda
1/2 t. salt
1 1/3 C. buttermilk
METHOD:
1) PREHEAT oven to 350°
2) GREASE and flour two 9-inch cake pans
3) STIR 1/2 C. cocoa powder into 1/2 C. boiling water until smooth
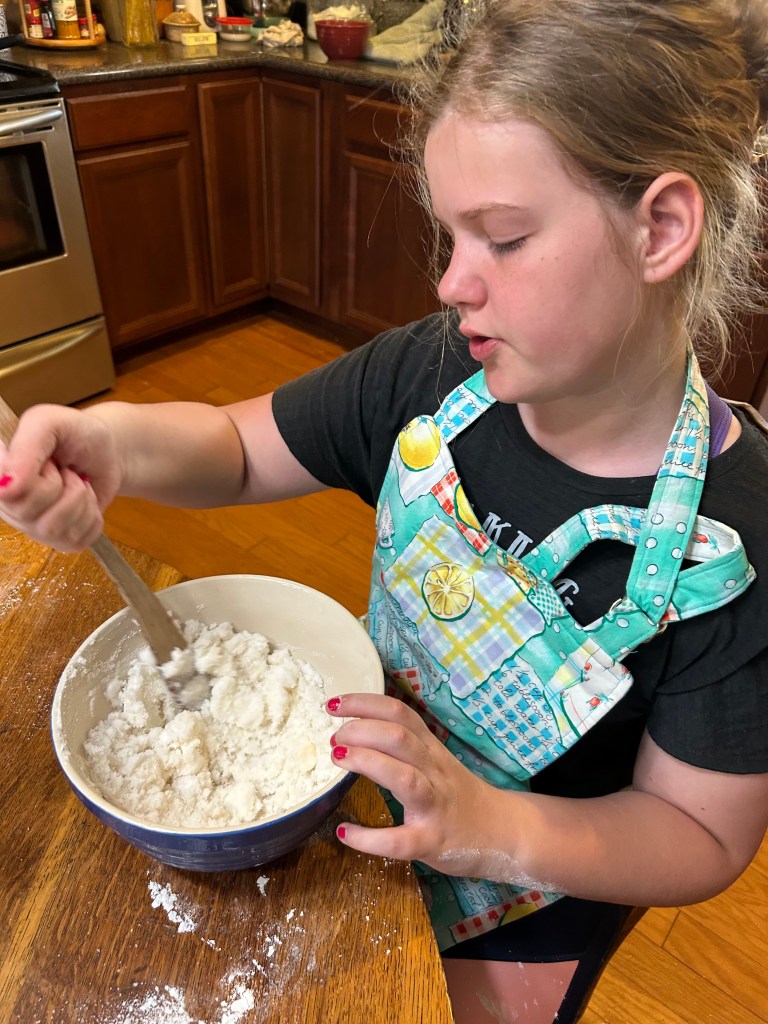
4) BEAT 2/3 C. Crisco, 1 3/4 C. sugar, and 1 T. vanilla until soft and fluffy
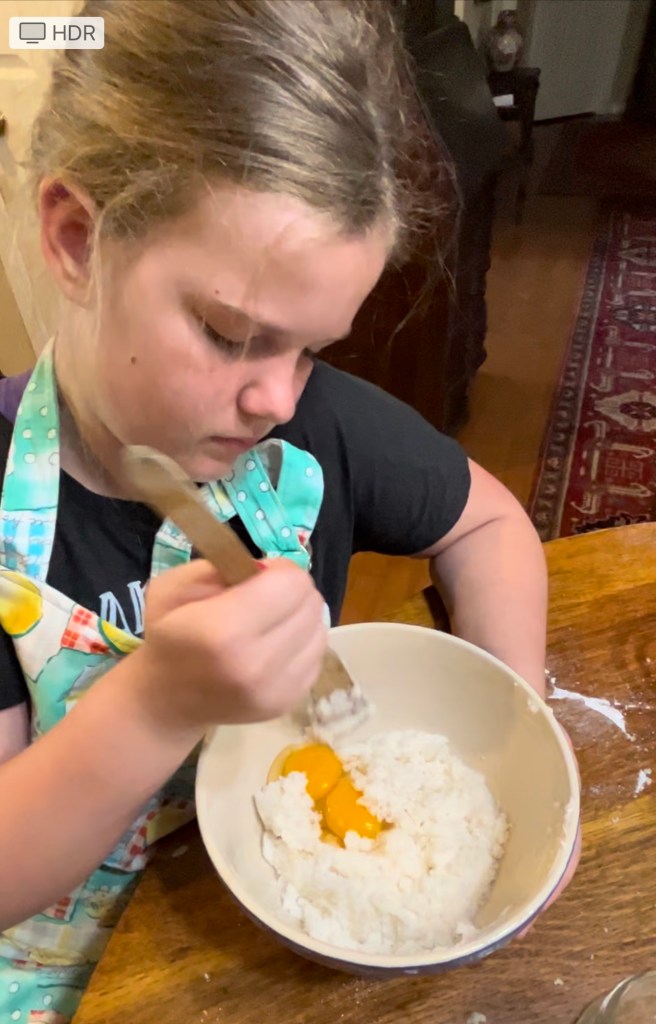
5) ADD 2 eggs and beat well
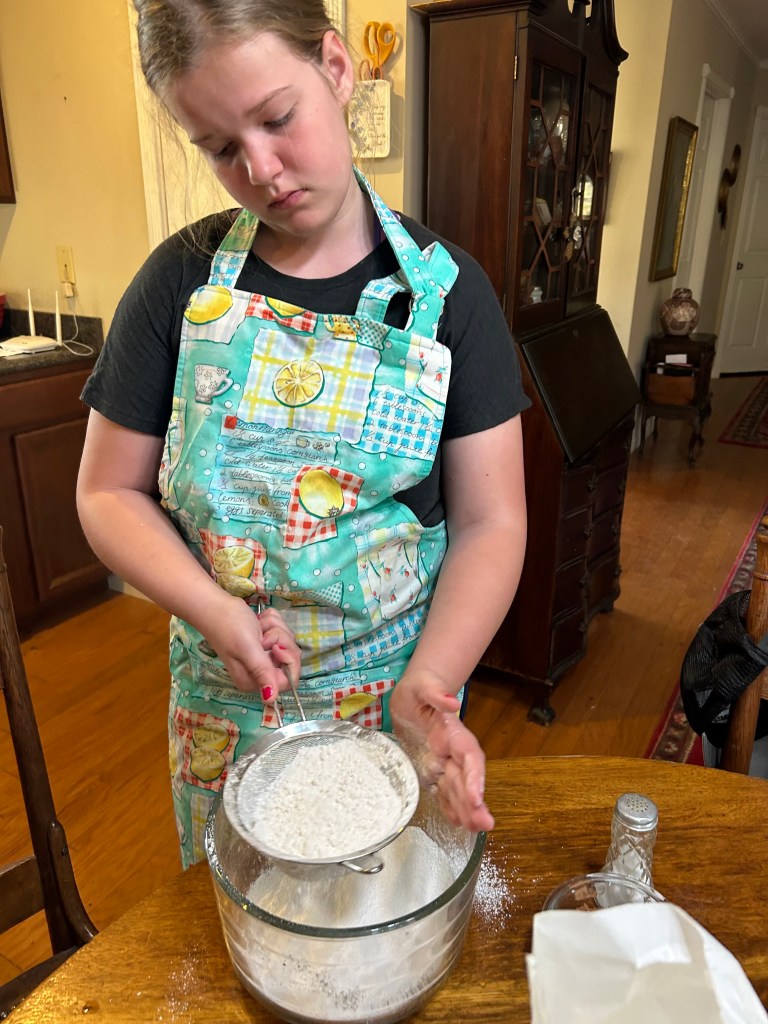
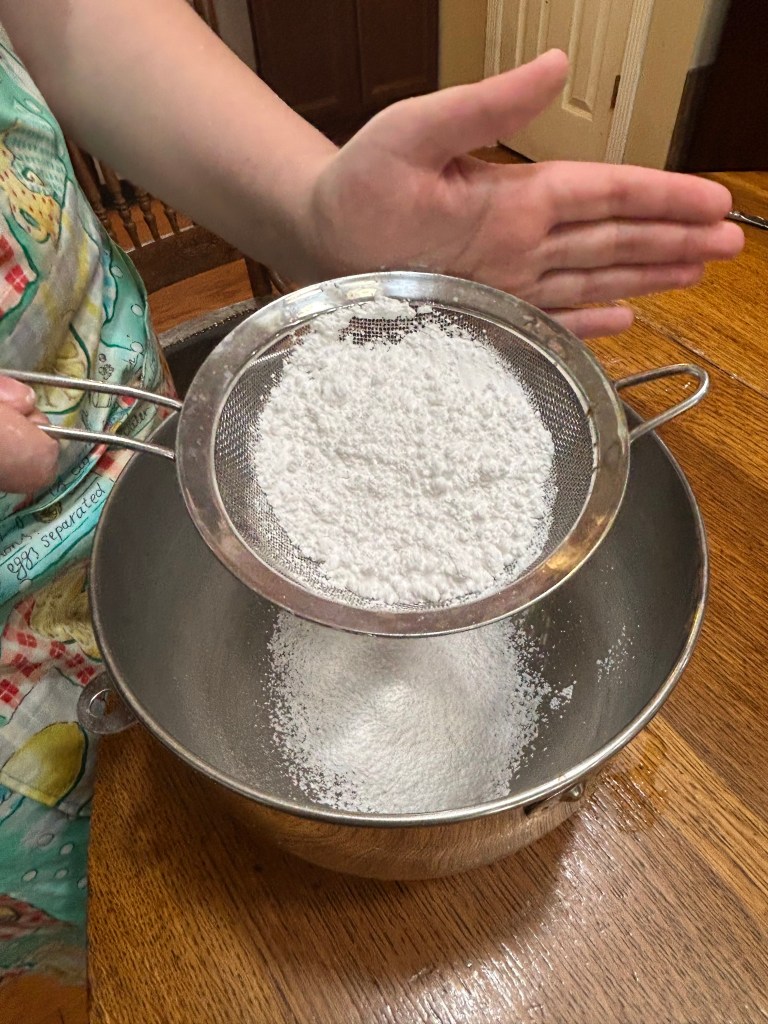
6) SIFT together: 2 1/4 C. flour, 1 1/2 t. baking soda, and 1/2 t. salt
7) ADD flour mixture to shortening mixture alternately with 1 1/3. C. buttermilk—BEAT
8) ADD cocoa mixture –beat well
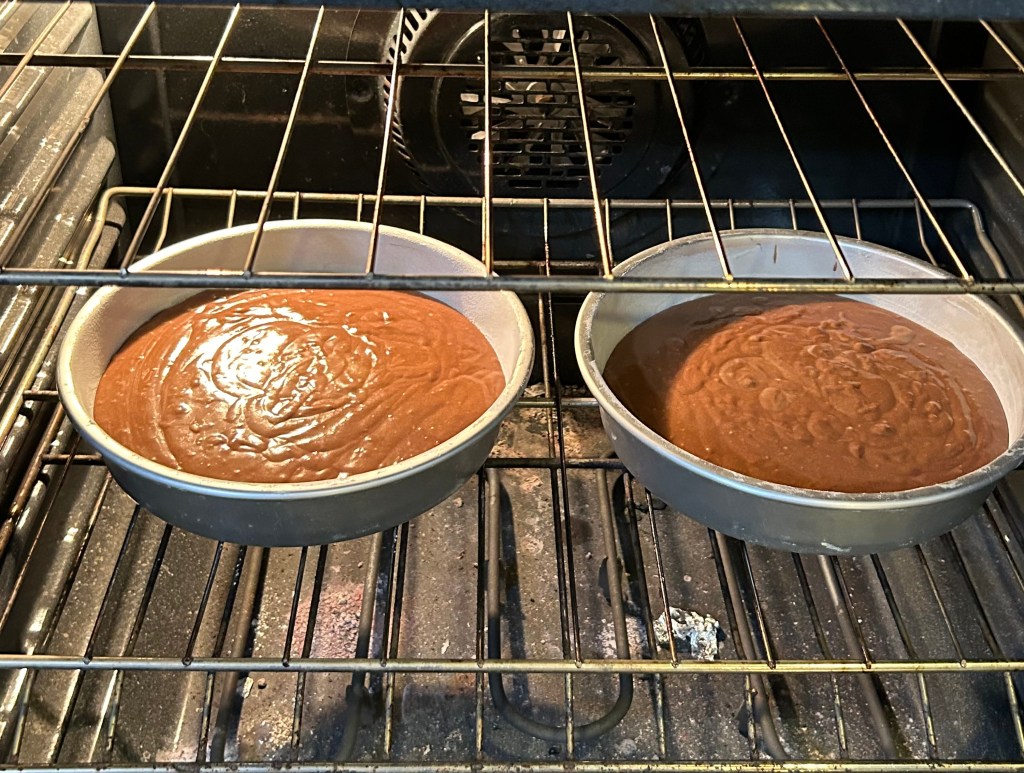
9) POUR batter into greased pans
10) BAKE at 350 for 30-35 minutes–check by gently patting center. If it springs back, it is done. Or check by inserting toothpick. If it comes out clean, it is done.
11). COOL in pans for 10 min. REMOVE to wire rack and cool completely.
CREAM CHEESE—BUTTERCREAM FILLING
INGREDIENTS:
8 oz. (1 brick) cream cheese (softened)
1/2 C. (1 stick) butter (softened)
4 C. powdered sugar (sifted)
2 t. vanilla
METHOD:
1) SIFT 4 C. Powdered sugar into large bowl
2) ADD 8 oz. (1 brick) cream cheese (softened), 1/2 C. (1 stick) Butter (softened), and 2 t. Vanilla extract
3) BEAT on low speed and then when combined, INCREASE speed to high. Beat 4-5 minutes.
This can be done by hand.
TIP: Your cream-cheese buttercream frosting can be made ahead of time and stored in your refrigerator for up to 1 week! Yes! You can make your filling or frosting ahead of time! This makes for a quick, hassle free bake!
You can also FREEZE it for up to a month! If you freeze the buttercream frosting, you will need to let it return to room temperature. When it has softened, beat on high until soft and creamy,
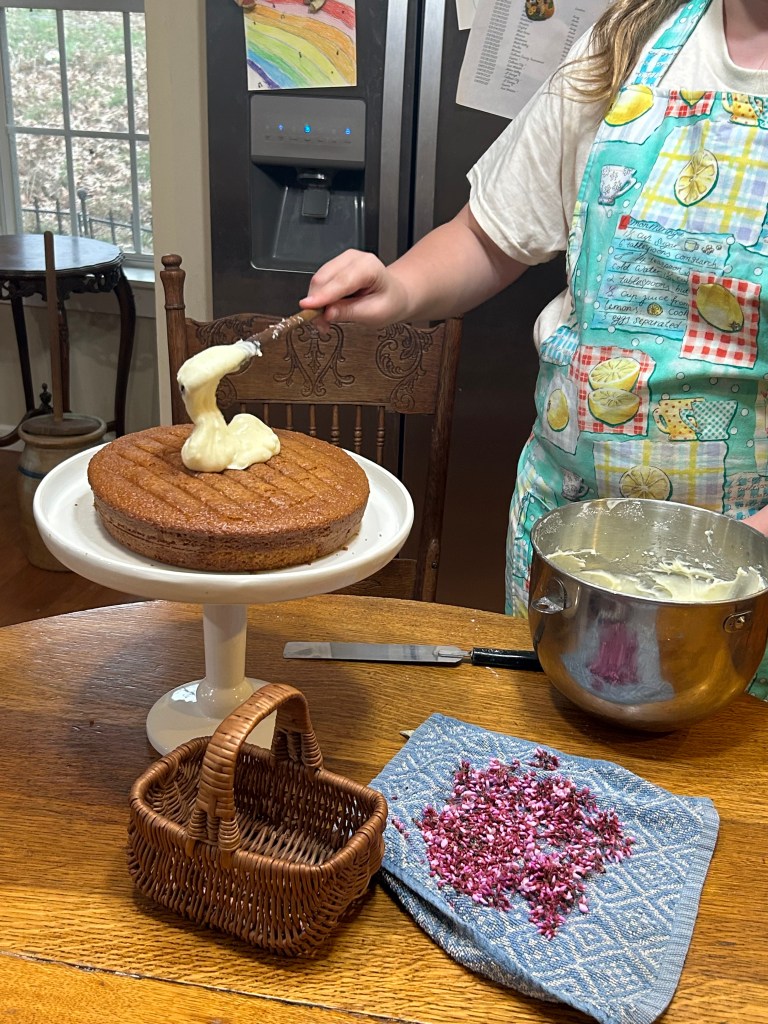
4) STACK your first layer on your cake plate.
5) ADD cream cheese buttercream to top and spread.
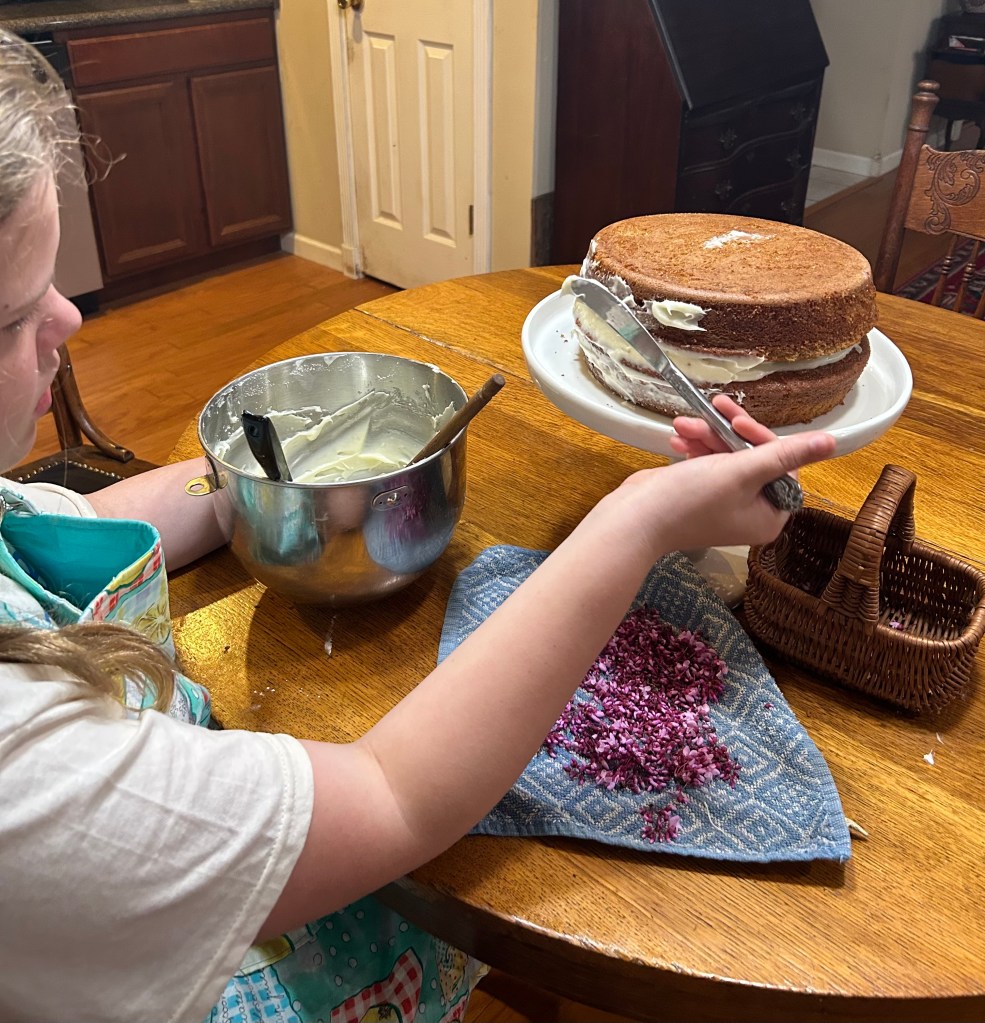
6) STACK second layer on top of first and add a thin coat of frosting sides. Do not put buttercream on top of second later. You will pour the glaze over the top and let it run down the sides.
GLAZE
Ingredients:
2 C. powdered sugar (sifted)
milk or Half-and-Half
1 t. vanilla extract (use clear vanilla for a pure white glaze) We did not have clear vanilla on hand, and used regular vanilla. It was beautiful!
Method:
SIFT powdered sugar. I usually double the recipe because I like a LOT of glaze.
ADD milk 1 T. at a time until the glaze is at a good pouring consistency. It will thin out quickly, so make sure the milk is mixed in well before you add a second T. I like the glaze thick, so as soon as I thin it is thin enough to pour, we stop adding liquid. You might test a little on the edge if this is your first time. If it will ease off the edge of the cake, it is thin enough.
POUR glaze over cake starting around the outside edge and working toward the center. The glaze should slowly flow over the edge and down the side of the cake.
Redbud Cake—vintage chocolate cake from Hershey’s.
I have used this no-fail chocolate cake recipe for 30 years!
Ingredients:
1/2 C. cocoa powder
2/3 C. shortening (Crisco)
1/2 C. boiling water
1 3/4 C. sugar
1 t. vanilla extract
2 eggs
2 1/4 C. all-purpose flour
1 1/2 t. baking soda
1/2 t. salt
1 1/3 C. buttermilk
Method:
1) PREHEAT oven to 350°
2) GREASE and flour two 9-inch cake pans
3) STIR 1/2 C. cocoa powder into 1/2 C. boiling water until smooth

4) BEAT 2/3 C. Crisco, 1 3/4 C. sugar, and 1 T. vanilla until soft and fluffy

5) ADD 2 eggs and beat well
6) SIFT together: 2 1/4 C. flour, 1 1/2 t. baking soda, and 1/2 t. salt
7) ADD flour mixture to shortening mixture alternately with 1 1/3. C. buttermilk–BEAT
8) ADD cocoa mixture –beat well
9) POUR batter into greased pans
10) BAKE at 350 for 30-35 minutes–check by gently patting center. If it springs back, it is done. Or check by inserting toothpick. If it comes out clean, it is done.
11). COOL in pans for 10 min. REMOVE to wire rack and cool completely.
Cream Cheese-buttercream Filling
Ingredients:
- 8 oz. (1 brick) cream cheese (softened)
- 1/2 C. (1 stick) butter (softened)
- 4 C. powdered sugar (sifted)
- 2 t. vanilla
Method:
- 1) SIFT powdered sugar.
- 2) ADD all ingredients to large mixing bowl.
- 3) BEAT on low speed until combined.
- 4) INCREASE speed to high and beat an additional 4-5 minutes.
Bella wanted to do this by hand. It took several minutes more but it was delicious!

TIP: Your cream-cheese buttercream frosting can be made ahead of time and stored in your refrigerator for up to 1 week! Yes! You can make your filling or frosting ahead of time! This makes for a quick, hassle free bake!
You can also FREEZE it for up to a month! If you freeze the buttercream frosting, you will need to let it return to room temperature. When it has softened, beat on high until soft and creamy,
- 5) STACK your first layer on your cake plate.
- 6) ADD cream cheese buttercream to top and spread.
- 7) STACK second layer on top of first and add a thin coat of frosting sides. Do not put buttercream on top of second later. You will pour the glaze over the top and let it run down the sides.
Glaze
Ingredients:
- 2 C. powdered sugar (sifted)
- milk or Half-and-Half
- 1 t. vanilla extract (use clear vanilla for a pure white glaze) We did not have clear vanilla on hand, and used regular vanilla. It was beautiful!
Method:
- 1) SIFT powdered sugar. I usually double the recipe because I like a LOT of glaze.
- 2) ADD milk 1 T. at a time until the glaze is at a good pouring consistency. It will thin out quickly, so make sure the milk is mixed in well before you add a second T. I like the glaze thick, so as soon as I thin it is thin enough to pour, we stop adding liquid. You might test a little on the edge if this is your first time. If it will ease off the edge of the cake, it is thin enough.
- 3) POUR glaze over cake starting around the outside edge and working toward the center. The glaze should slowly flow over the edge and down the side of the cake.
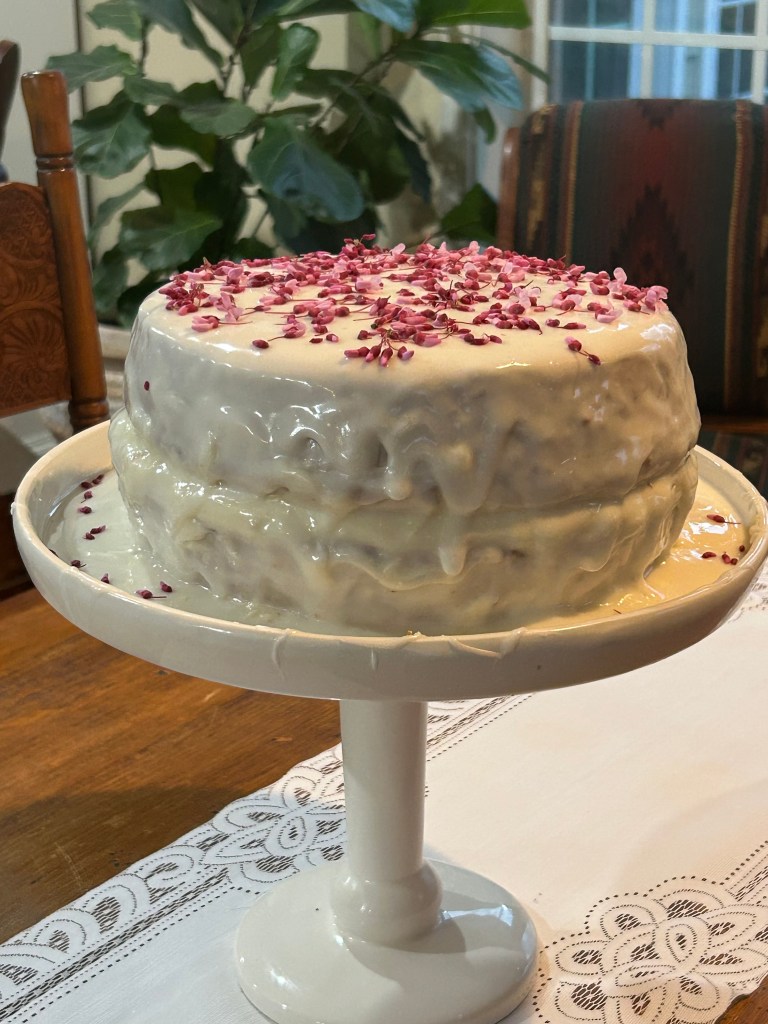
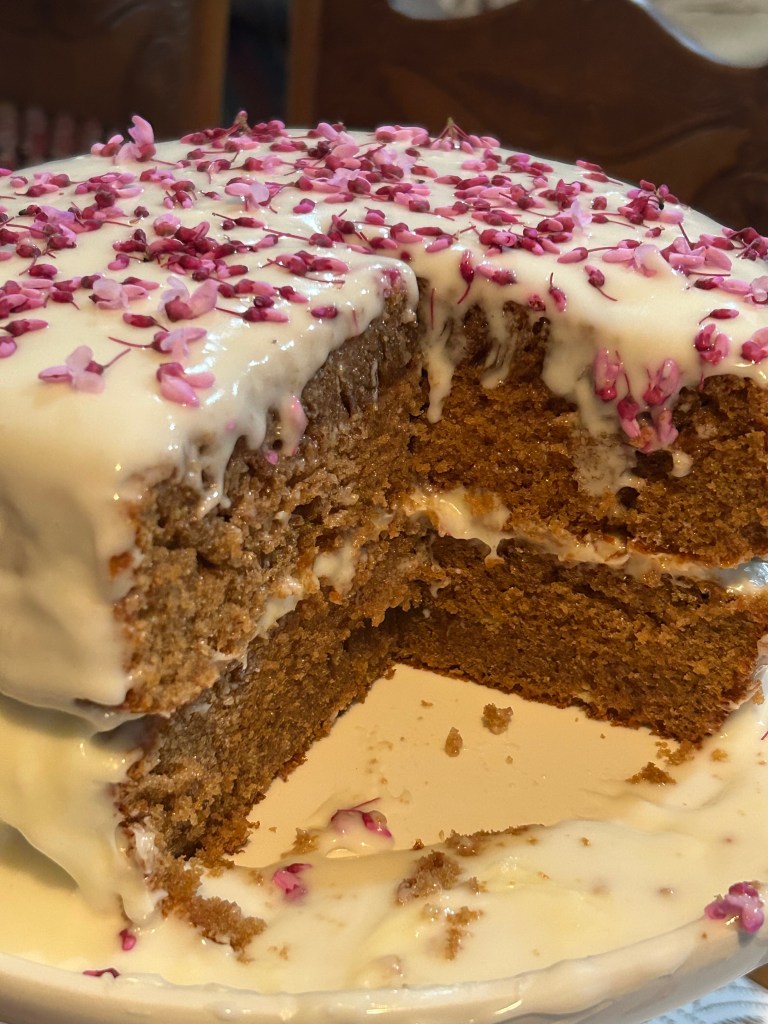
I totally forgot to get pics of this step! But here is the finished cake. Bella was so proud of it! We will definitely make this again next spring and hopefully for many springs to come. This is our very first Redbud cake, but this will become a family tradition for sure!

Here are a few links to kitchen must–haves. As an Amazon Associate, I earn from qualifying purchases. This means, if you click on a link on my blog and make a purchase, I will receive a small commission at no extra cost to you. THANK YOU for helping me start a college fund for Bella!
FLOUR SIFTER (Vintage style hand crank) I do NOT recommend one with the hand squeeze feature. I had one and hated it!
WIRE MESH SIFTER (This is the one you see Bella using in the video and pictures. She prefers it. Not really a sifter but it works! Extra Fine Mesh Strainer (3 pieces, 3 sizes)
6 PIECE WOODEN SPOON SET
7 PIECE WOODEN SPURTLE SET (I’m drooling over this set! I don’t have it…yet!)
Weekly Timeless Treasure
Our timeless treasure this week is the round table that Bella bakes on. It sat in my grandmother’s kitchen at the old farmhouse when I was a child. I remember the day she got it!
I was ten years old, and Nanny wanted a round table so badly. My mother had one of the old stainless steel–formica dining sets that were so common at the time. I think everyone had a set like that in their kitchen. Some were green. Some were red. And I have seen yellow ones.
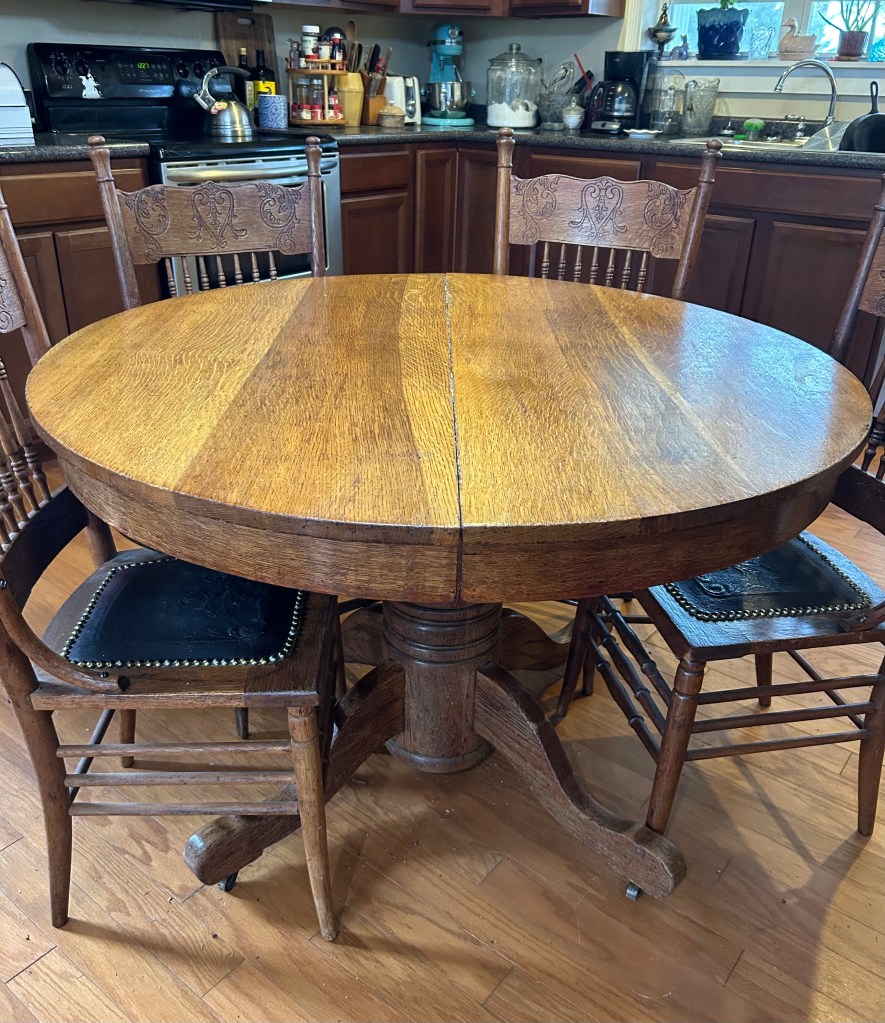
Nanny’s sister had moved from Memphis to Coldwater, Mississippi, and she sent word that her neighbor had a round table that she would trade for mama’s formica set. So the three of us loaded the dining table and chairs in Daddy’s 1964 Chevy pickup and headed to Coldwater.
When we got there, my little 10 year old eyes bugged out. The round table was in terrible condition! It was over 75 years old–in 1967! I remember thinking, I hope Nanny doesn’t put that thing in the kitchen.
But Mama could always work wonders with old furniture. The table was good and sturdy, so she stripped the old finish off. Sanded. Put a layer or two of sanding sealer on top, and it looked beautiful.
I grew up eating home cooked meals on this old table. Nanny would get up every summer morning at sunrise and walk down the road to the garden that she grew in the corner of the cotton field. She would gather fresh vegetables for the noon meal (We called that dinner) and be back to the house by the time I woke up to cook breakfast.
The meals this old table has seen would make your mouth water! She would have purple hull peas, butterbeans, squash, fried okra, string beans, cucumbers and cantaloupe. My favorite thing was fried green tomatoes! They are my favorite to this day! I could just sit down to a plate of fried green tomatoes and call it good!
The table, in my eyes, was magic. I did not matter how many people were there for dinner, everyone would fit around. Everyone had their spot, and the guests were squeezed in between.
The table sat in the center of the kitchen, and Nanny would flit around making sure that everyone had what they needed–filling glasses with “more sweet tea please!” She would rarely sit down to eat herself until everyone was almost finished.
There would always be at least 4 or 5 of these vegetables on the table every meal! And a pone of brown, crusty cornbread. We rarely had meat, but occasionally she would fry pork chops or chicken. Some Sundays we would have pot roast.
One special memory I will share. An older cousin from Memphis was down visiting. She sat by me, and she ate, and ate, and ate. Finally, she said, “I could crawl under the table and cry, because I can’t hold another single bite!”
But there was another bite, because Nanny still had not brought out the chocolate pie!
The old farmhouse (over 120 years old) still sits in the front yard of our newer farmhouse built in 2006. Nanny’s round table is in my kitchen today, but I am still struggling to be the cook she was. I think Bella is going to rise to the task! Nanny would be proud!

4 responses to “Bella Bakes a Wild Redbud Cake”
You guys have the most amazing recipes as well as an amazing relationship! I love these emails ❤️❤️❤️
Sandy
<
div dir=”ltr”>
<
blockquote type=”cite”>
LikeLike
Thank you! So glad you are enjoying them. We are having so much fun! Hope we are making memories Bella will never forget.
LikeLike
I agree with Sandy-what treasures you give to Bella. I am quite interested in this redbud cake, too
LikeLike
Thank you! Hope you get to try it.
LikeLike